Scandinavian Style Living Room with Cycles (Profile)
The project profile series of Blender 3D Architect is a collection of articles with the aim of feature projects related to architectural visualization. We invite talented artists to share additional details about each project to demonstrate how they approach each stage of the process. And also allow each author to publicize their work among our readers.
How does it work? It is like an interview, where we sent a couple of questions about a project for the artist.
If you want to check previous project profiles, visit this link.
Today we have a Scandinavian Style Living Room from digital artist Kristian Santoso, which uses Cycles as the main render engine for this interior.
What is unique about this project? The project shows some impressive level of realism for an interior render, and also works as a source of inspiration for artists. What started as an exercise to improve workflow for interiors, ended up as a great set of renders.
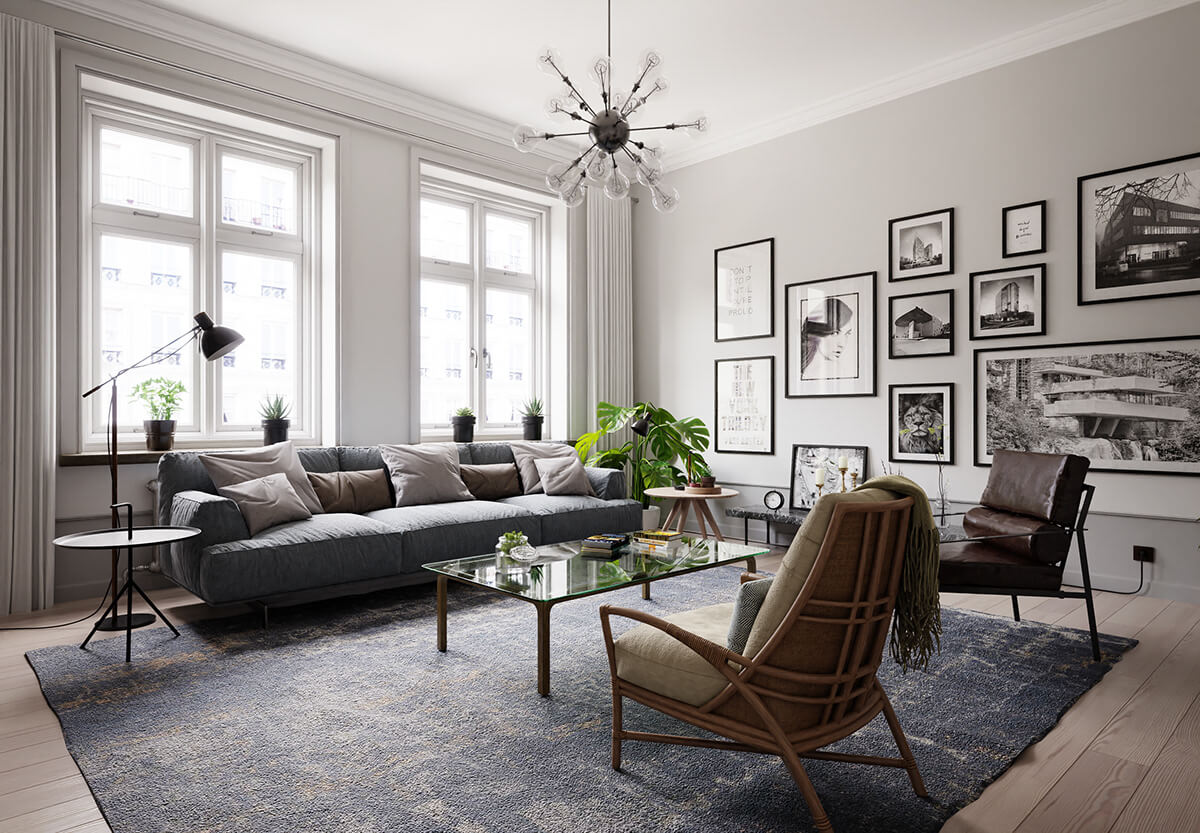
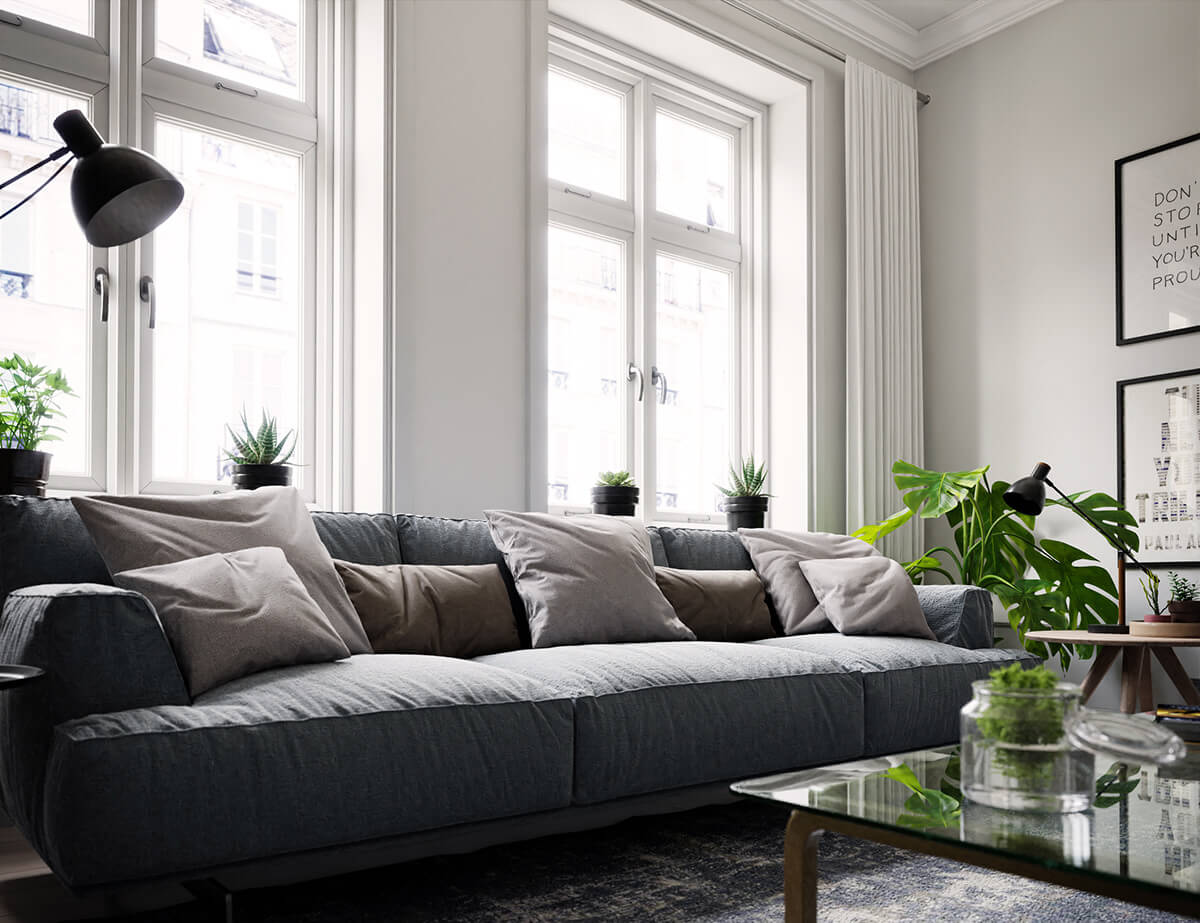
Another aspect of the workflow that is interesting is the use of two Denoisers for each render. As you will learn from the description, a reference image was the base for all elements in this project. Here is the reference:
(Click to enlarge – Reference photo)
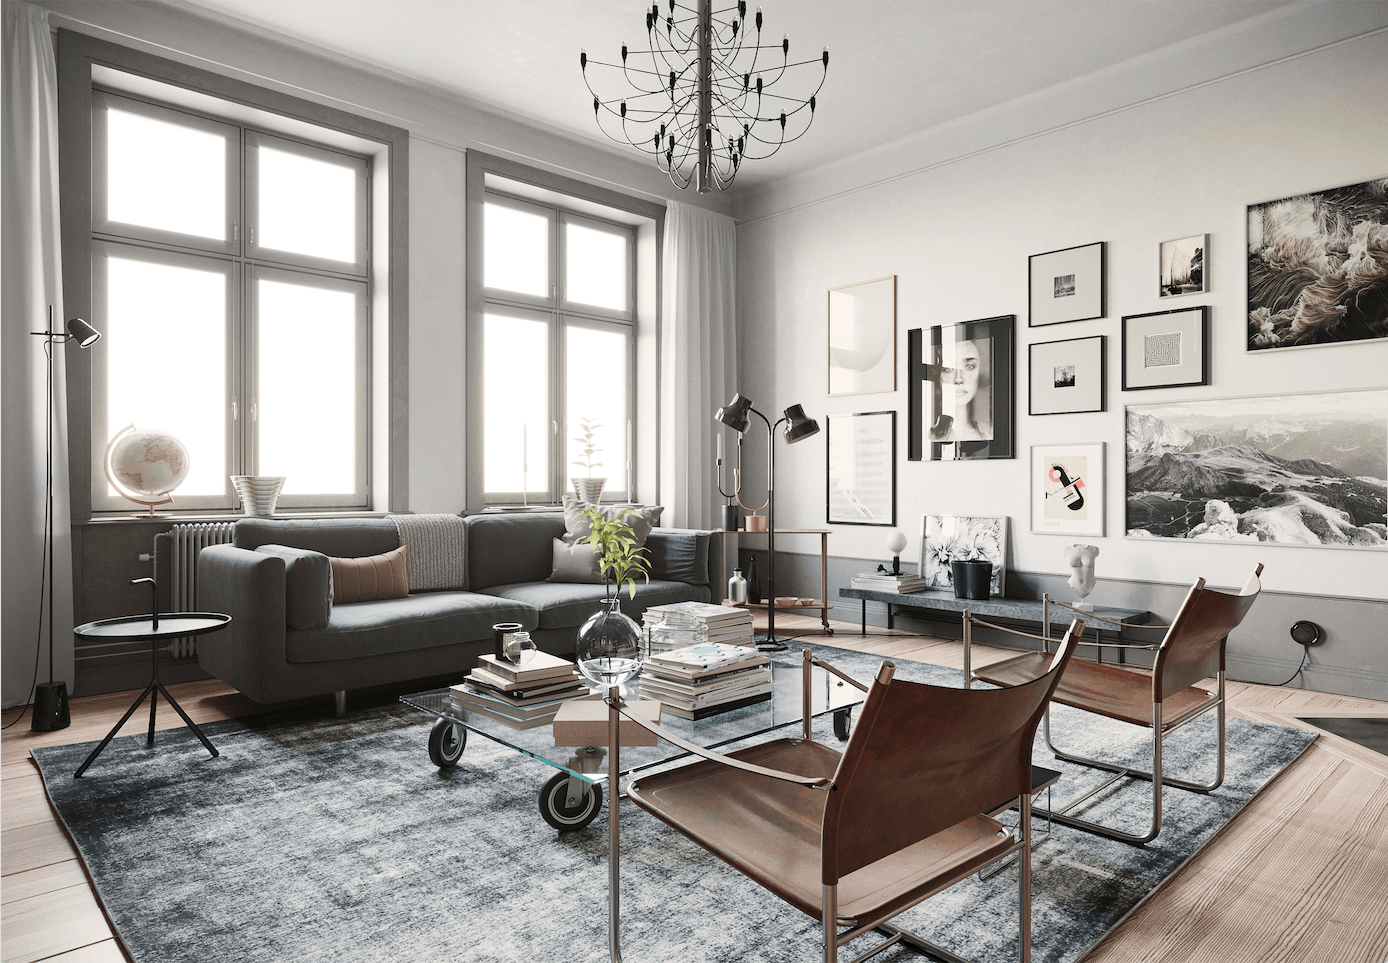
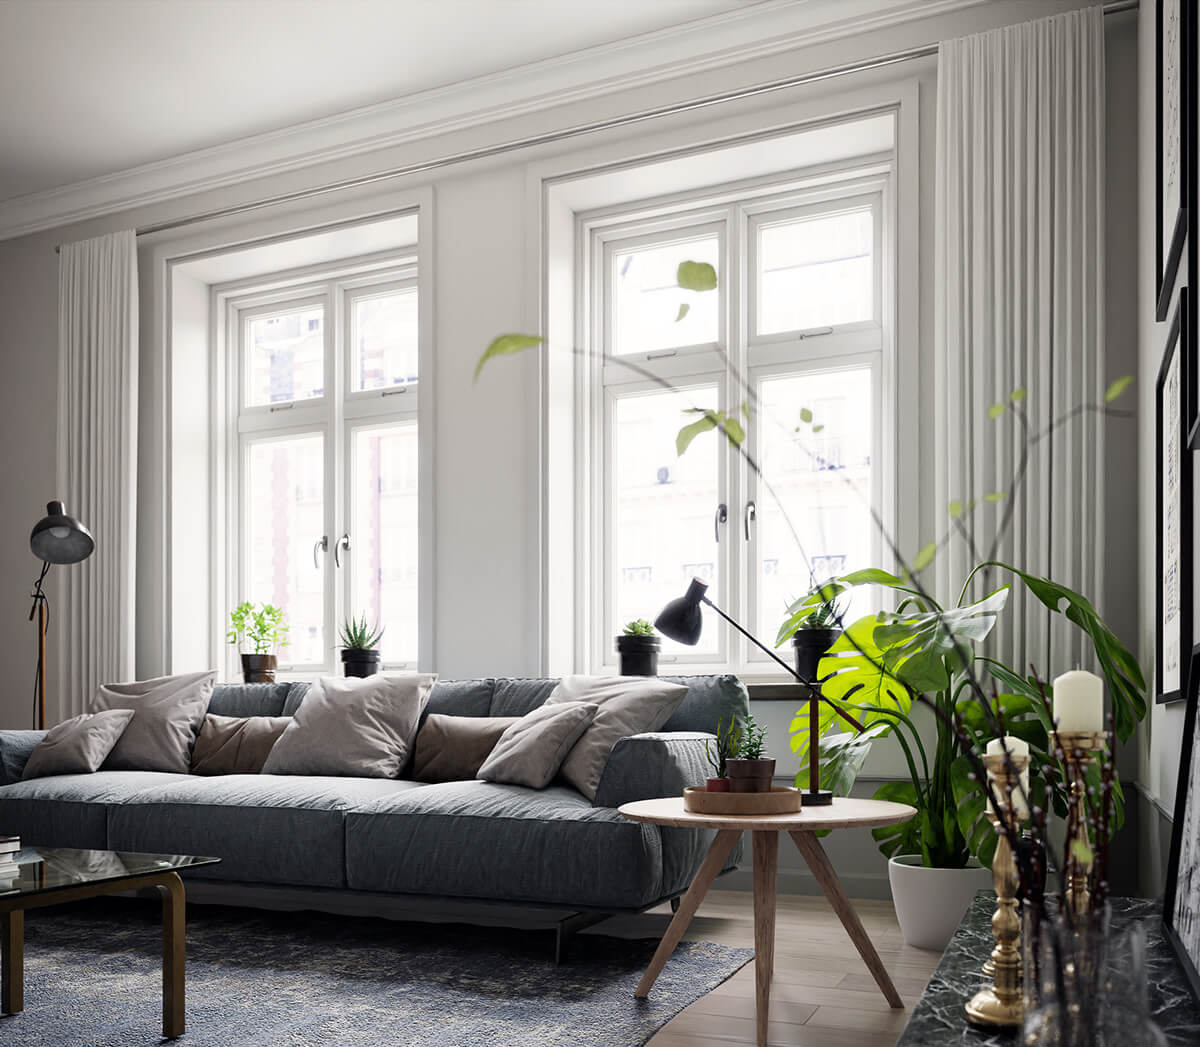
That was the starting point. Here is the result in Cycles:
(Click to enlarge – Render from Cycles)
Now, we can take a closer look at how the artist created this render in Blender.
Let me thank Kristian Santoso for sharing the details about the project with Blender 3D Architect readers.
Was it a commercial project? What can you tell us about the motivation for this project?
It is a personal project. I created this project to test some tools that can speed up my workflow; for instance, I was looking to use Model Manager from chocofur.com. I tried to arrange my assets in a way that was easier to find when I needed it.
I also tried F-Spy for camera matching. And more than that, I did this project to be used as an interior visualization tutorial using Blender. I’ve made a video tutorial package about Exterior Visualization using Blender (voiceover in Bahasa Indonesia). Here is the teaser.
(Click to enlarge)
Did you use any references for modeling, like technical drawings?
I didn’t use any technical drawing. I use an image instead. I found it on the internet while searching for ideas. It’s an artwork from an artist named Angelo Ferretti.
(Click to enlarge)
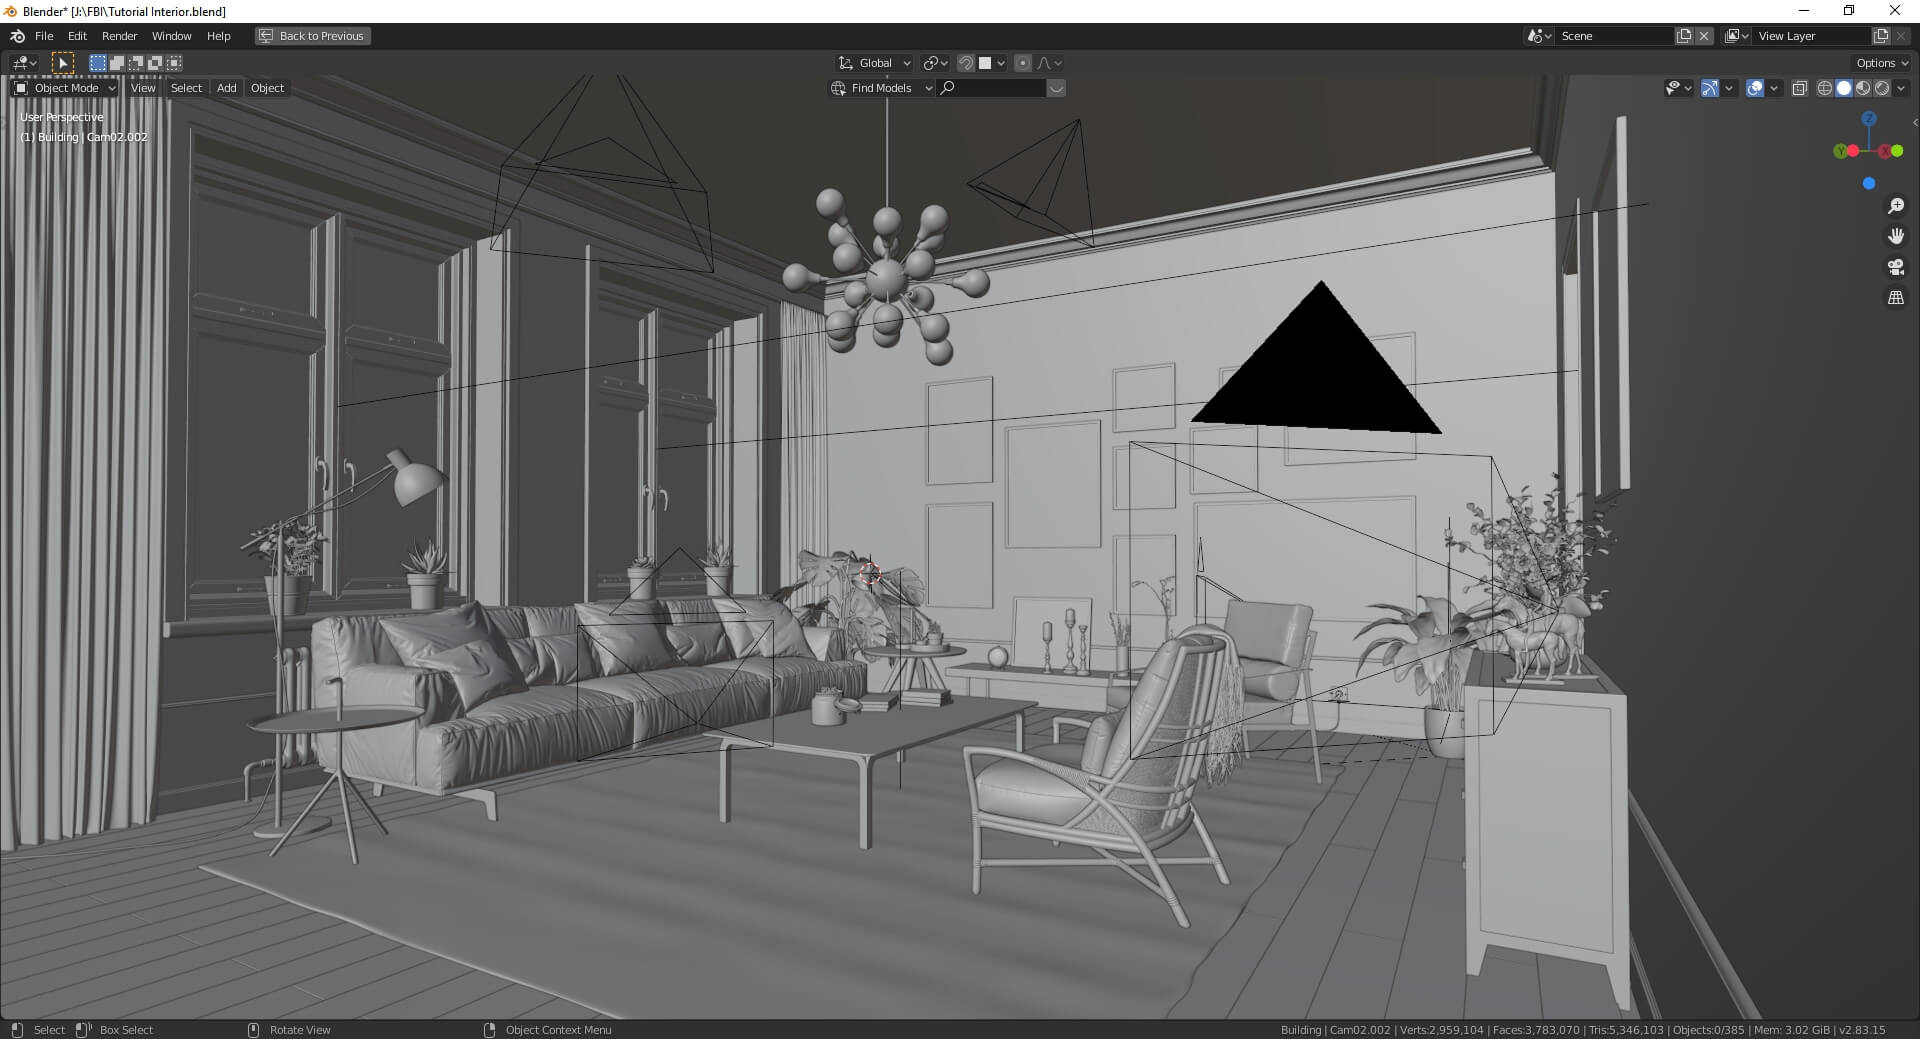
Did you model everything in the project, including furniture and props?
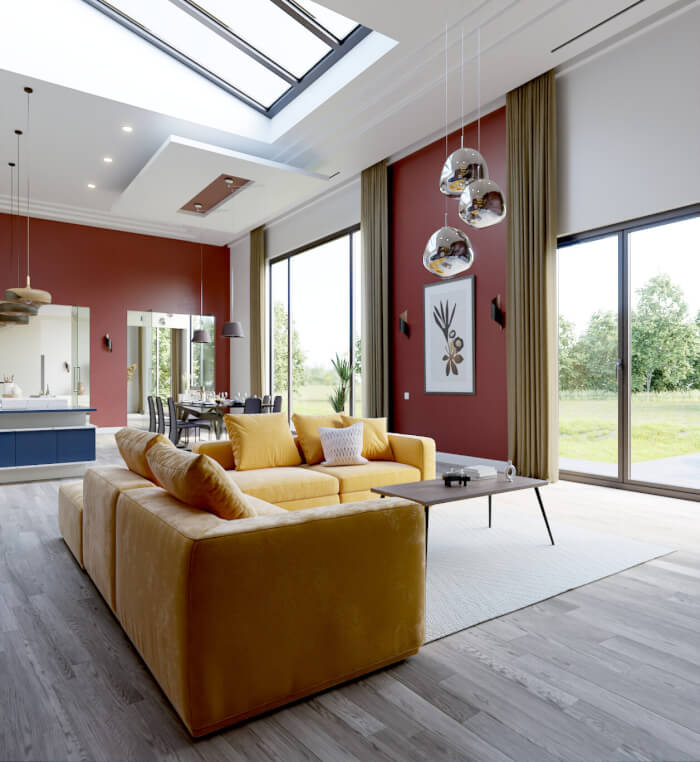
Not all objects. I only made the walls, windows, tables, picture frames, and lamps. The rest is from my asset library.
(Click to enlarge)
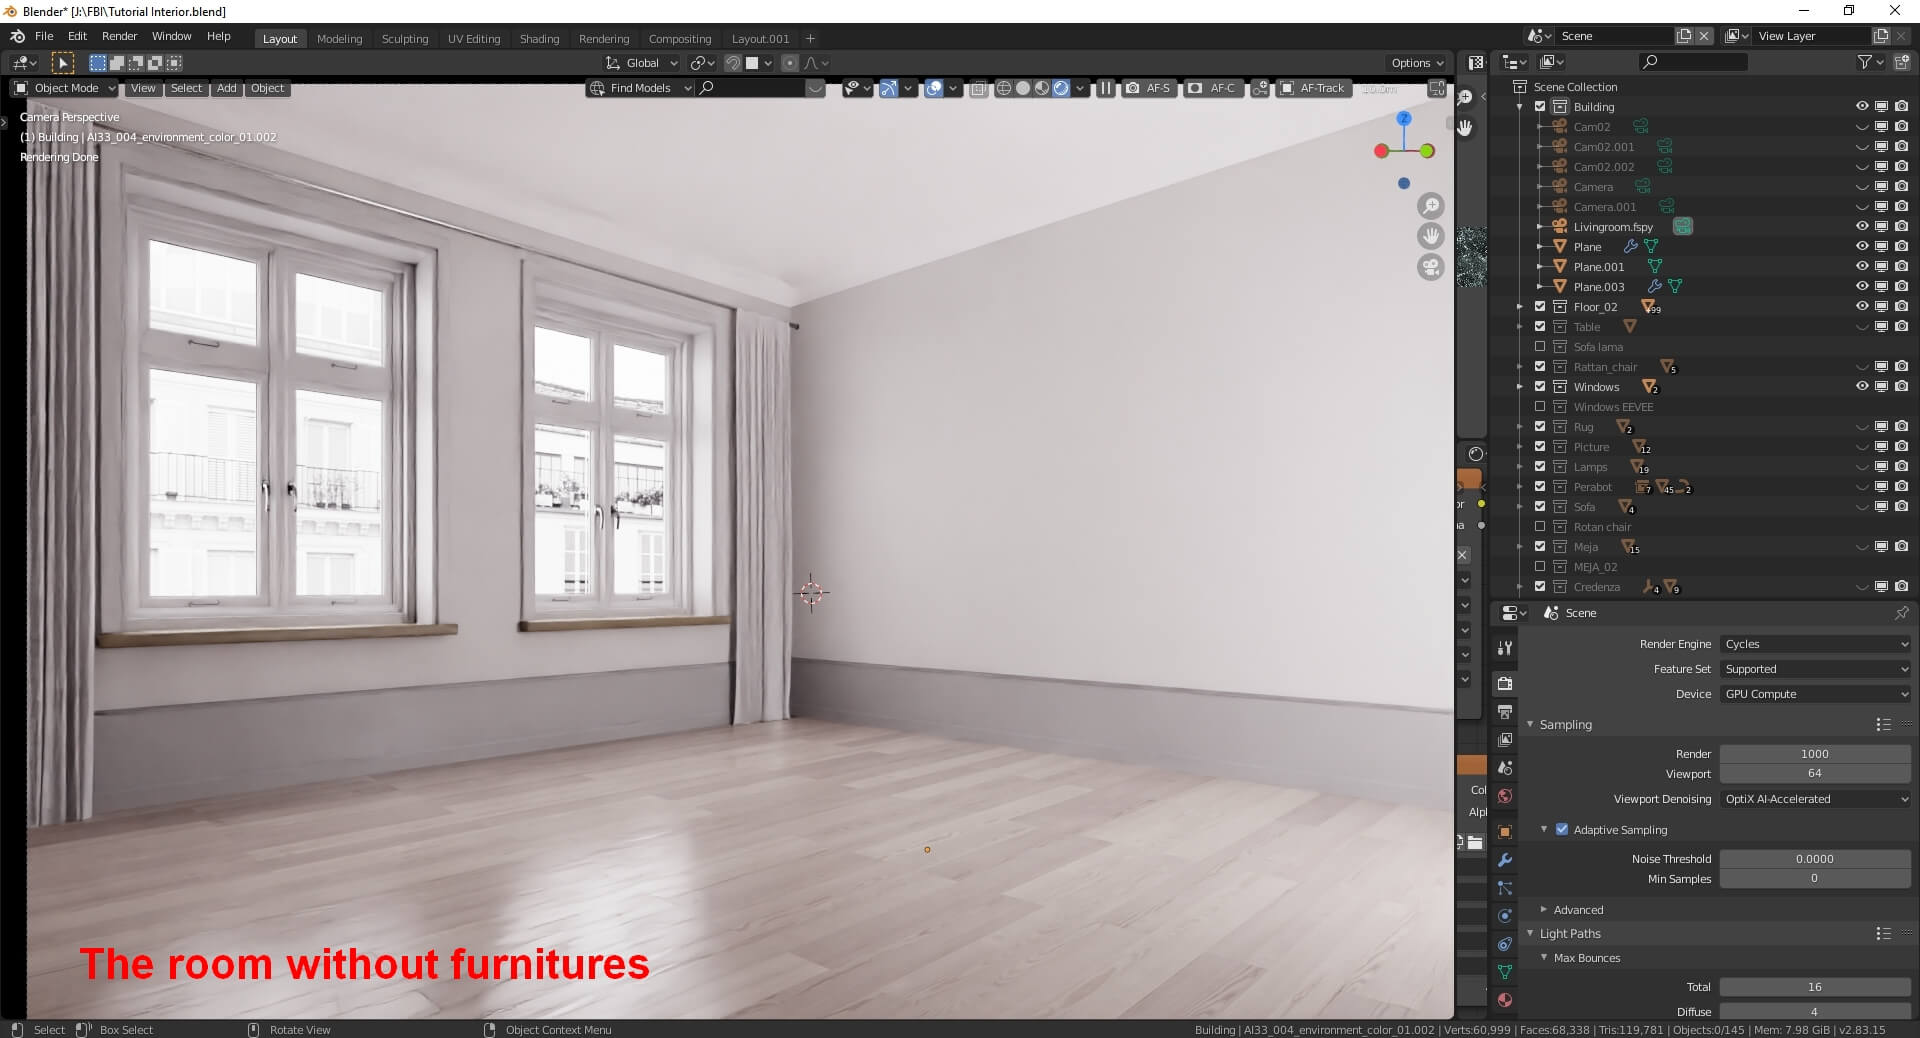
What can you tell us about the interior design (Layouts, materials, and props)? Did you have to create it yourself?
At first, I just wanted to follow the reference picture. But I decided to change the layout and furniture a little bit. I used assets from my personal library. Most of them are free assets with no material. The hard part was having to add materials for each one of them.
(Click to enlarge)
How long did it take from start to finish?
The first attempt took about 10 hours. I posted on a Facebook group, and I got some great feedback on how to improve this project. To improve the project, I worked for another 16 hours, on average. The total time was about three days of work.
(Click to enlarge)
What hardware did you use to render? Can you share some render times?
I mostly use GPU to render scenes. I’m using an RTX 2080 Ti graphic card in Optix mode. My CPU is quite slow; it’s intel i7–6700K with 32 GB of RAM.
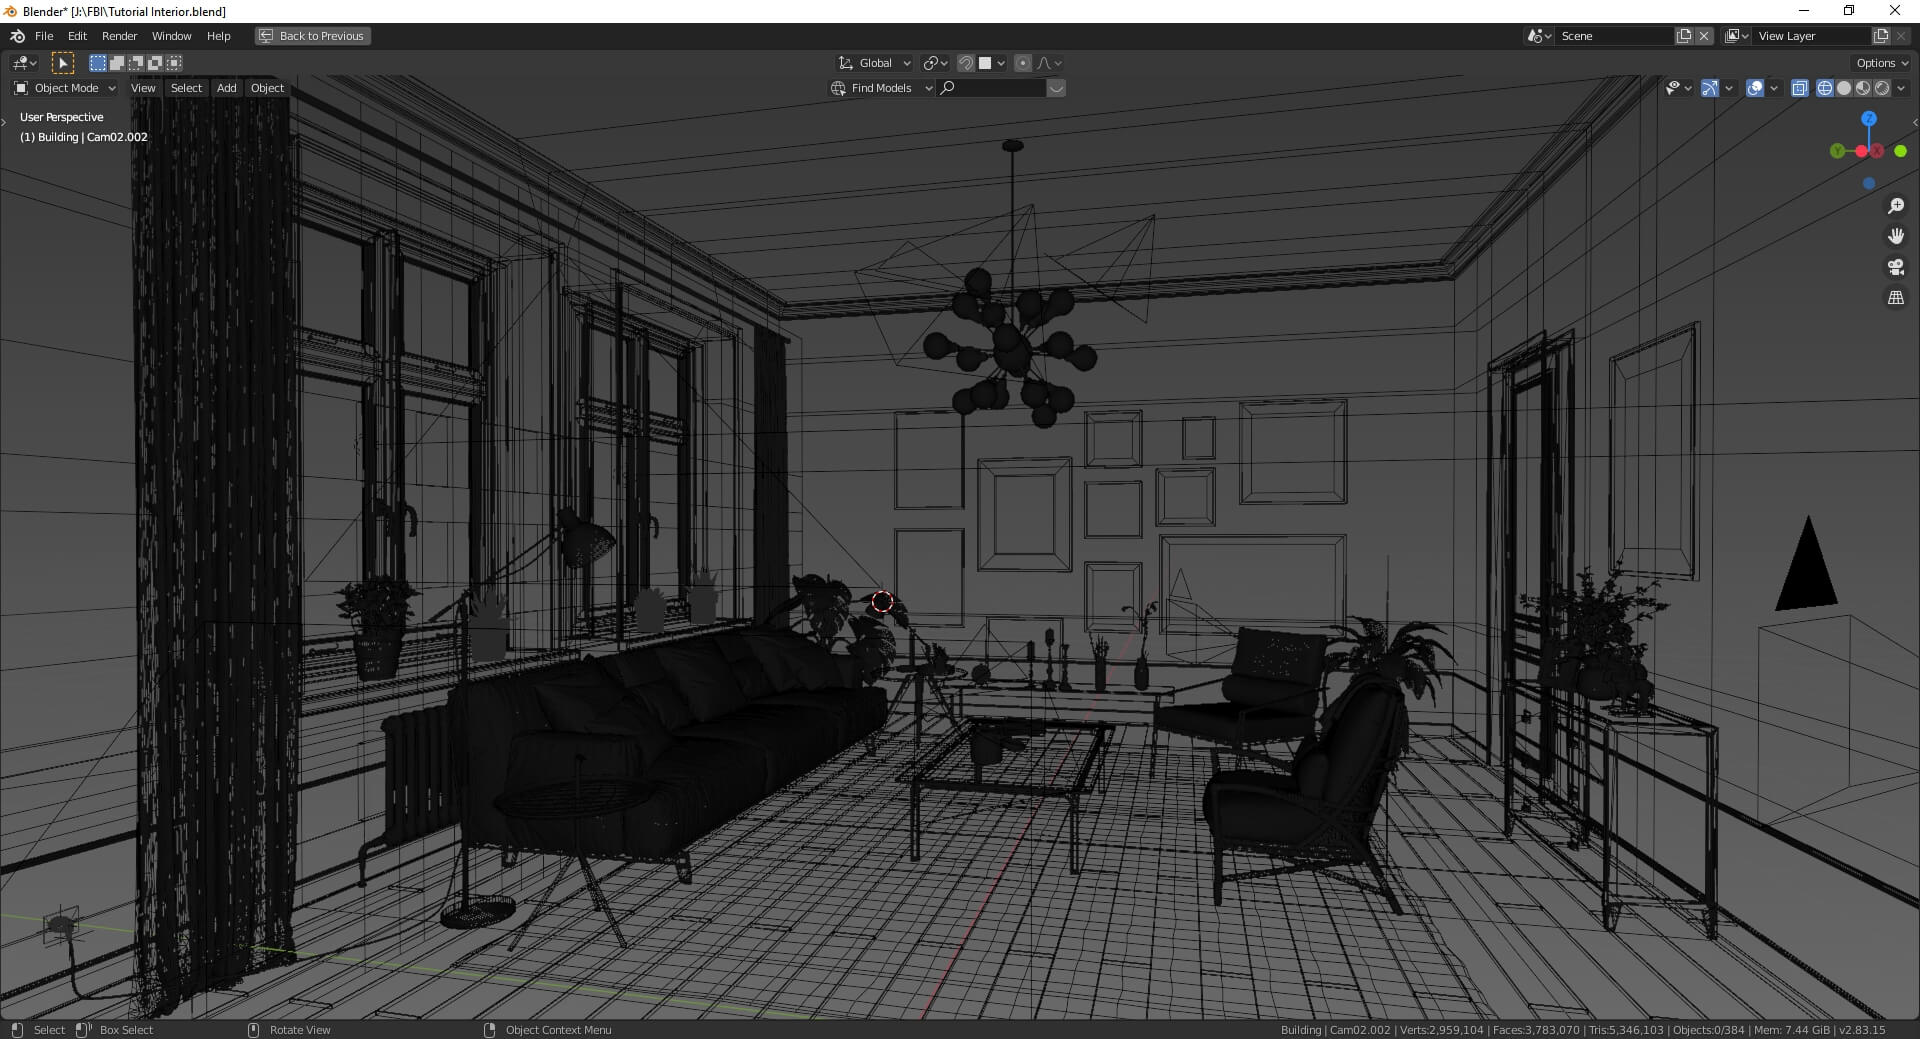
Rendering time between 16–25 minutes, 600–1000 samples. I use the composition editor to mix the results from Intel Image denoiser and Cycles native denoiser to get smooth and detail at the same time. I use cryptomatte as a mixing factor. I took advantage of Intel Denoiser that smooths surfaces without high-frequency textures such as walls, ceiling, floor, curtains. And keep good details from the Cycles Denoiser in areas containing high-frequency textures such as sofas, chairs, and more.
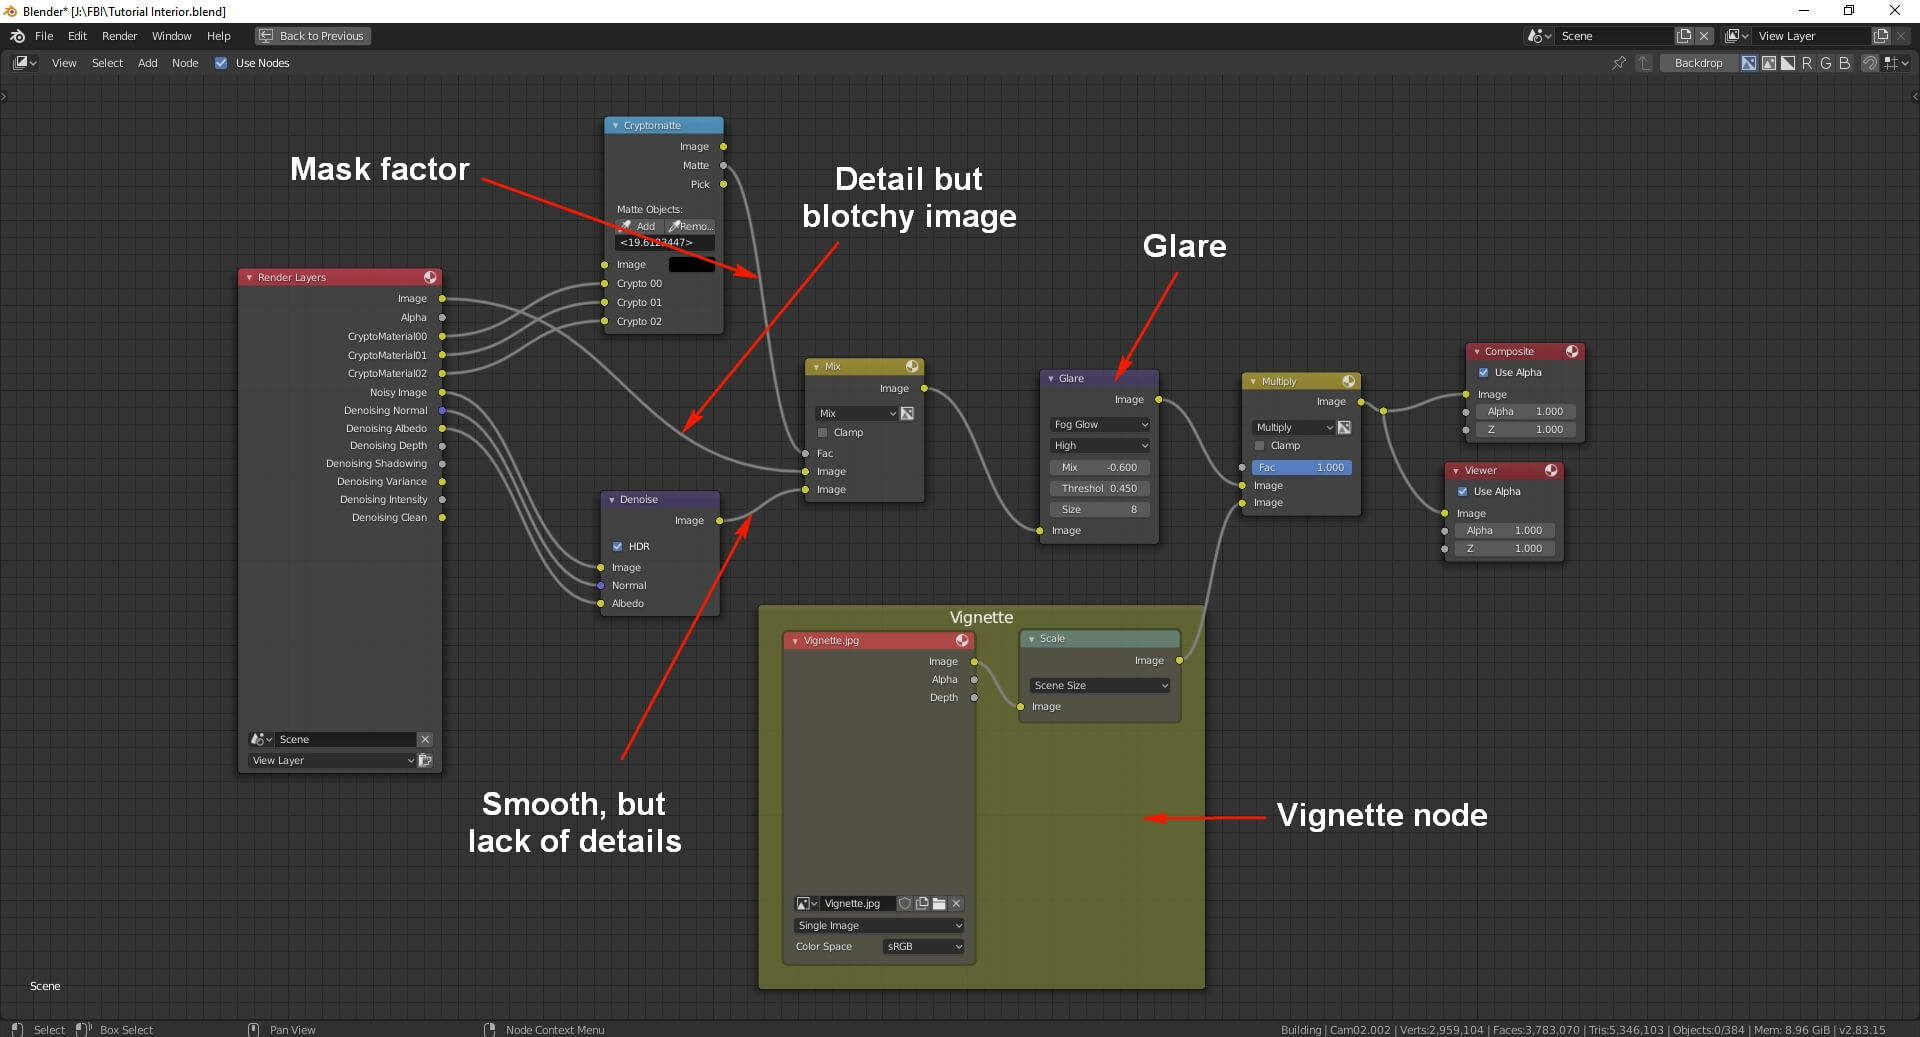
Composite Nodes – (Click to enlarge)
Can you share any details about the lighting process?
I used an HDRI and area lights as portals. Set color management to Filmic, Very High Contrast. I also tried using a plain white background, but I prefer using HDRI because it resembles real-world lighting.
Did you use any Add-ons or external tools to create the project?
- External tool: Fspy camera match tool
- Add-ons: Model Manager from Chocofur, Photographer add-on to mimic real-world photography, Floor Generator to make the wooden floor.

(Click to enlarge)
Thanks again to Kristian Santoso for sharing details about his work. Visit his portfolio page if you want to reach him or see more of his architectural visualization projects.