A popular way to add lights to any architectural visualization project in Blender is with the use of an environmental texture. They can add lights and help with reflective materials for either an exterior or interior render. An HDR map used as an environmental texture can also provide a Sun Light to the scene, which will help to cast hard-edged shadows.
After you start using HDR maps in Blender for that purpose, you will probably want to have rotation controls for that texture. That is critical to set your Sun Light direction in architectural renders.
How to control HDR rotation in Blender 2.8?
To add an environment map to your background you will have to use the Properties Editor and your World Tab. There you will find a field called “Surface” that has Color settings. Notice how you have a button at the right of your Color settings. With that button, you can add and connect new Nodes to any existing parameter.
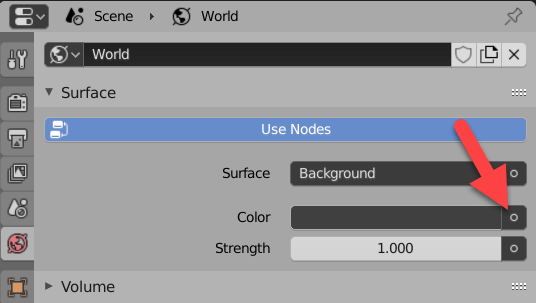
Click at the button next to the Color and choose from the list Environment Texture.

From the options that will appear at the Environment Texture, click at the “Open” button and locate and HDR map. You can download hundreds of maps for architecture from HDRIHaven. They offer all maps in Creative Commons Zero (Public-domain).
That will add an HDR map to your scene at the default rotation.
If you want to have full control over your HDR map rotation we need two additional Nodes:
- Mapping
- Texture Coordinate
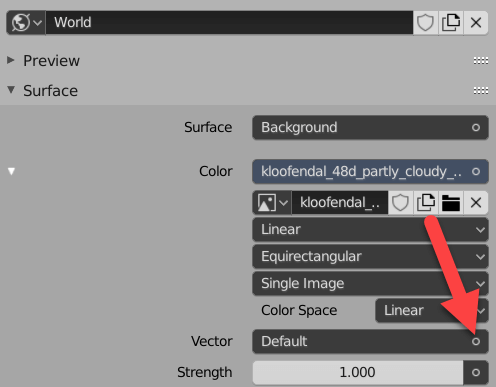
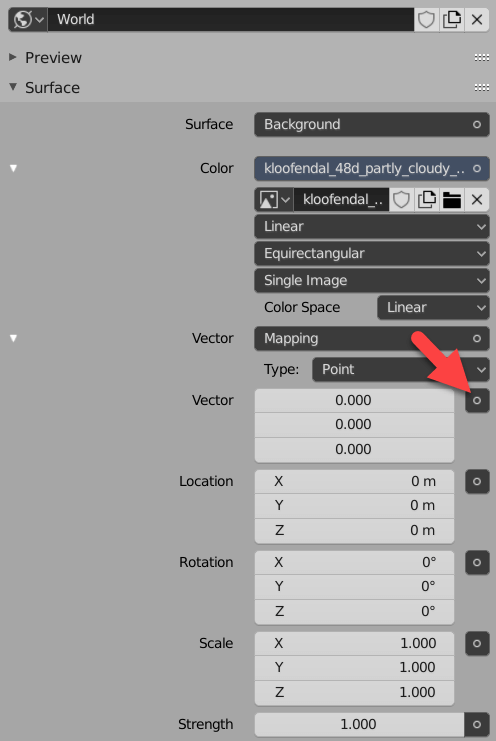
First, you will add the Mapping Node to the Vector Input field of your Environment Texture. Click at the button right next to the Vector.
Choose from the list Mapping.
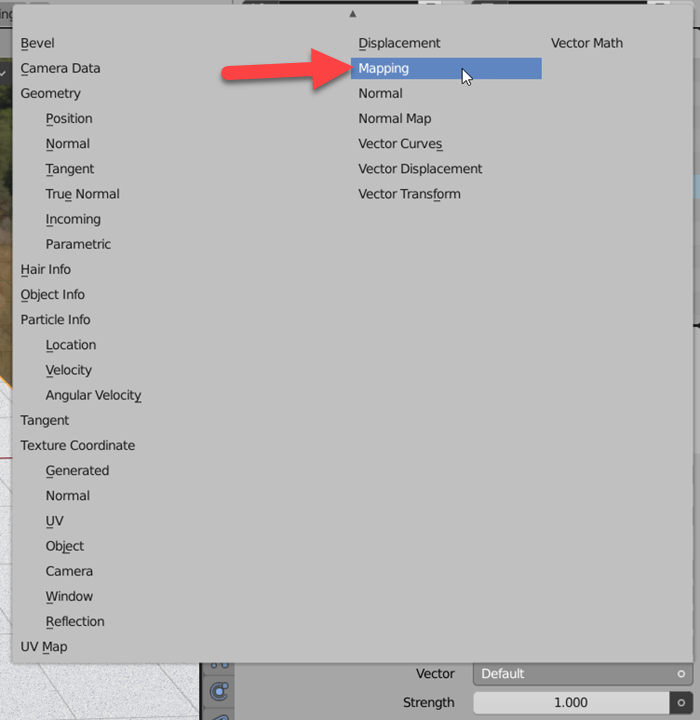
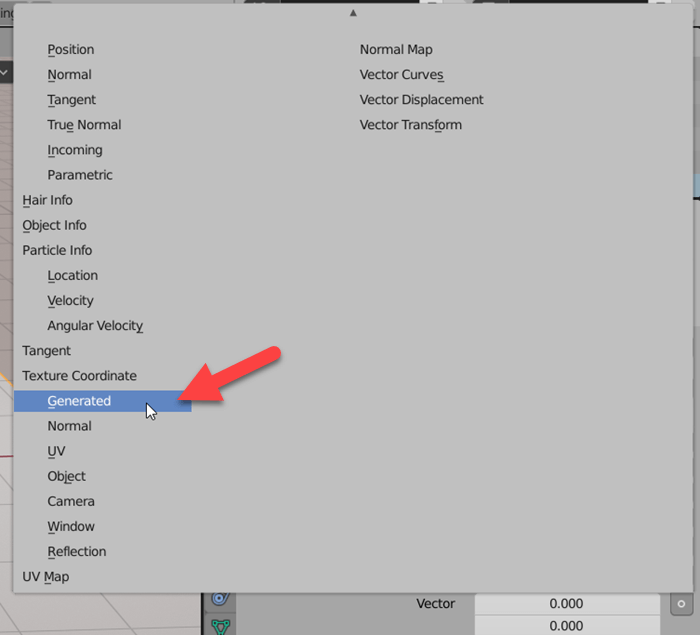
The Mapping Node will help us control location, rotation, and scale of a texture. But, it also needs some texture coordinate information. Use the Vector input from that map to add a new Node.
Choose from the list a Generated Texture Input.
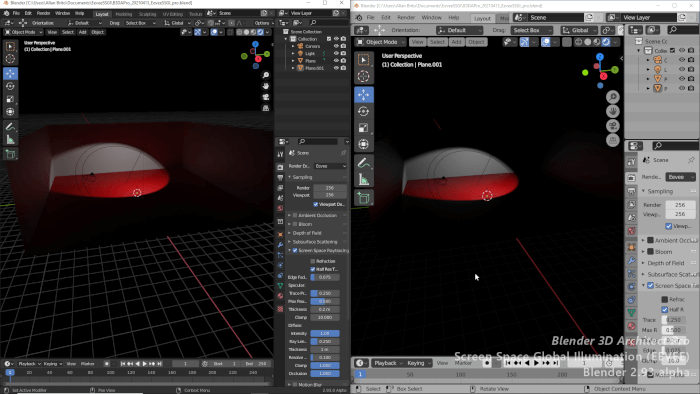
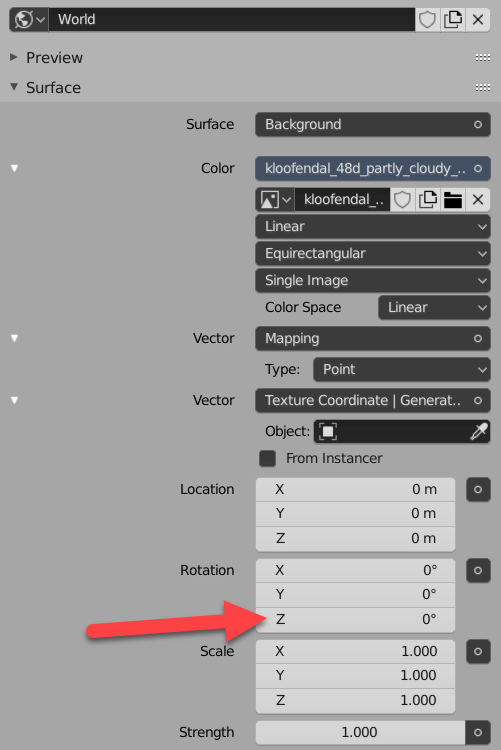
If you use the Rotation settings for your Environment map, you will be able to change the angle of your HDR texture and therefore any Sun Light created by that map.
That is useful when you have to adjust shadow casting from such a map. You can do the same actions using the Shader Editor.
Don't forget to change your renderer to Cycles if you want to see shadows from HDR maps. At the moment, Eevee doesn't support shadows from that type of light source.
Using Blender for architecture
Do you want to use Blender for architecture or render your projects using Cycles or Eevee? We have three books available that could help you!
They cover the use of Blender for producing architectural content and also all information you need to render projects in real-time:
- Blender 2.9 for architecture: Modeling and rendering with Eevee and Cycles
- Blender 2.8 parametric modeling: Drivers, Custom Properties, and Shape Keys for 3D modeling
- Blender 3.0: The beginner's guide
- Blender 2.8 for technical drawing
- Blender Eevee: The guide to real-time rendering with Blender 2.8
You can get them in both digital and paperback formats. By ordering those books, you will not only improve your skills with Blender for architecture but also support Blender 3D Architect.