Gourmet market renovation with Blender and UE4 (Profile)
The project profile series of Blender 3D Architect is a collection of articles with the aim of feature projects related to architectural visualization. We invite talented artists to share additional details about each project to demonstrate how they approach each stage of the process. And also allow each author to publicize their work among our readers.
How does it work? It is like an interview, where we sent a couple of questions about a project for the artist.
If you want to check previous project profiles, visit this link.
Today we have a project called Gourmet market renovation by artist Patrick Dyer, which used Blender for modeling and the UE4 to render stills and animation from this project in Villeneuve-sur-Lot, France.
What is unique about this project? A key aspect of the project was a close collaboration between artists and architects to create an impressive visualization for this renovation project. The artist went on-site to take photos, measurements, and interview existing shop owners.
Another highlight is the use of real-time graphics to speedup animation production by integrating Blender with Unreal Engine 4. The result is a short video with the renovation visualization. If you are looking to start using real-time graphics for architecture, you should definitively read the profile.
 (Click to enlarge)
Let me thank Patrick Dyer for sharing the details about the project with Blender 3D Architect readers.
Was it a commercial project? What can you tell us about the motivation for this project?
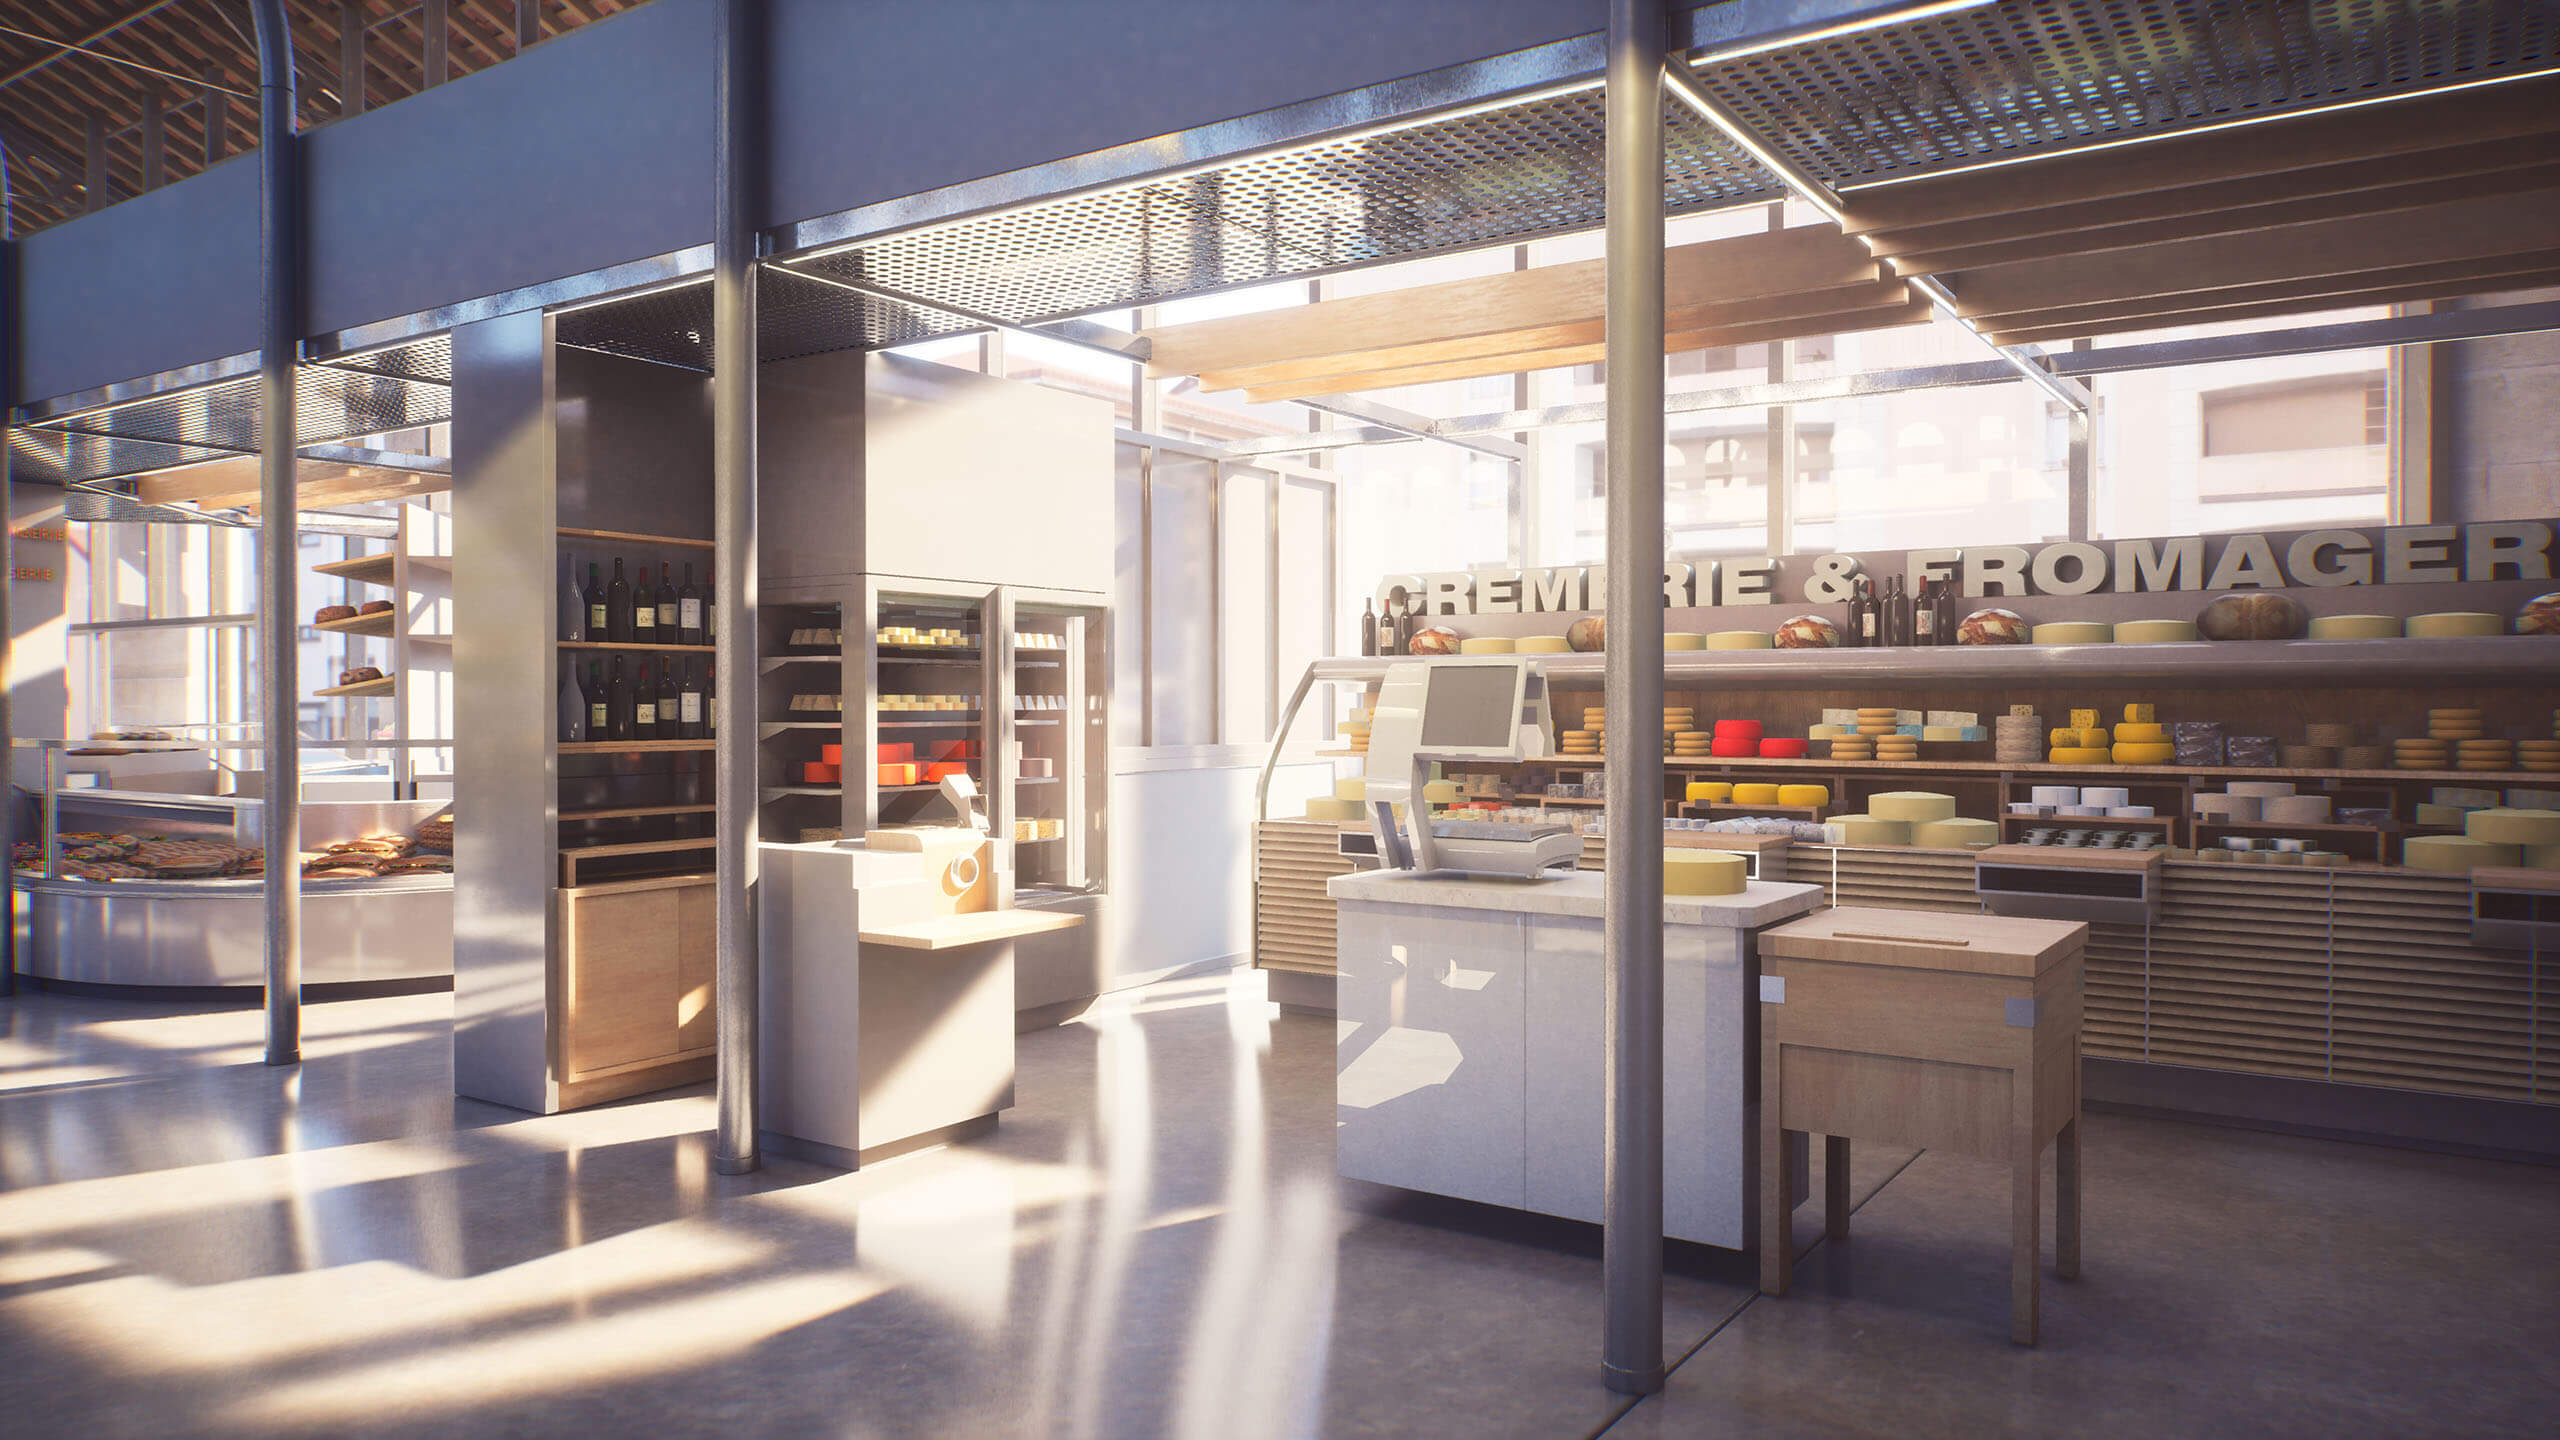
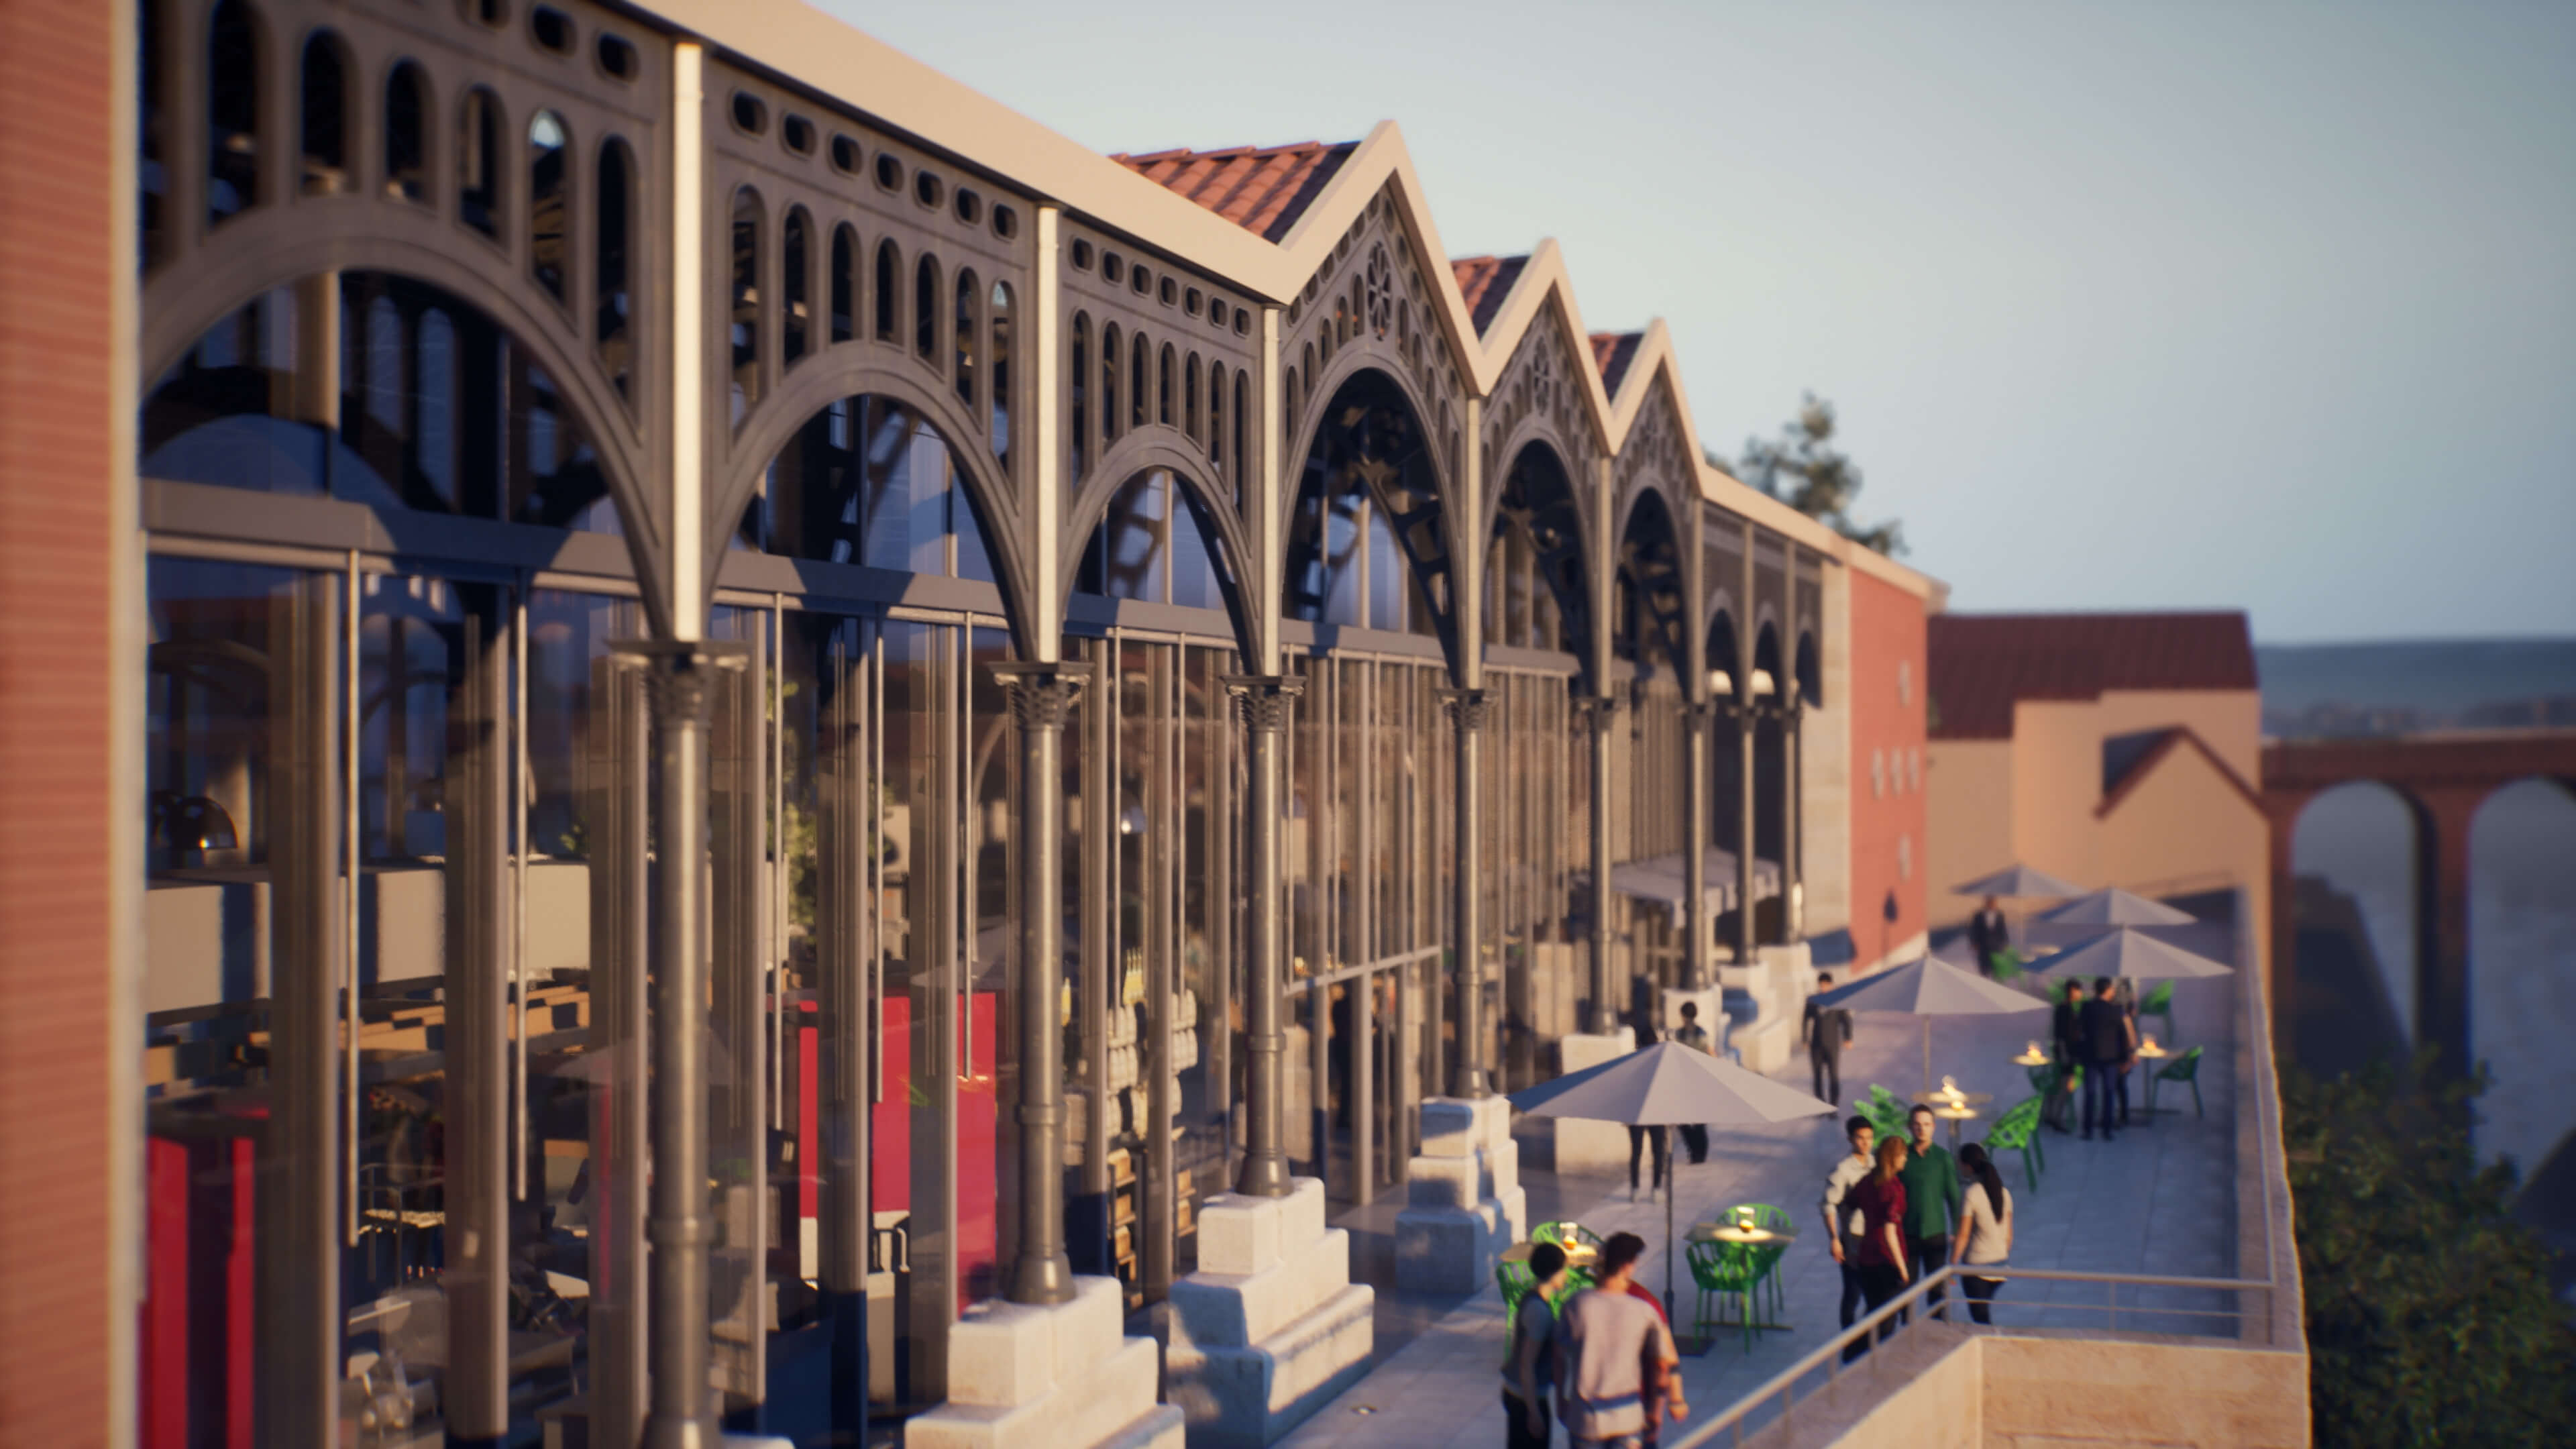
Yeah, this was a commercial project located in Villeneuve-sur-Lot in France, the clients being the architect and township. Said clients wanted a film promoting the renovation of this old Hall, a social hotspot used to host various activities and the Sunday market. The architects re-design involved converting the interior space into a proper marketplace, bringing together various stands of produce, a restaurant, and patio.
(Click to enlarge)
Did you use any references for modeling, like technical drawings?
I took plenty of on-site photos and measurements. A lot of the modeling was based on sketches. The drafters gave me some rudimentary CAD models alongside the construction documents. Although the stands were provided by the shop designers, a very messy and poorly put together Sketchup file.
As far as references for the film production, I took some time visiting the town itself, talking to the shop owners and people living there, taking into account their perspective of this old Hall and what they would like to see done with it.
(Click to enlarge)
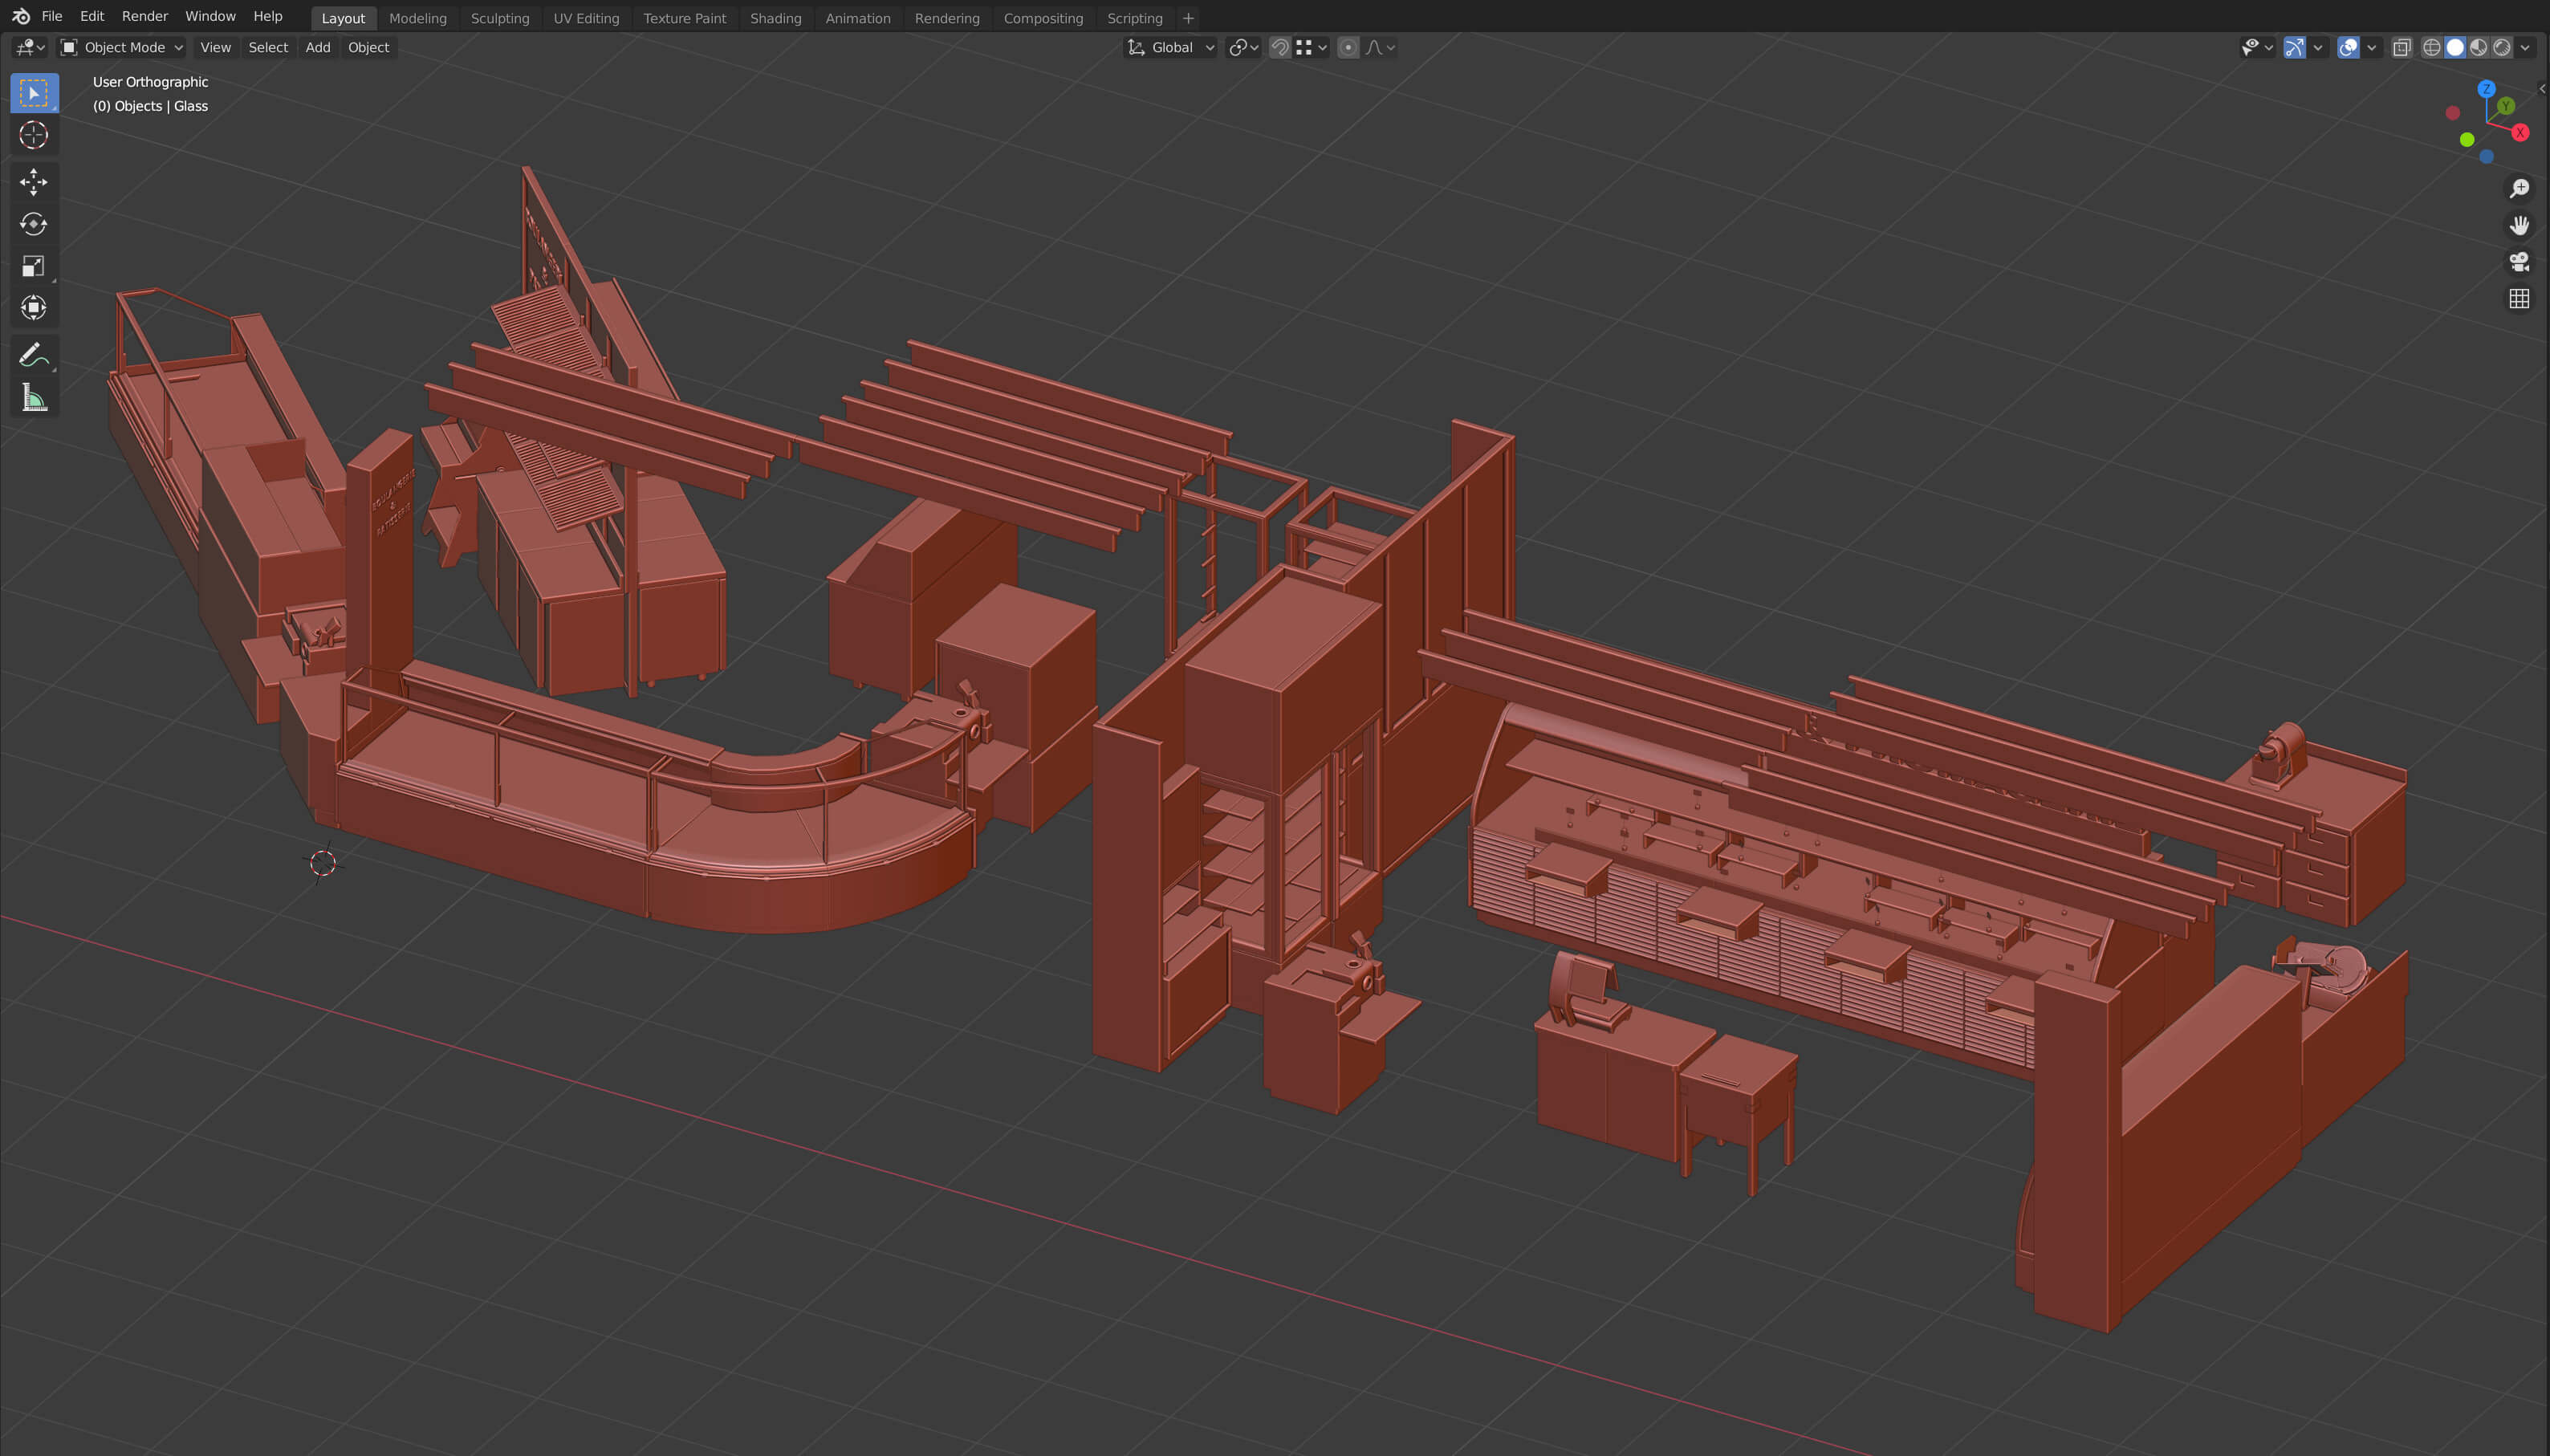
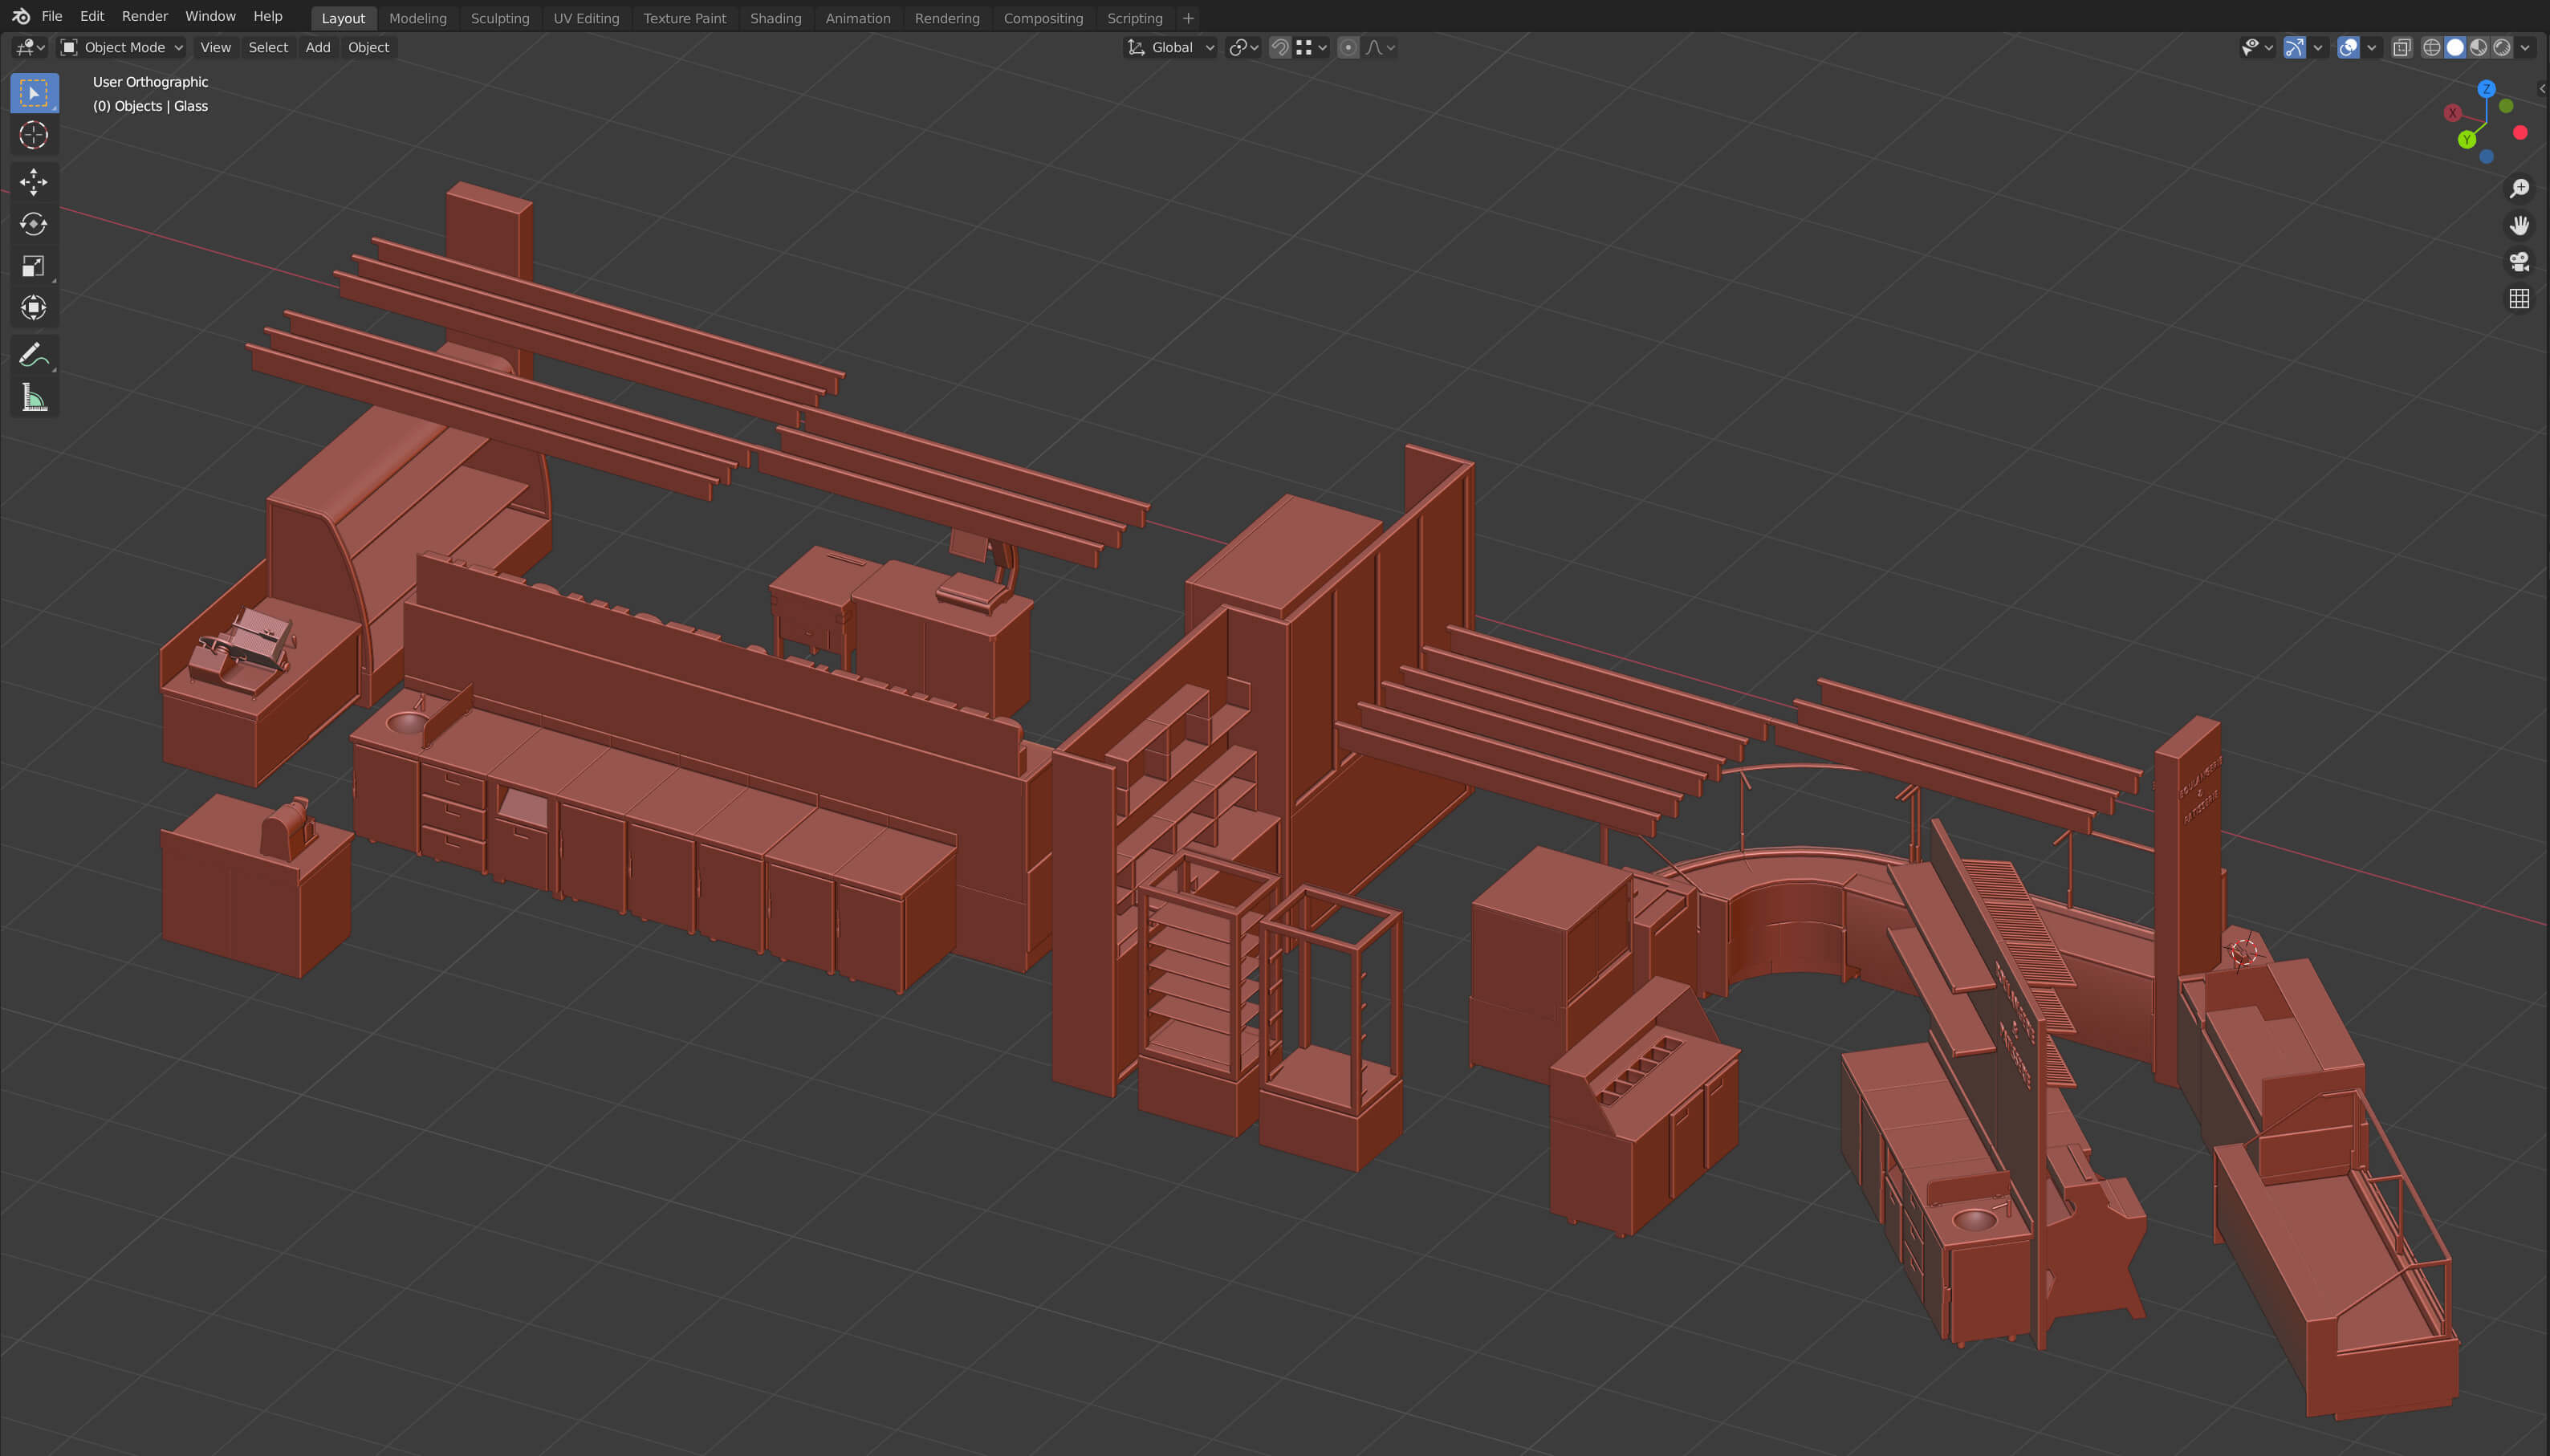
Did you model everything in the project, including furniture and props?
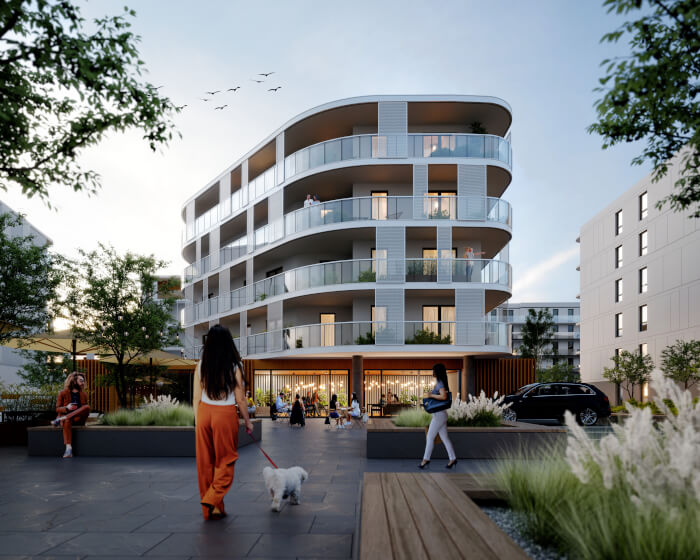
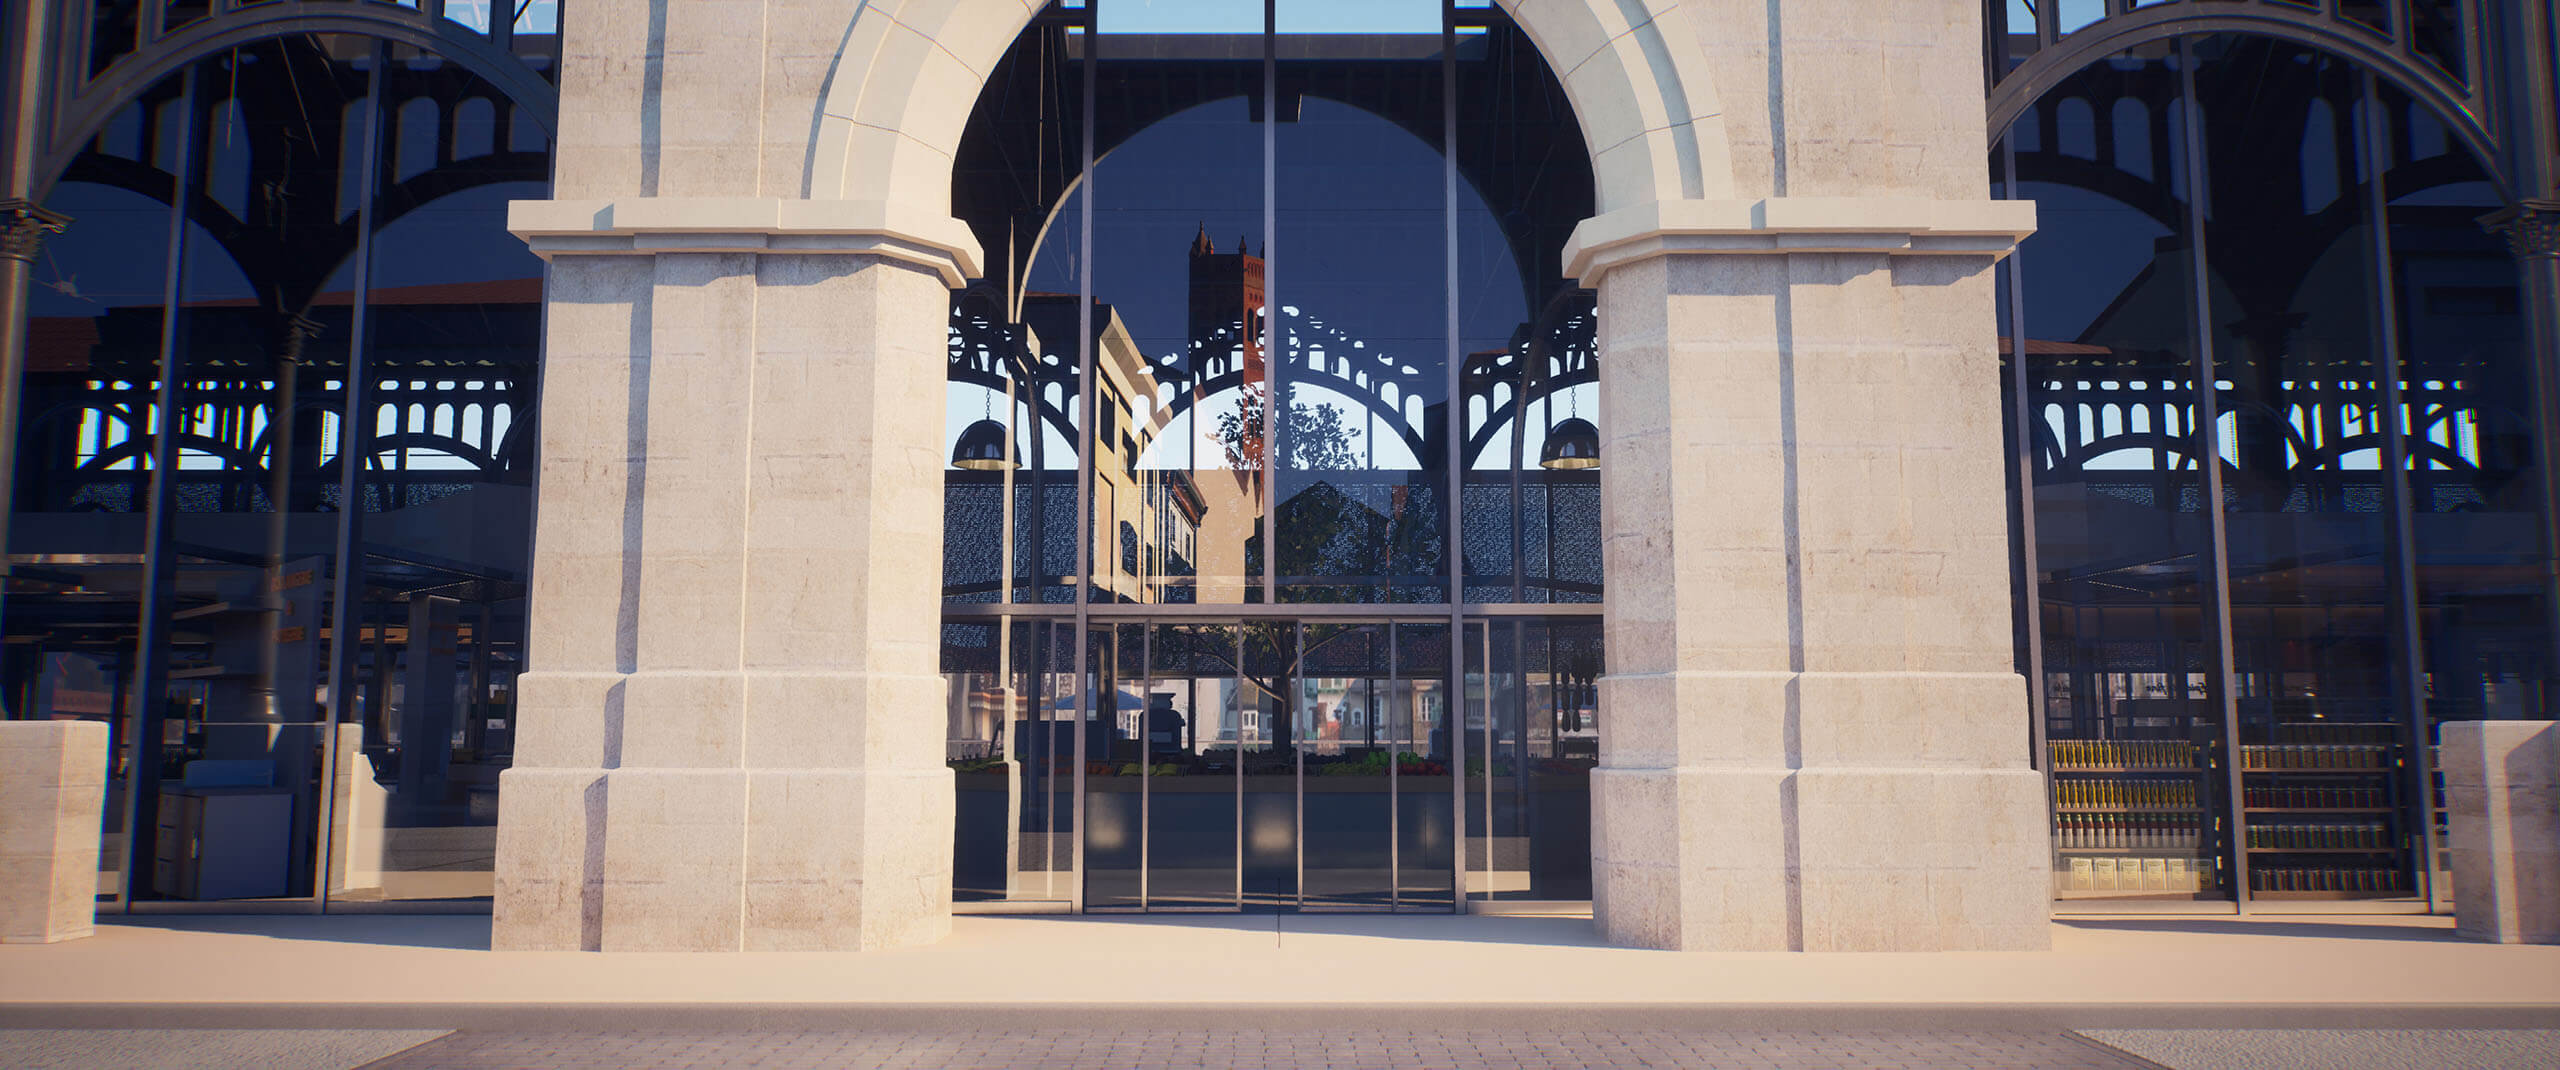
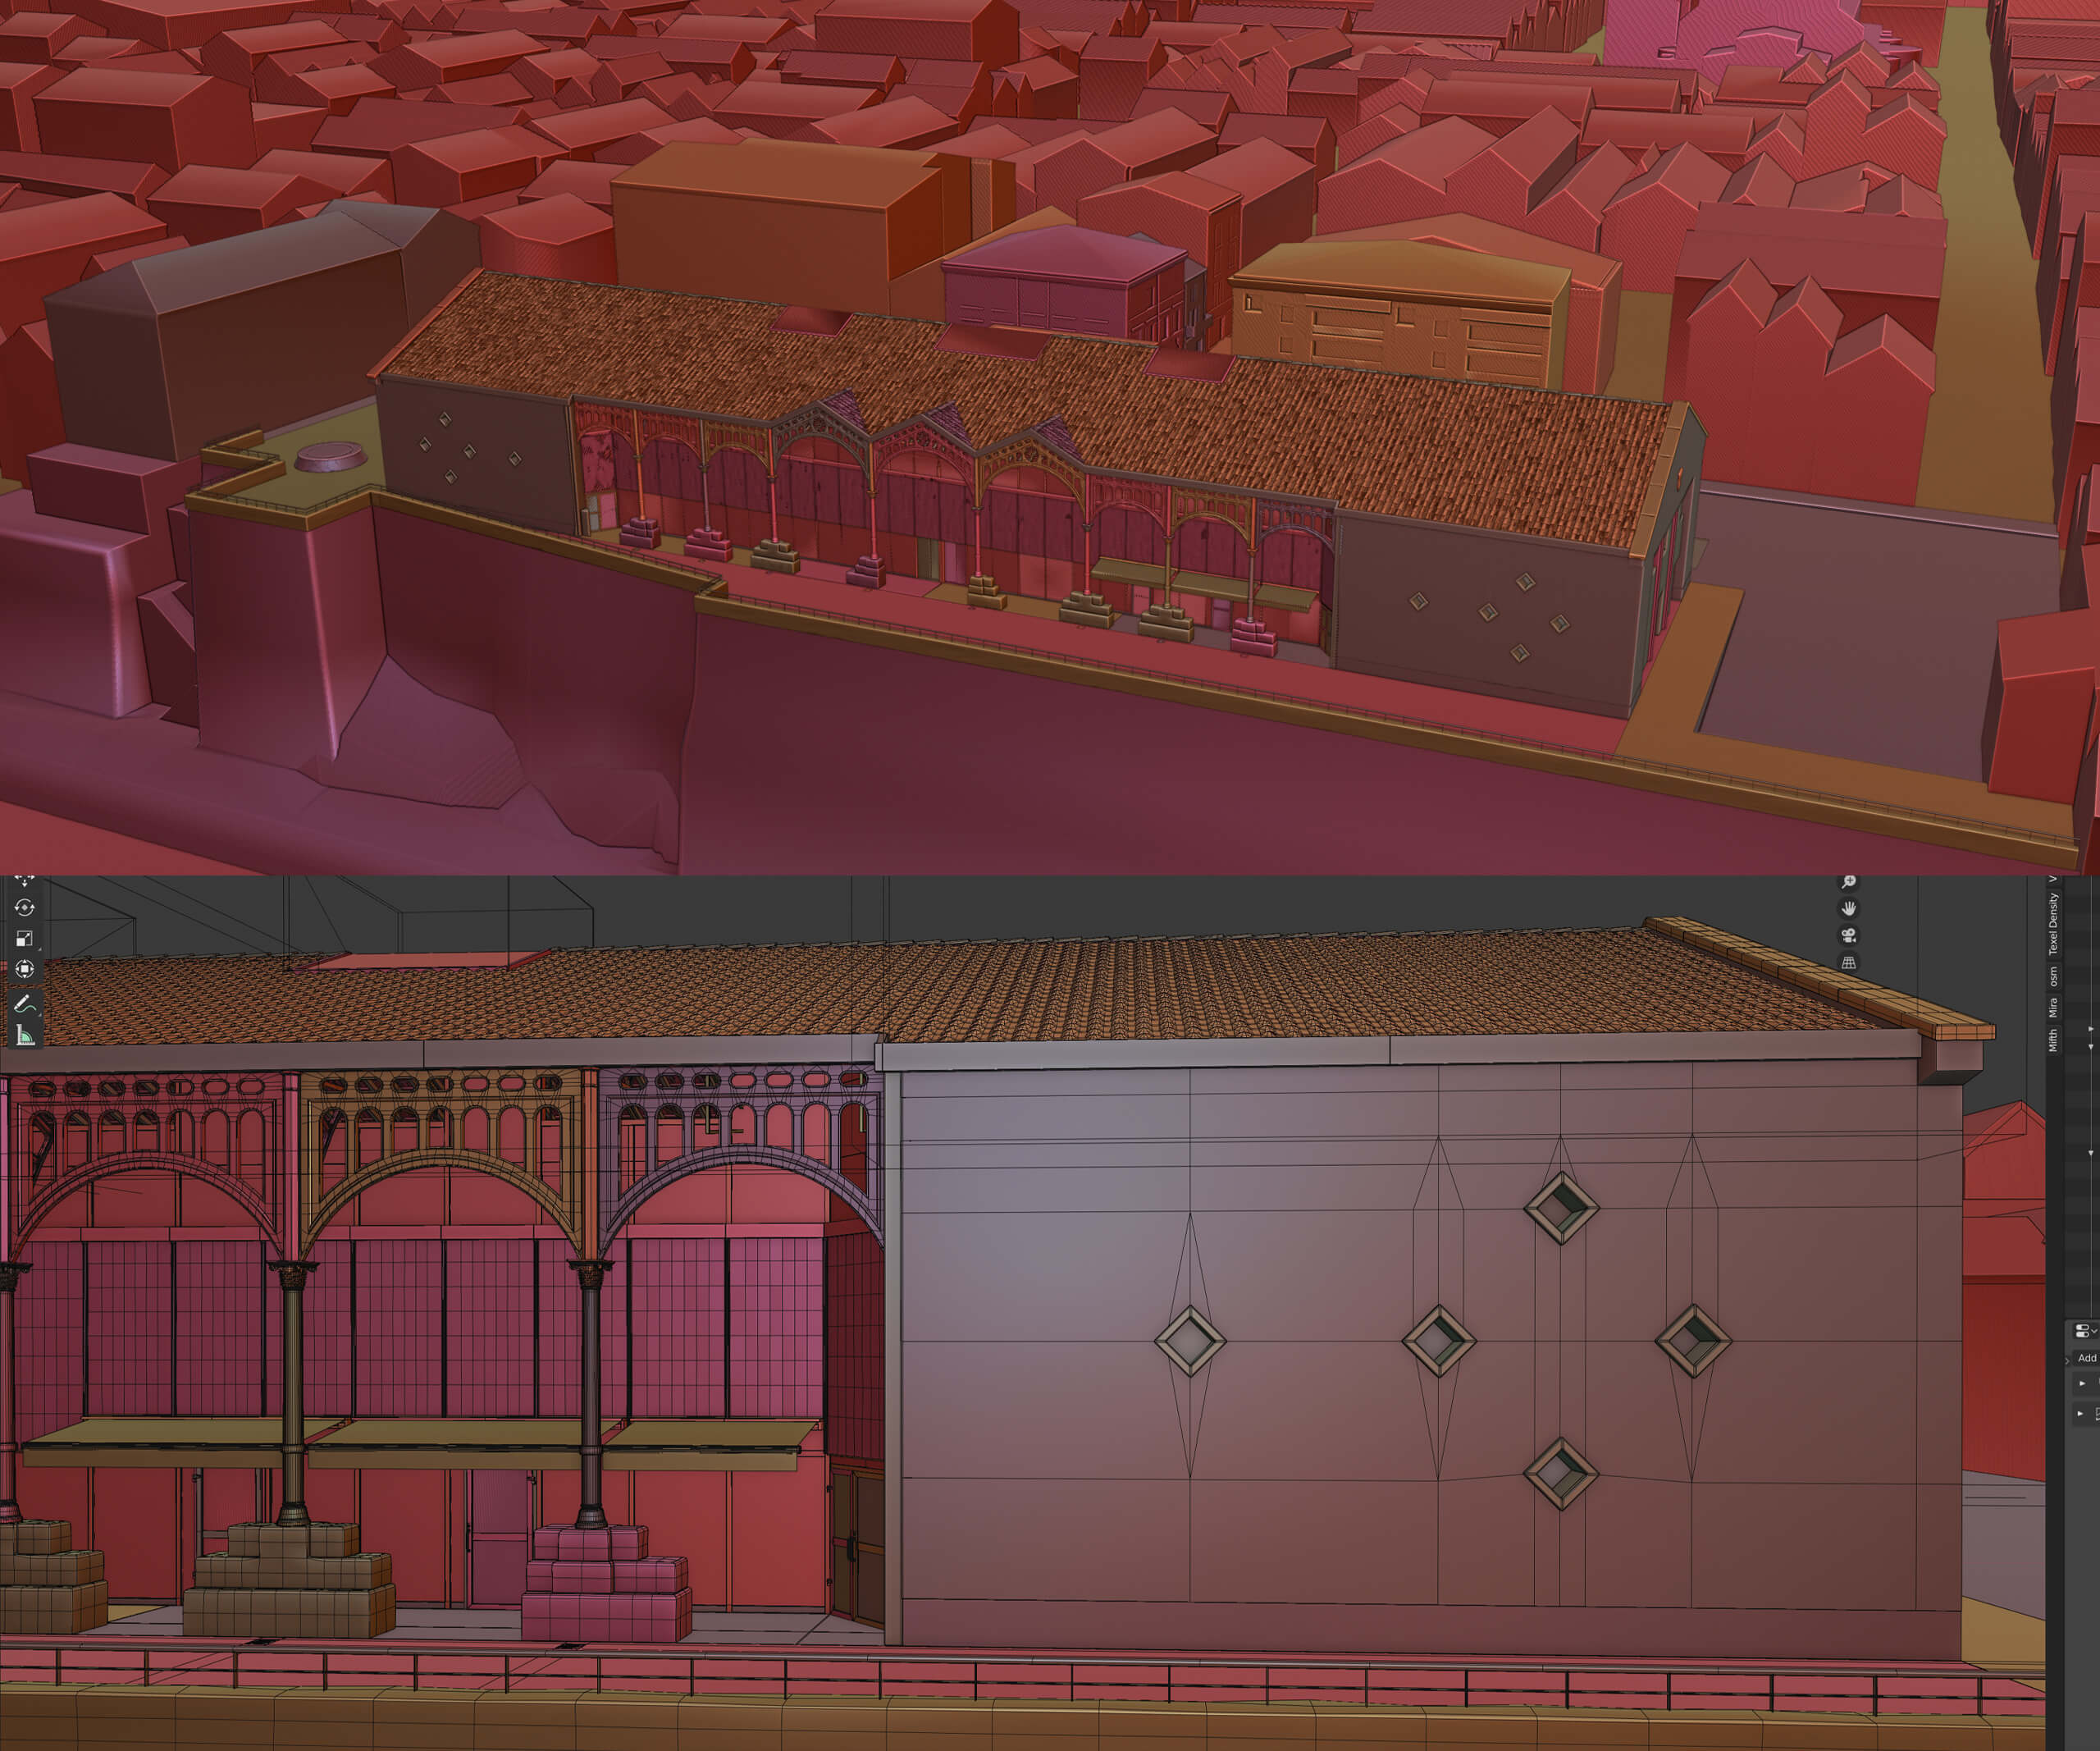
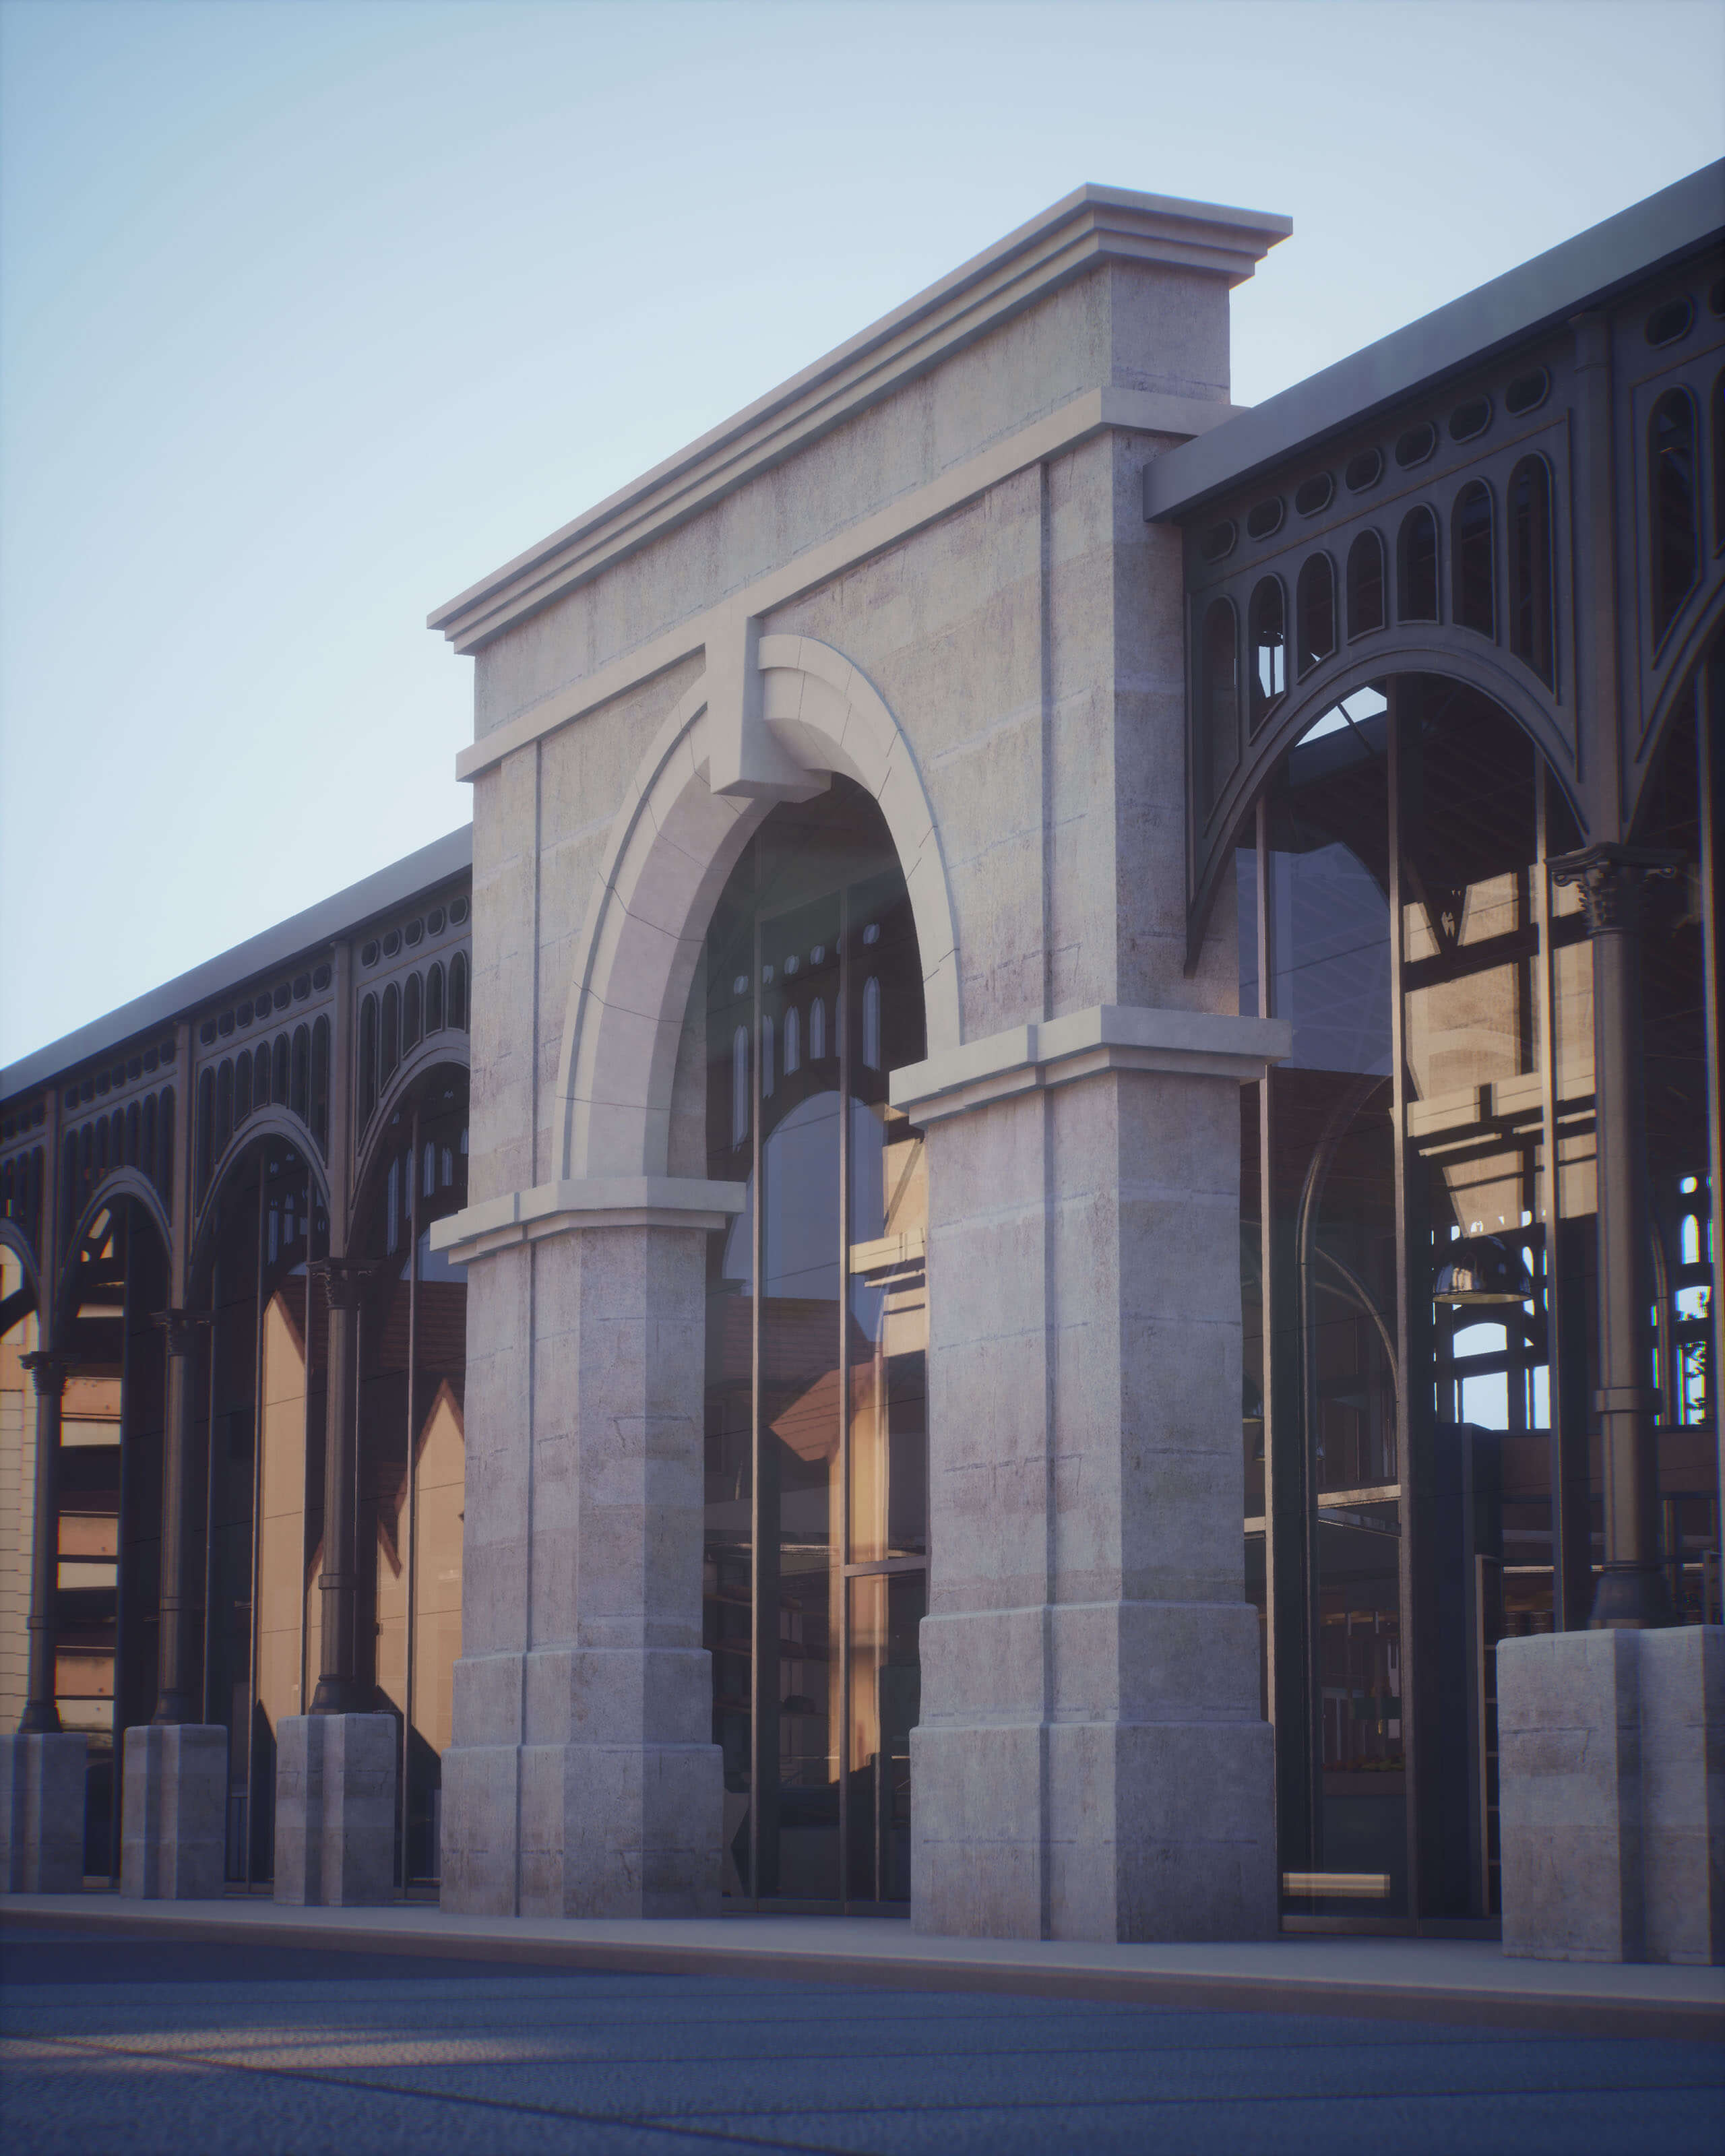
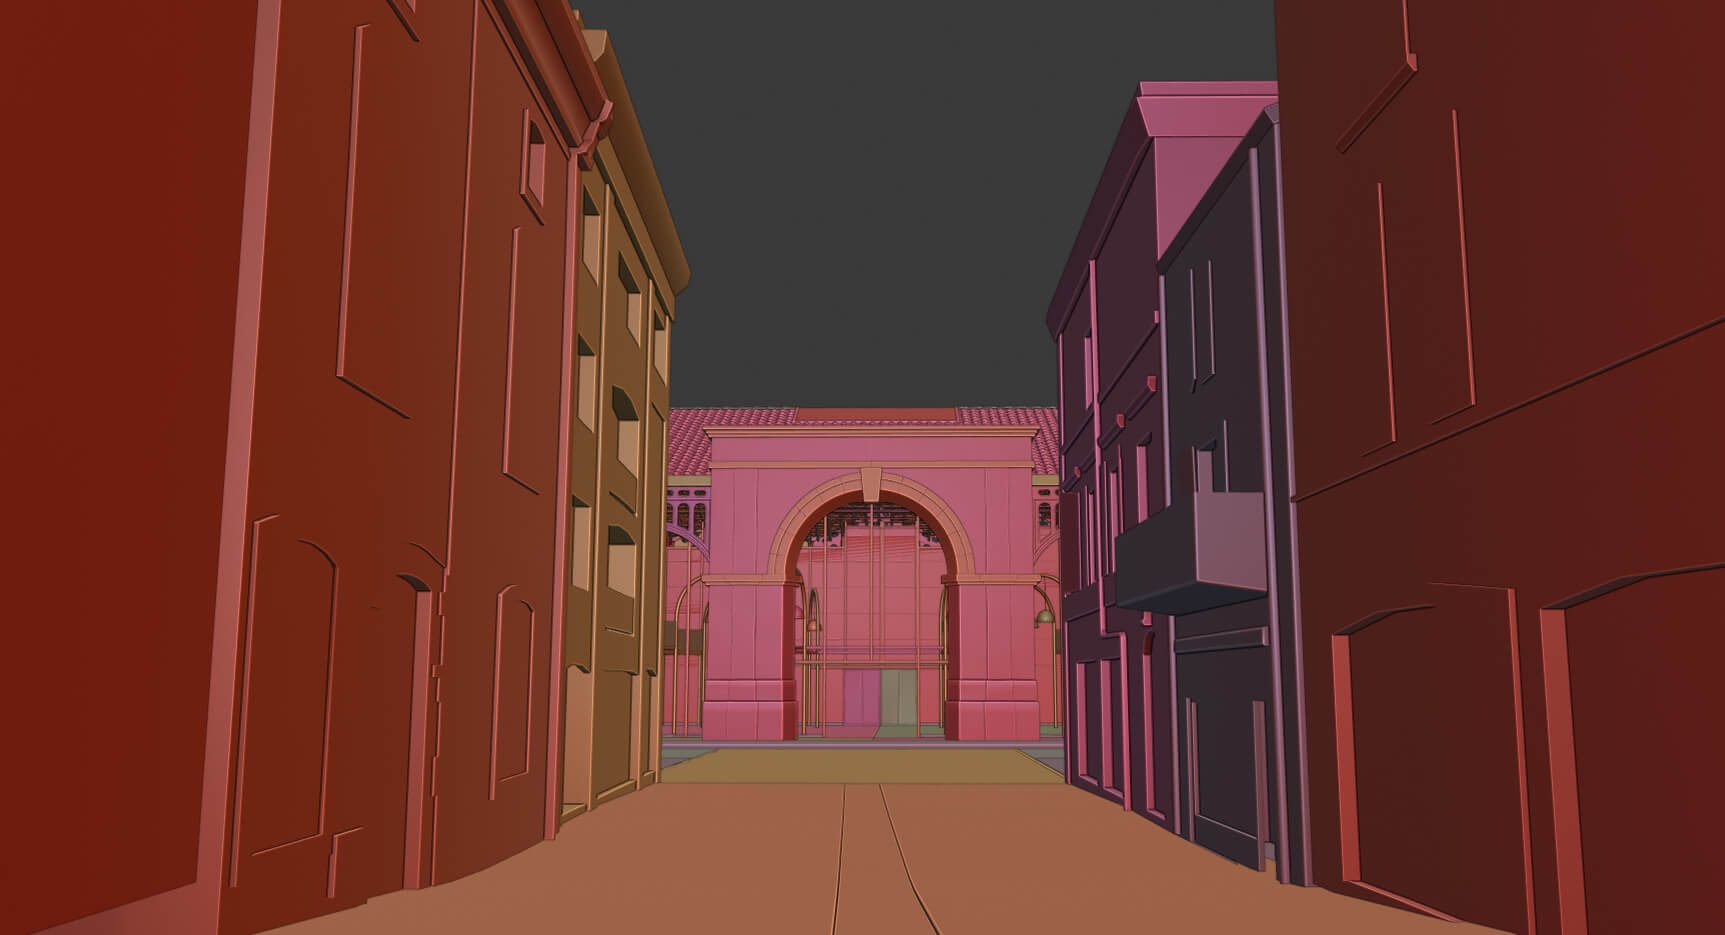
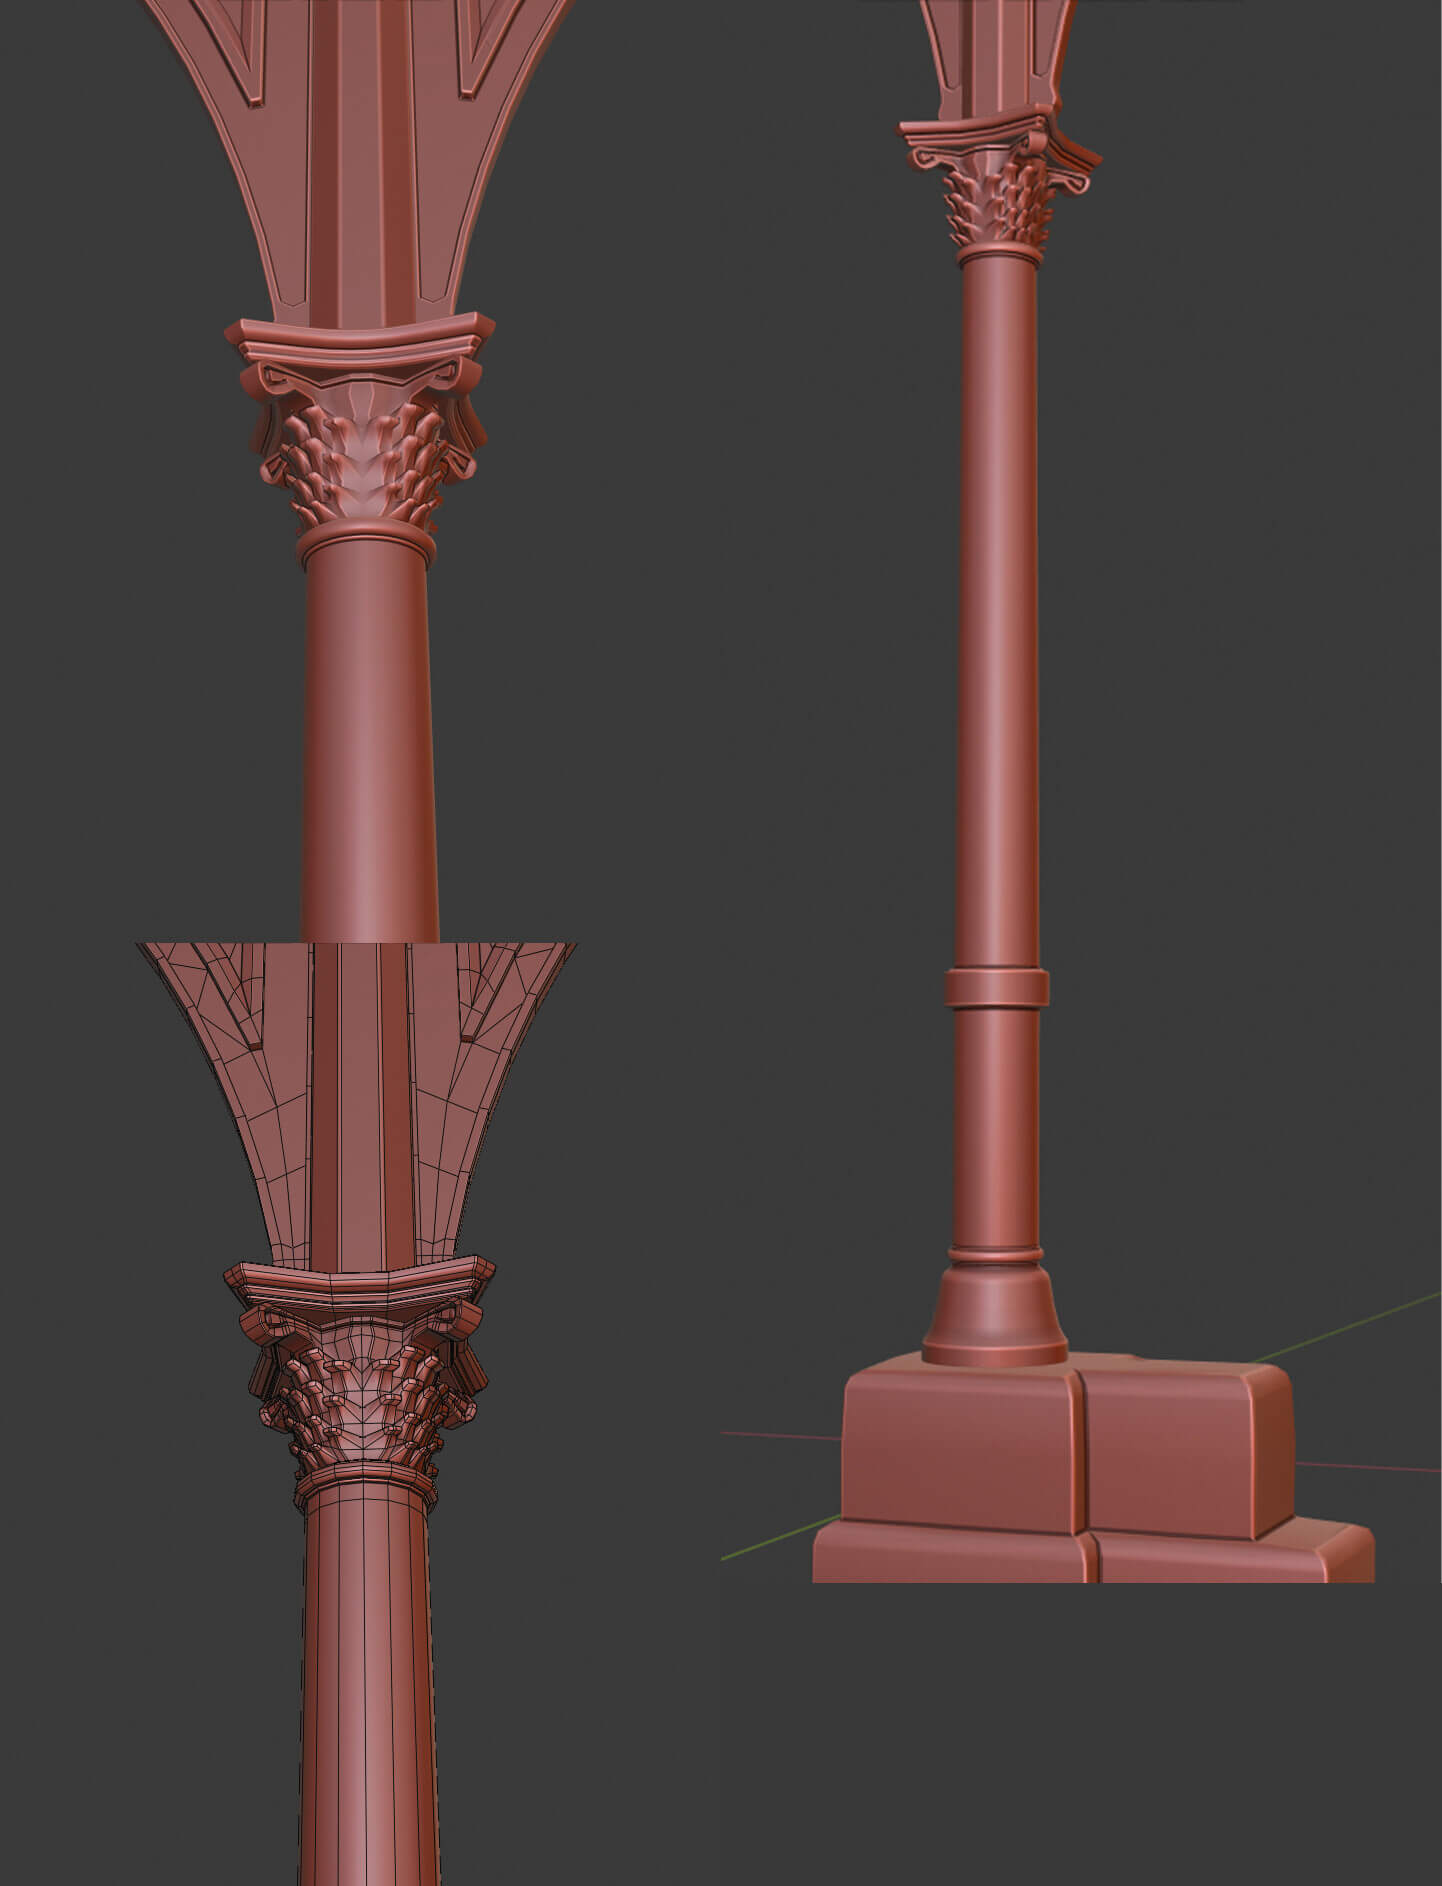
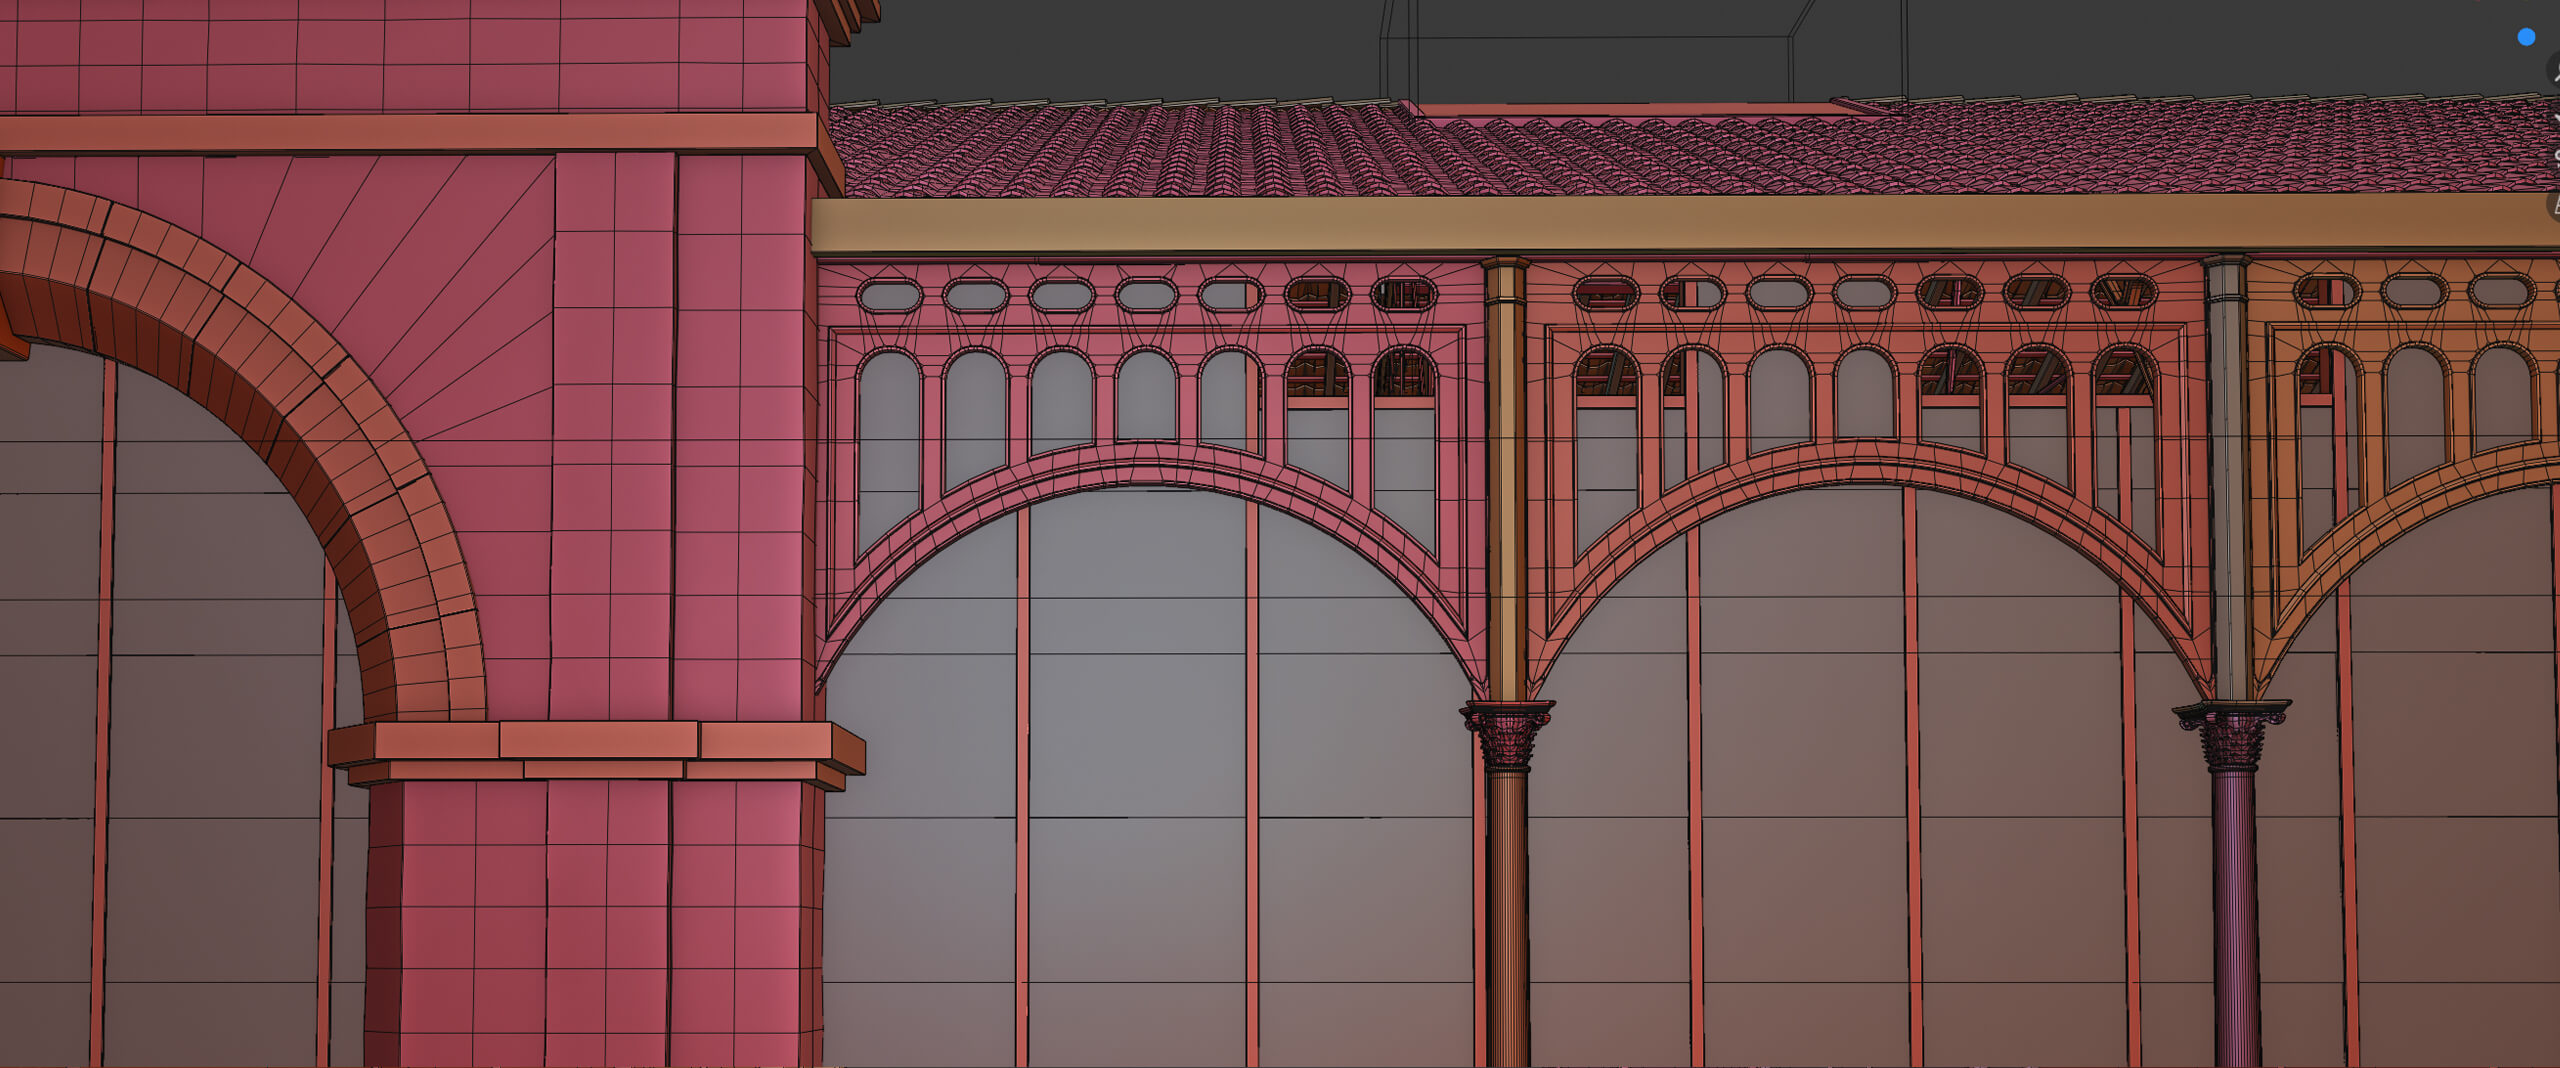
I modeled all of the primary architectural elements, including the building, roof, arches, fixtures, HVAC system, and surrounding site, as well as the original steel columns and structures, going into detail with the moldings and joint fittings and then bringing back the primary entrance, which had long been demolished, an imposing stone archway based off of the original design from the 18th century.
Every stand was made from the poorly optimized Sketchup file, which was essentially completely re-modeled aside from a few less troublesome elements.
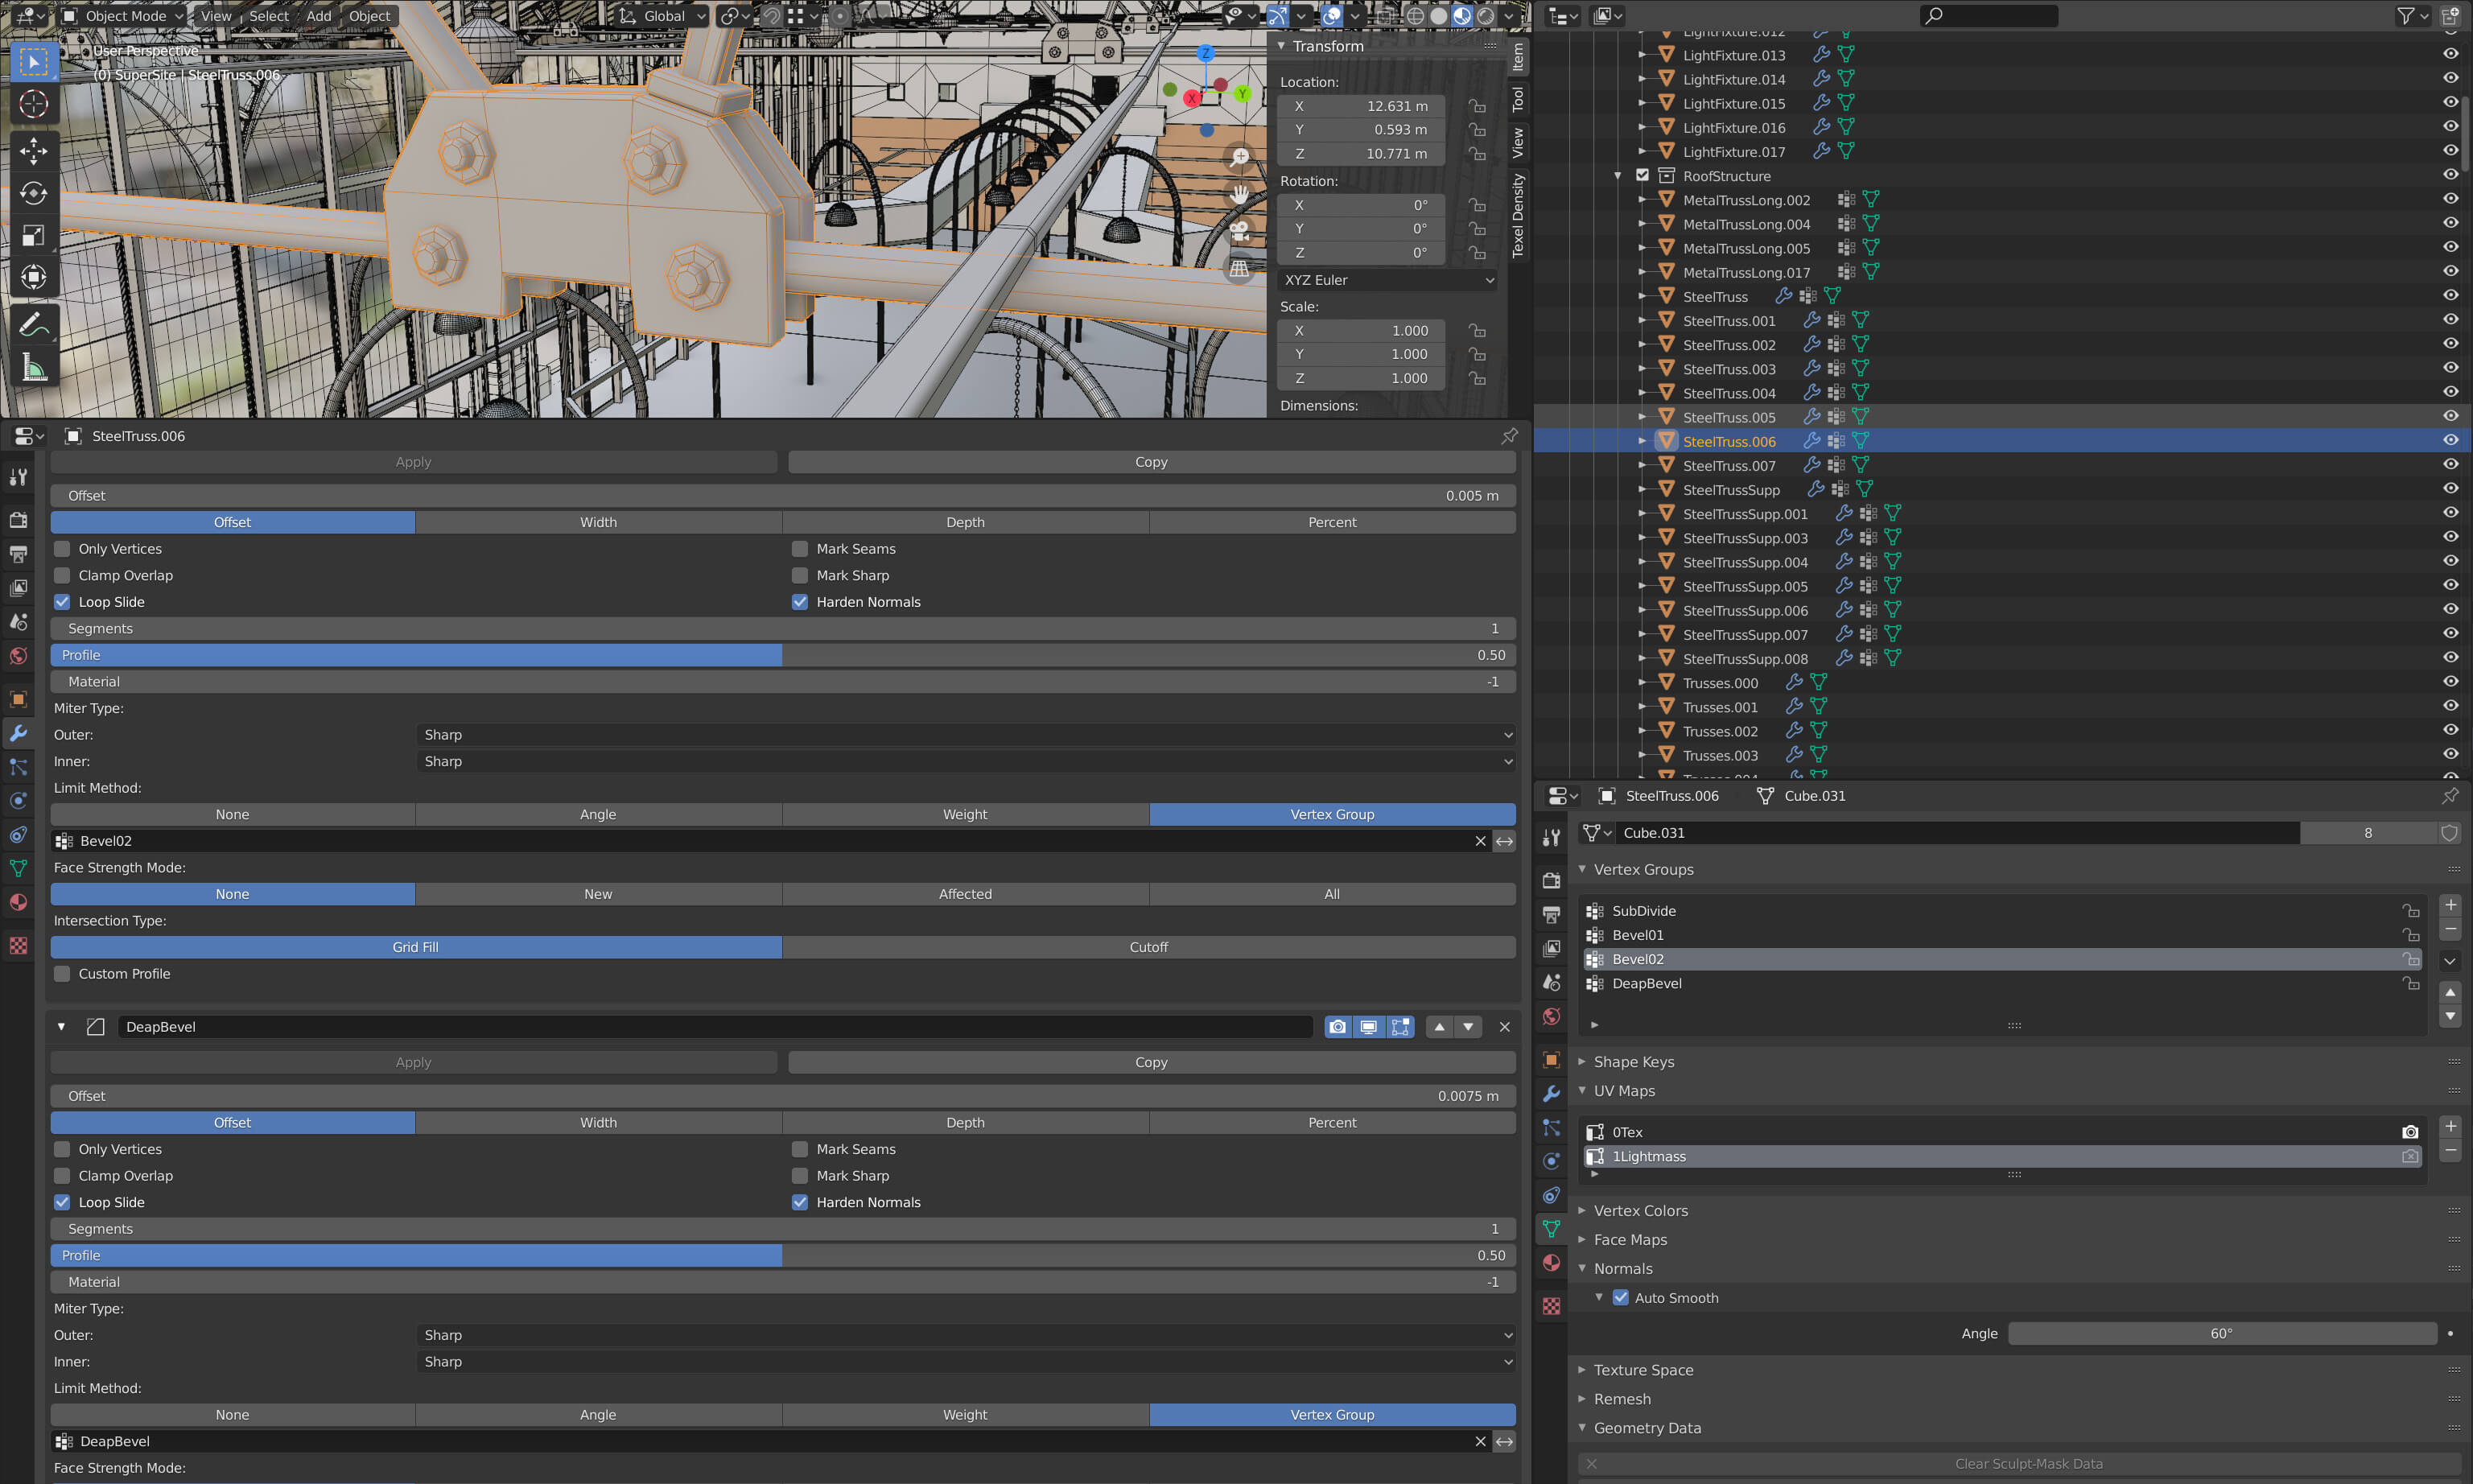
It was a joy taking full advantage of the new 2.8 version of Blender. The new interface and
viewport rendering as well as the stability and Outliner. Pretty much all of the assets were configured with a non-destructive workflow. Taking full advantage of things like the Bevel modifier, utilizing weights and vertex groups to keep a clean and dynamic modular pipeline, making my job so much easier, as I could make plenty of hassle-free changes throughout the development process.
All assets were individually UV unwrapped with two channels, a texture map, and a lightmap. The lightmap being necessary for light baking in Unreal Engine. Many of the plants were from my library. Some trees, cars, and several food items were from the Epic marketplace.
(Click to enlarge)
(Click to enlarge)
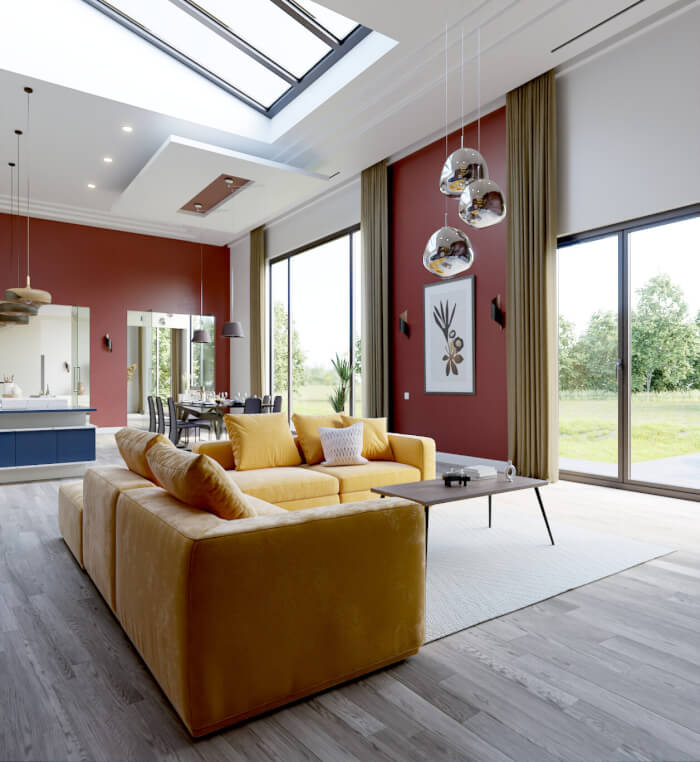
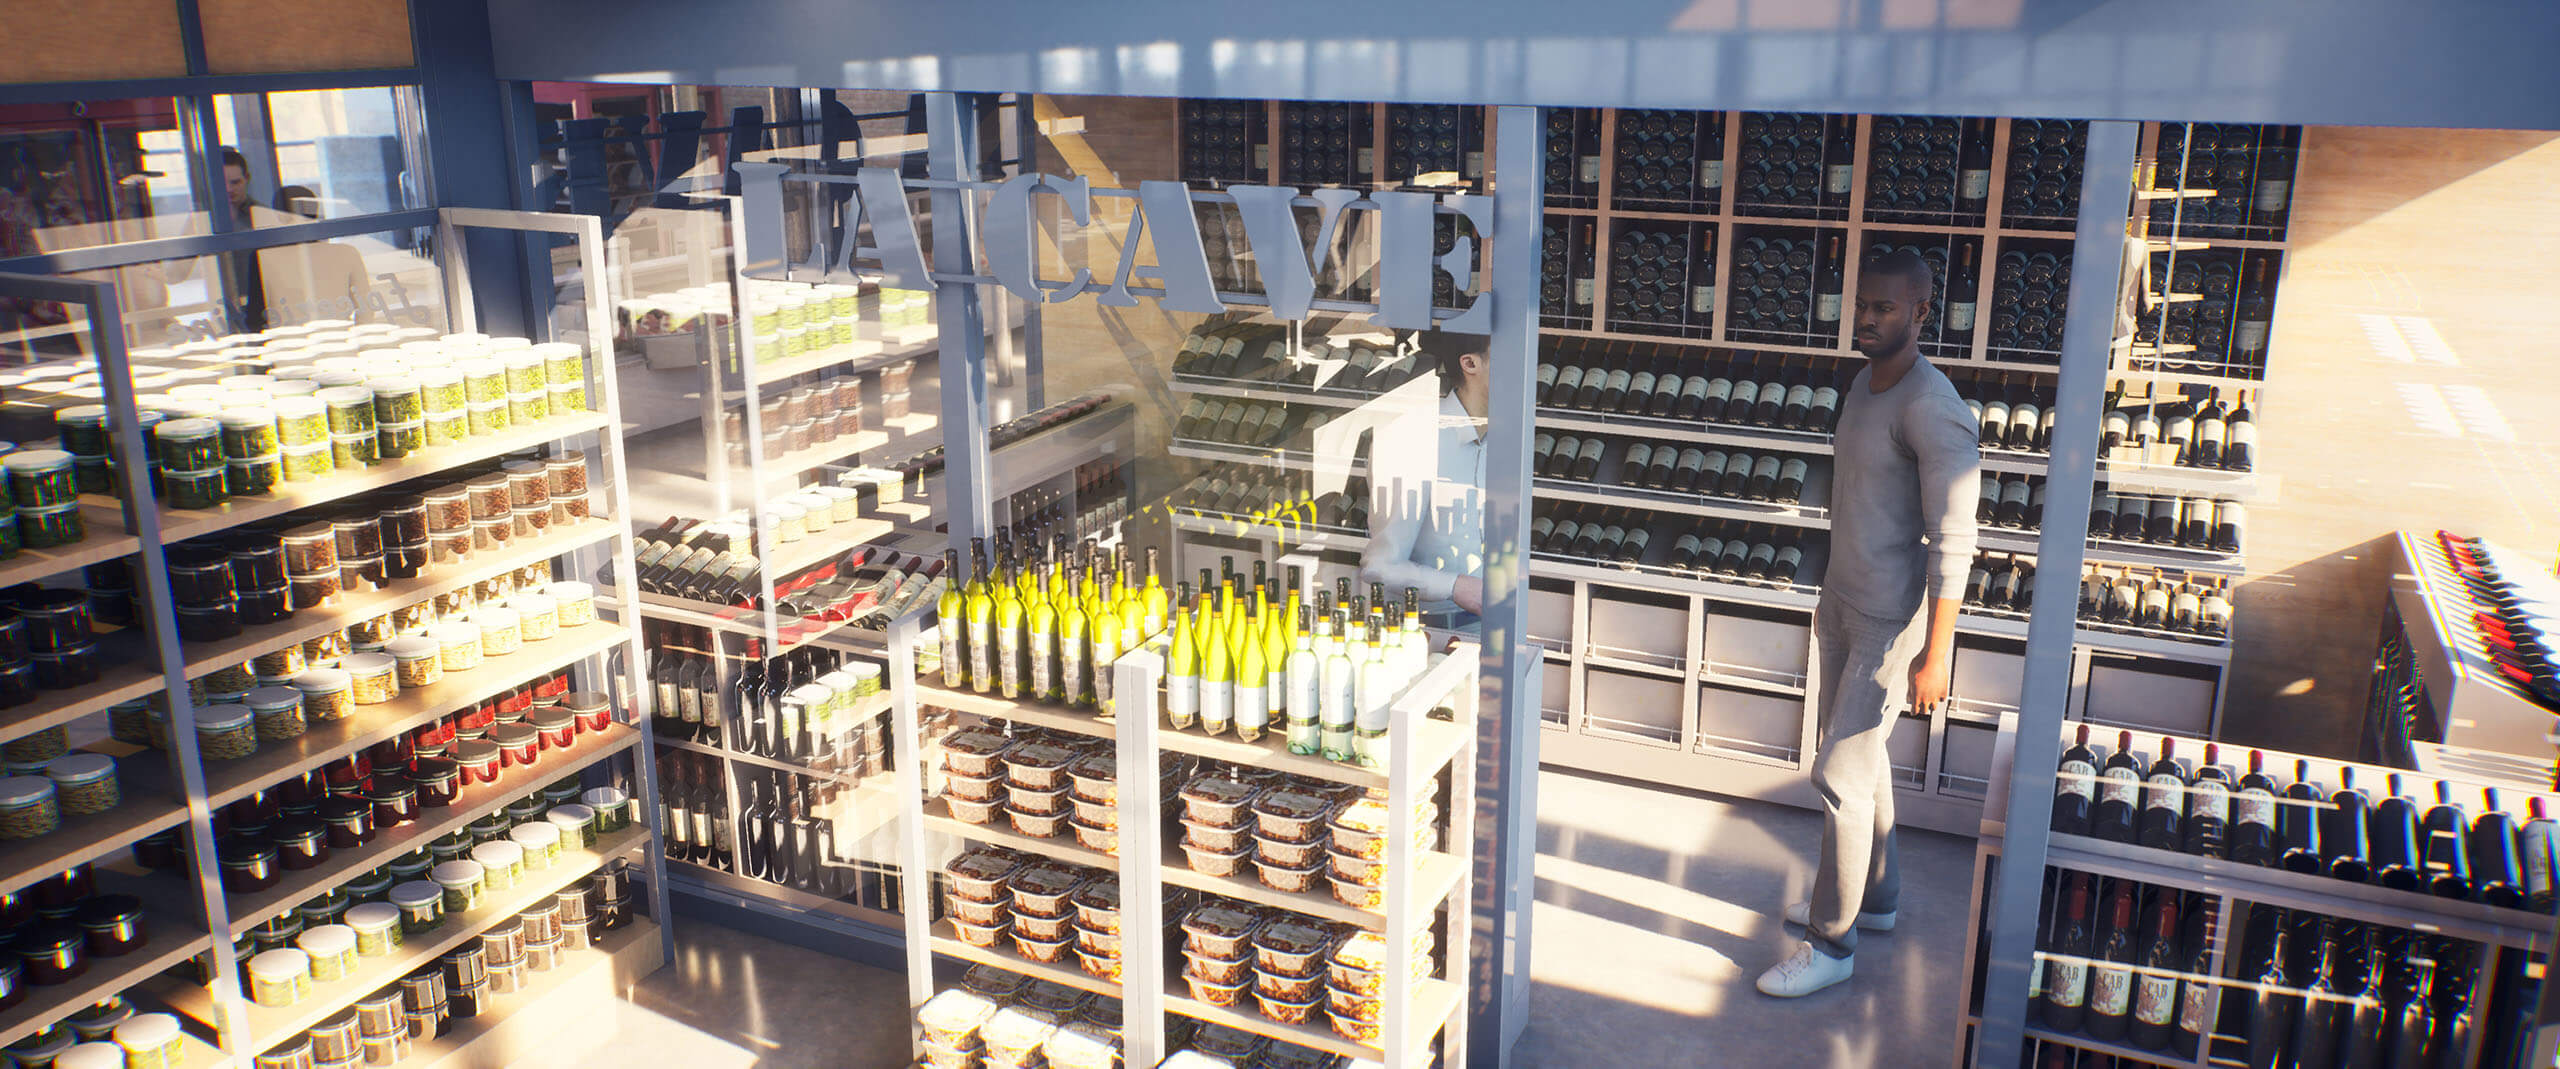
What can you tell us about the interior design (Layouts, materials, and props)? Did you have to create it yourself?
The interior was directly translated from the intended designs by the architect. I was able to take liberties with the choice of materials, which made it easier to control the film’s direction when taking into account the shot composition and color theory. The stands were still being finalized and were wildly inconsistent throughout the development. It was a challenge to making them feel cohesive.
Most of the assets found in the stands were brought into Blender from the same SketchUp file, a painful process of long export times, cleaning up meshes/inverted normals, as well as hundreds of materials to catalog and convert, all of which was necessary due to time constraints. I would have loved to re-model these particular elements, but the layout and shear variety would not have been possible considering the film’s deadline.
(Click to enlarge)
(Click to enlarge)
(Click to enlarge)
How long did it take from start to finish?
Usually, every project I do is a learning process as I like to take the opportunity to learn new techniques. I worked on other projects in parallel, so I believe it must have taken about two months to complete over four months. During the process, I had delivered several pre-viz demonstrations to the architect, validating the pacing and camera work of the film.
What hardware did you use to render? Can you share some render times?
The project was put together in UE4, during the beginning of the process I used a GTX 1070 in my workstation PC and the mobile equivalent of a 1070 in my laptop. As the project progressed and I used more RTX ray-tracing features, I eventually had to get a dedicated RTX card, a 2070.
It was great having all these GPU’s as I would use a special build of the UE4’s Lightmass renderer (for baked lighting) Luoshuang’s GPUlightmass.
(Click to enlarge)
Making complex renders a breeze, as I was able to solve the full lighting scenario in less than a day. Although being limited by the GPU’s memory of 8 gigs, I had to split up the project into different parts and bake them separately using a proxy workflow. This was similar to how a video game has different levels stitched together.
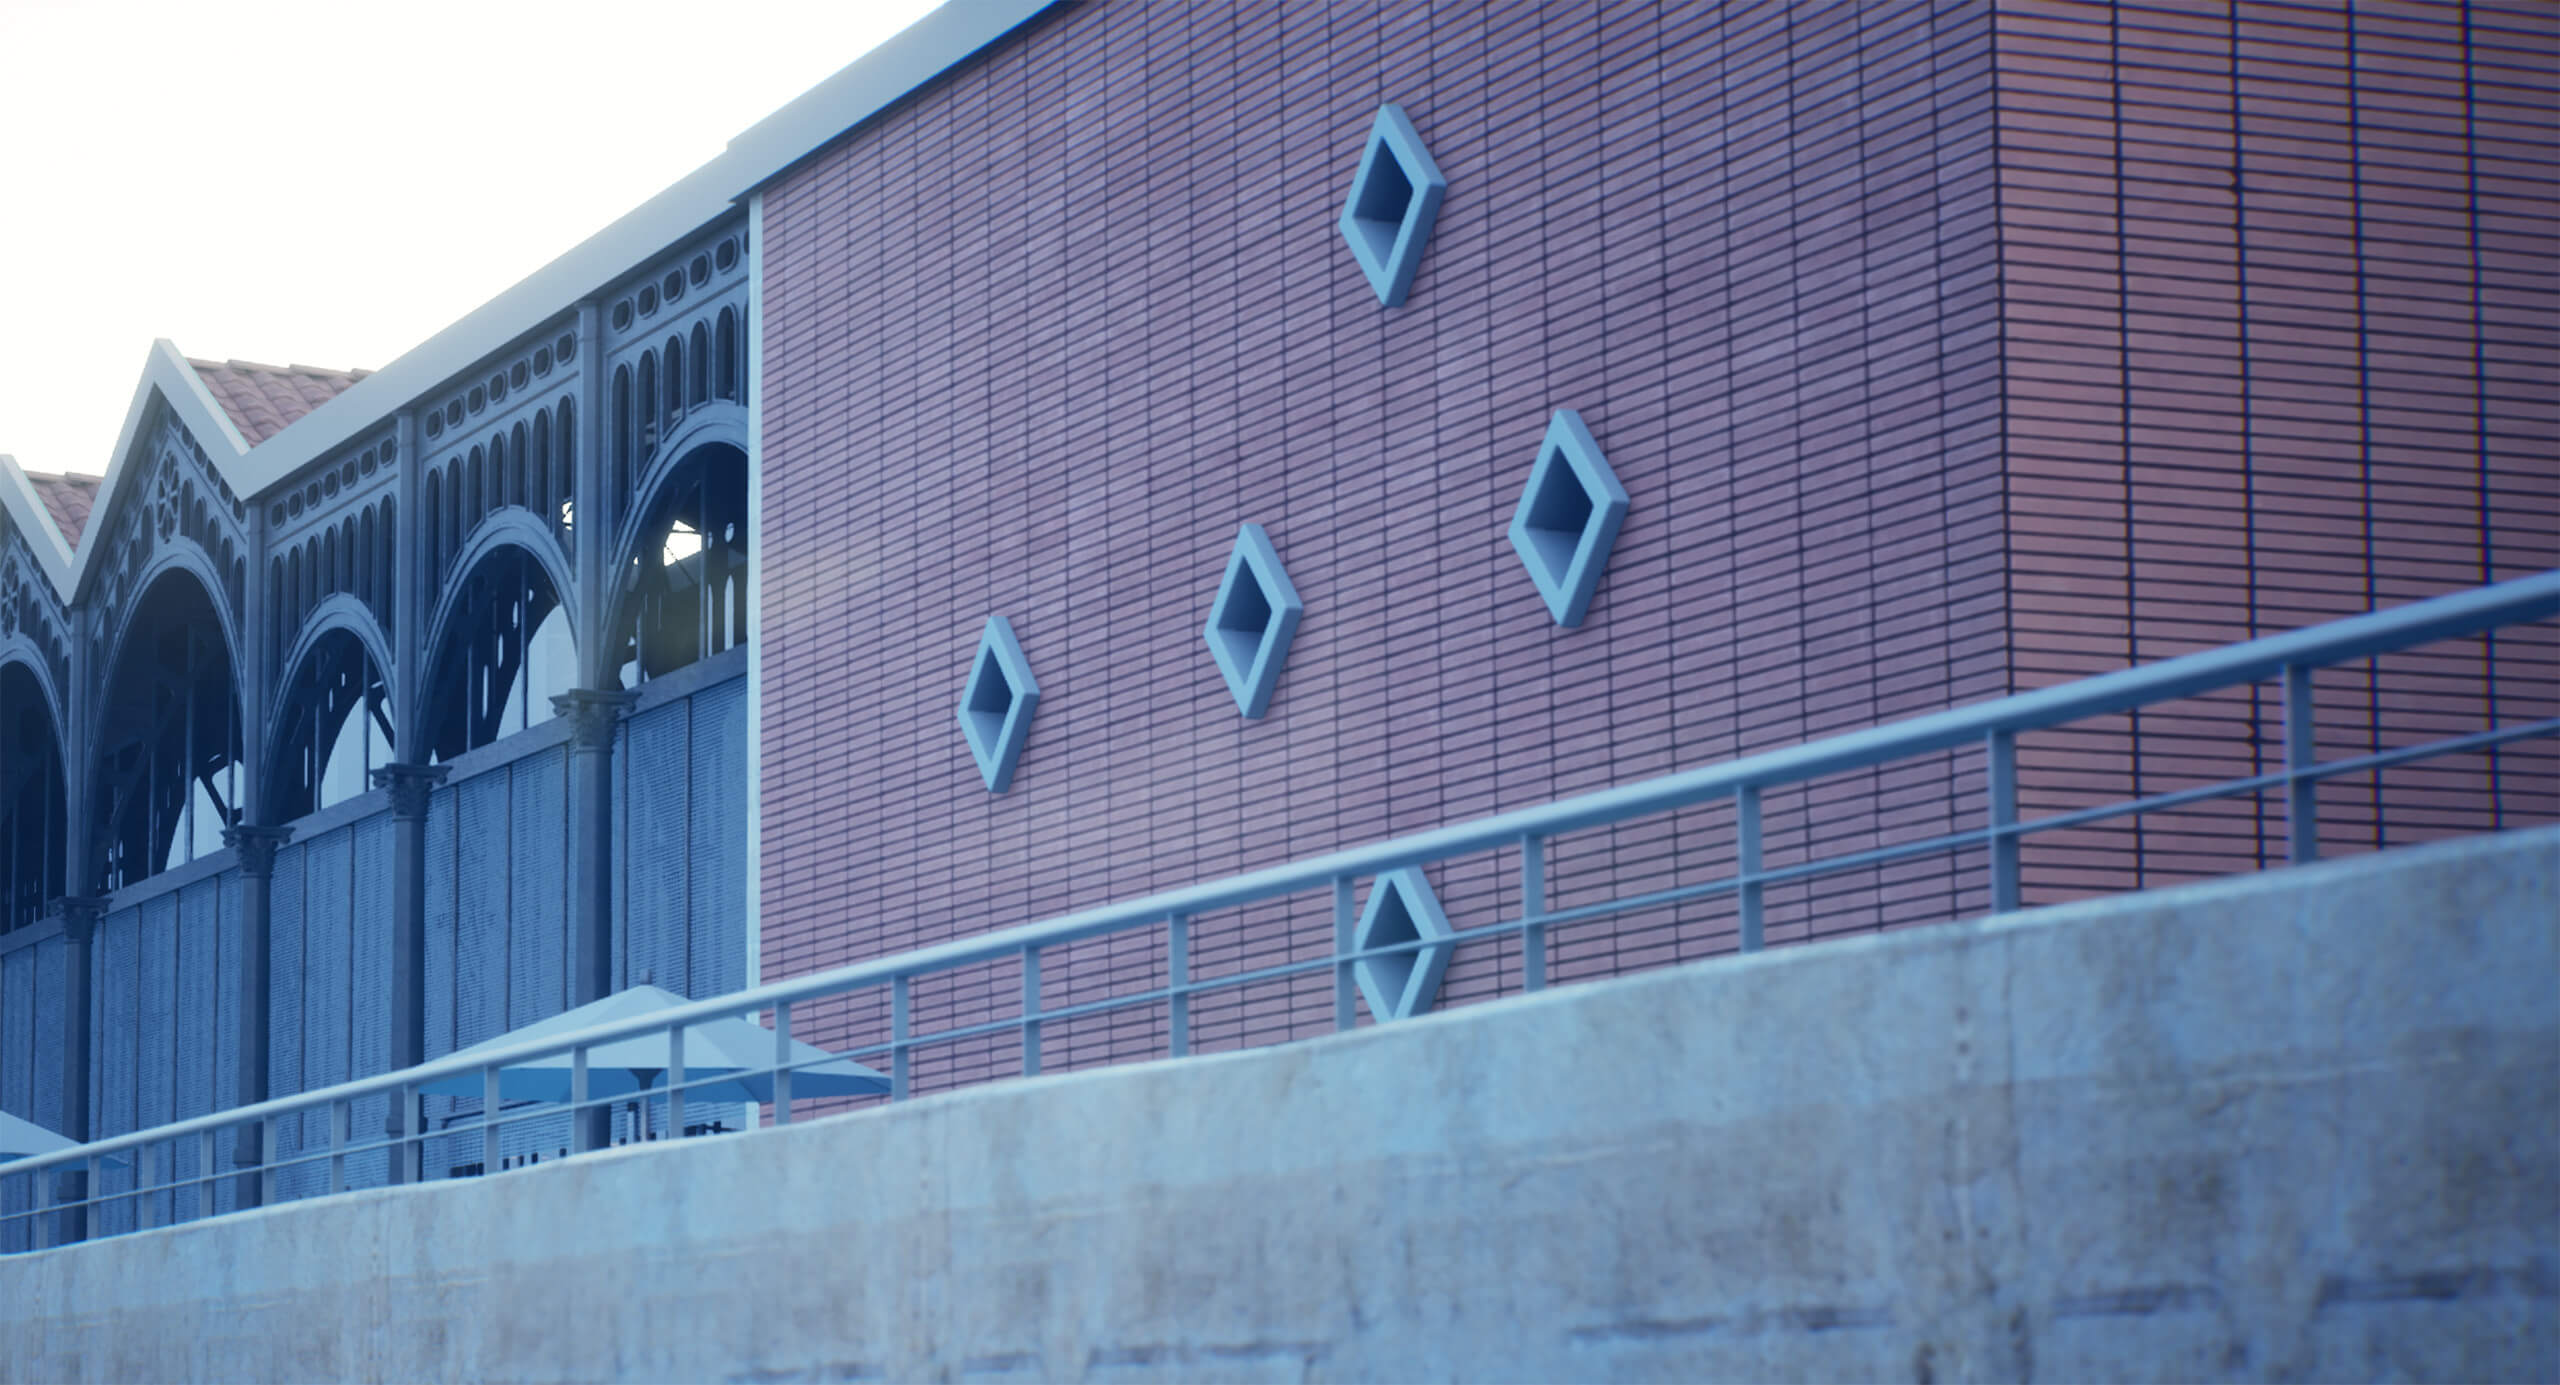
The final result was a hybrid approach, using a high-quality light bake for the ambient lighting and dynamic global illumination from the sun using RTX. This was still an early build of the RTX feature set, so some of the ray-traced reflections were inconsistent, yet some very convincing ray-traced shadows were made.
(Click to enlarge)
(Click to enlarge)
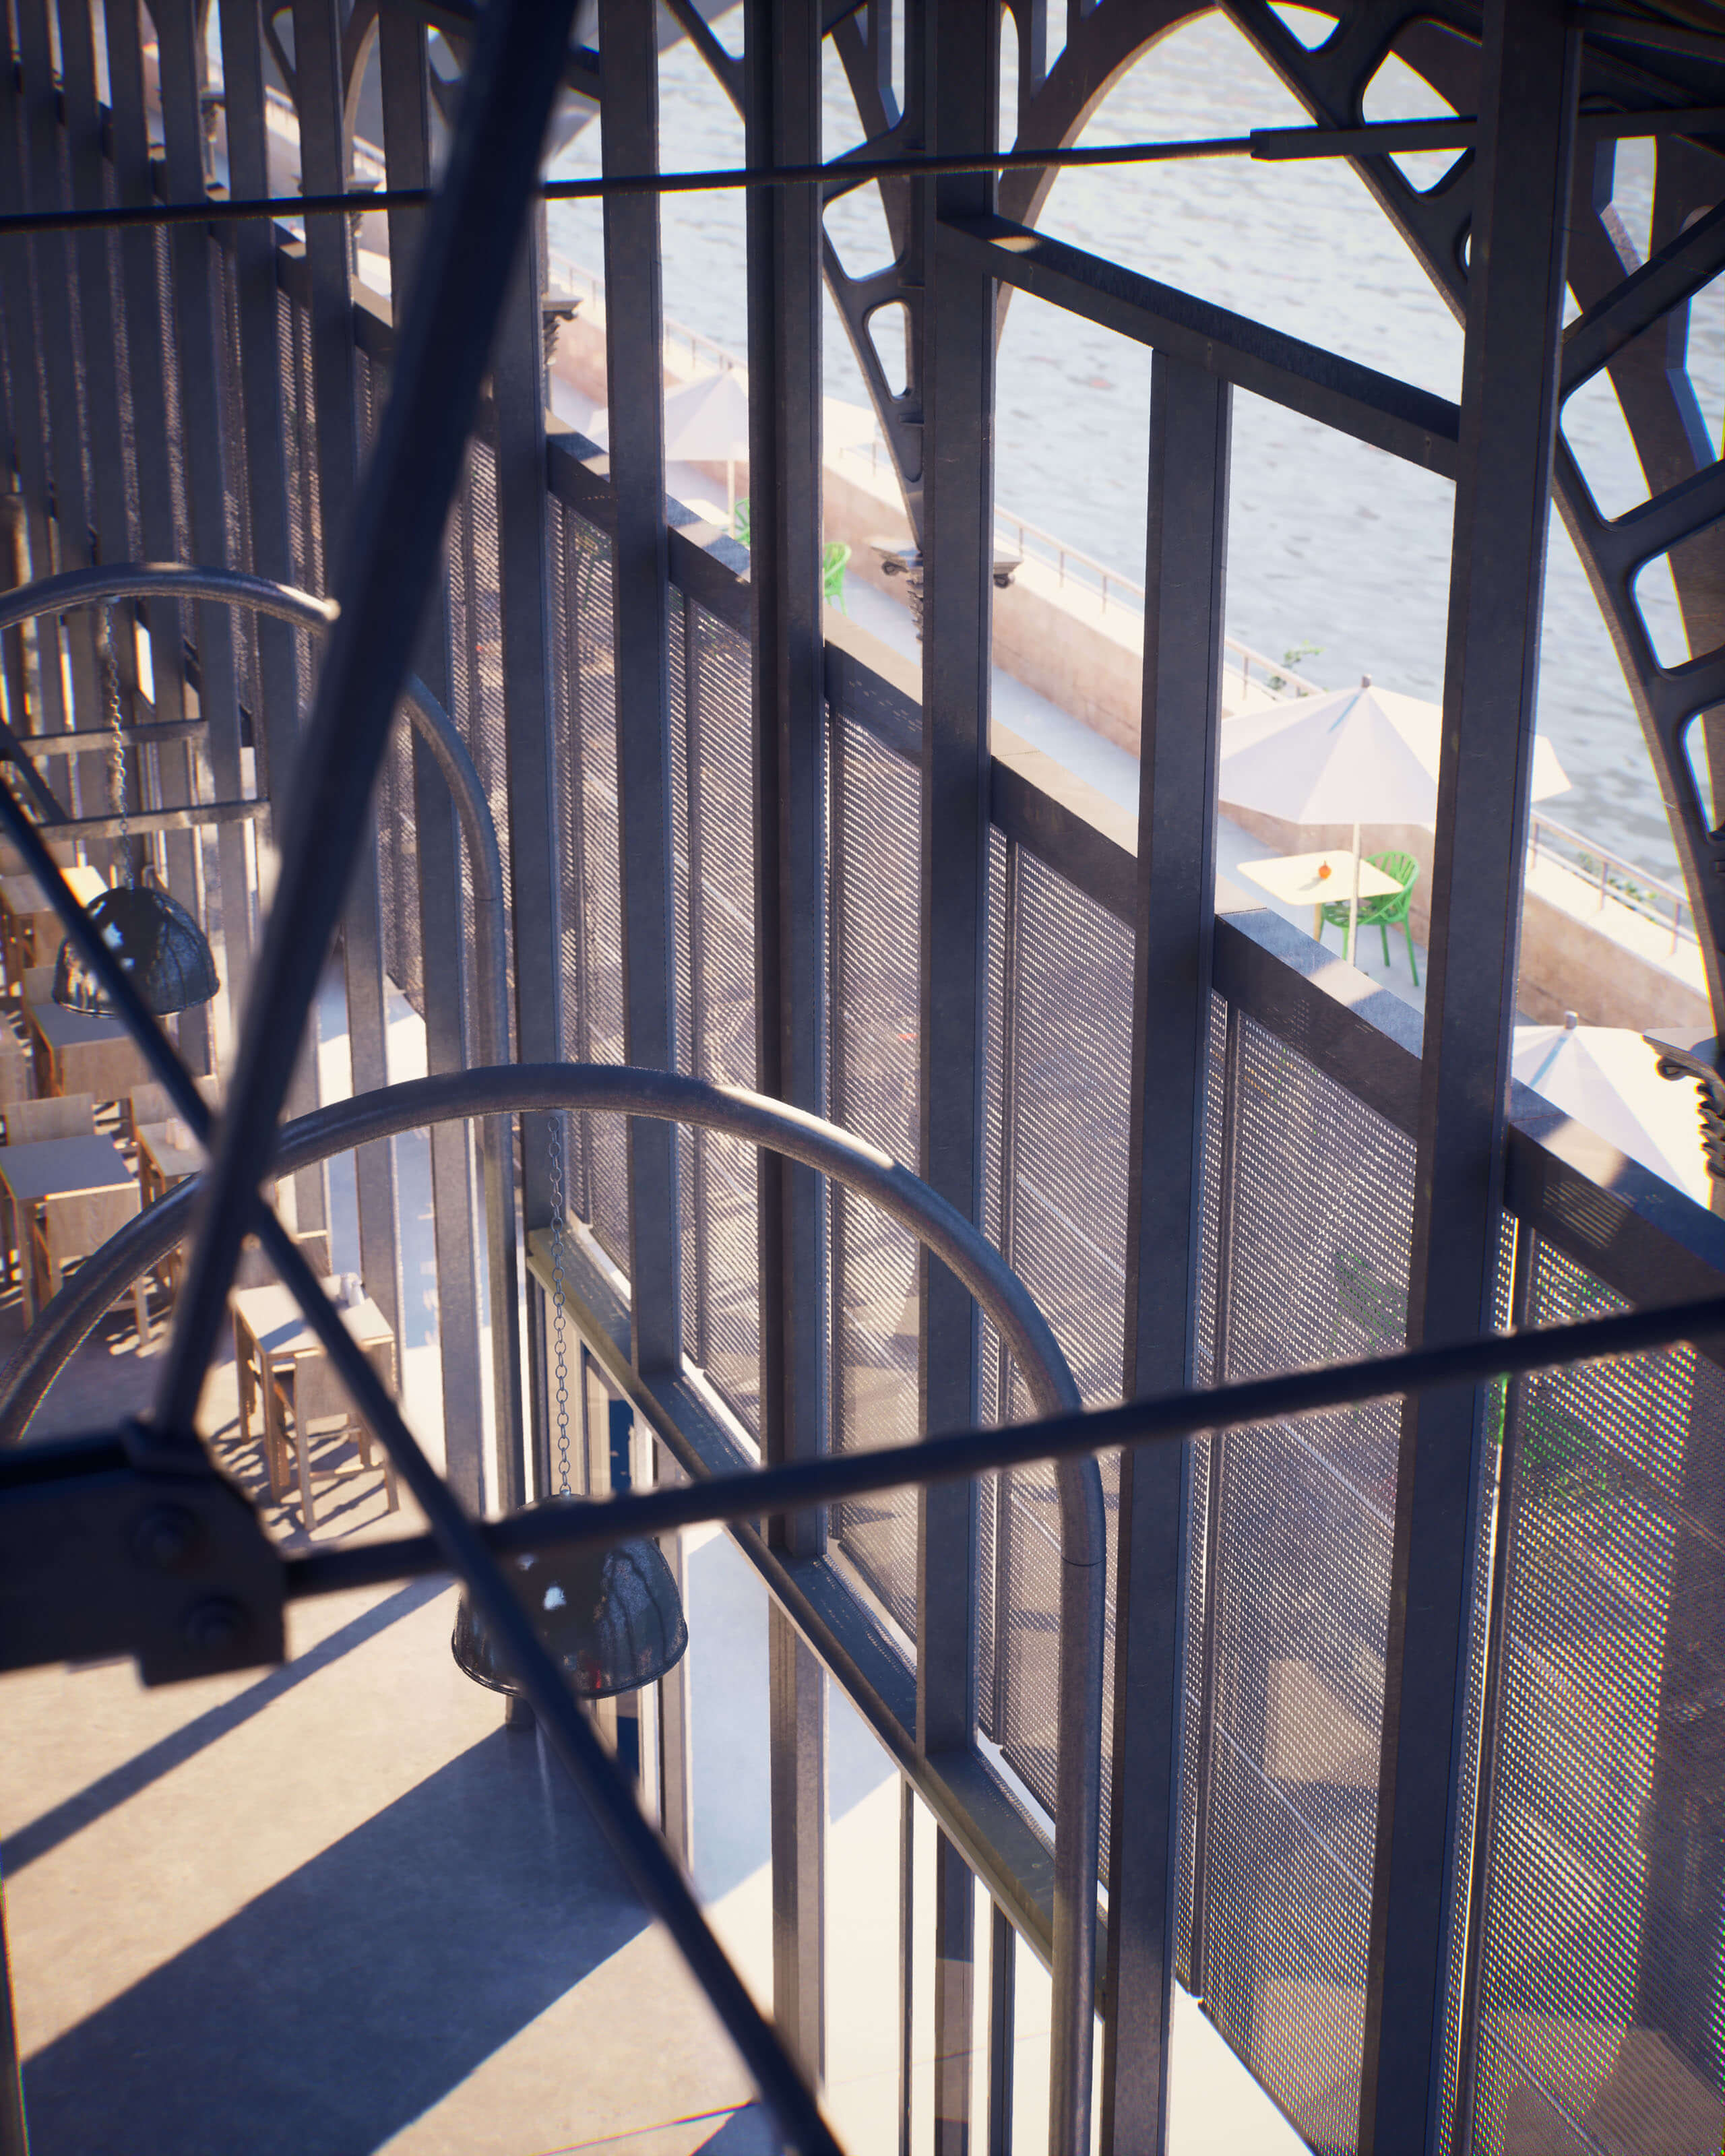
Can you share any details about the lighting process?
The general mood I was going for was something clear and grounded, making a warm atmosphere that is welcoming and slightly nostalgic.

(Click to enlarge)
(Click to enlarge)
It has been great discovering Eevee, which was essential to the preview development, giving me a clear representation of how the assets would interact with the lighting and materials in UE4. Several shots took advantage of a custom post-processing material that would overlay the AO channel from the buffer, similar to a compositing workflow found in Nuke or After Effects. This would provide a boost in contrast without blowing out the highlights.
So, in order to create a setup that takes advantage of both dynamic lighting and baked lighting, here is what I learned from the process. I split this up into two parts:
Part I – Lightmass
- Use an overcast HDRI Image, something that is suitable for the mood and environment of the project. Although having a little bit of the sun can provide some interesting variations in the shadows,
- In the “BaseLightmass” .ini found in (UE_4.xx/Engine/Config), setting the
“bUseFilteredCubemapForSkylight” to “false” makes for a more diffuse and soft ambient light bake when using an HDRI. I don’t recommend always doing this. It depends on the look you are going for. - In the World settings for the Lightmass options, it is a good idea to un-check the “Compress
Lightmaps” option to “false” for better quality lightmaps. In all my tests, this has had a negligible impact on performance contrary to what is stated in the documentation. - There needs to be a good balance of breaking up the geometry into “kits” when considering the texel density of the lightmaps. I try to keep everything at about 512 per asset, only going as far as 1024 or 2048 for very detailed and complex geometries. It’s important to avoid having high-rez lightmaps as it can have a serious impact on real-time performance.
Part II – RTX
When it comes to RTX lighting, it was pretty straightforward, here are the settings I used
- Ambient Occlusion = Radius set to 60
- Ray-traced Ambient Occlusion = 32 samples
- Ray-traced GI; Final Gather = 32 samples, “r.RayTracing.GlobalIllumination.MaxRayDistance
2000” - Ray-traced Reflections = 2 bounce, 4 samples , “r.RayTracing.Reflections.Hybrid 1” (with
supporting reflection captures) - Ray-traced Translucency to ON = 3 rays, disable refraction
The primary direct light (sun) has an intensity varying from 3 to 10, and I defiantly recommend keeping the “Samples Per Pixel” at 1, anything higher has strange effects on the penumbra.

(Click to enlarge)
I notice you created a walk-through animation. How long did it take to produce that animation?
The film itself was produced throughout the development. A simple scenario and storyboard were put together with a mood board supporting the principle shots. The pacing was eventually decided on by choice of music. Having such an iterative workflow with Blender made it easier to communicate with the client, as the project would evolve, and changes to the modeling would modify the direction of the film.
(Click to enlarge)
Did you use any Add-ons or external tools to create the project?
Having the “Texel Density Checker” from Ivan Vostrikov was very helpful. For the surrounding site, I used “Blender-osm(premium)” from Prokitekura for the city layout.
(Click to enlarge)
If you want to share any additional details about the project, feel free to send it!
As these new tools become more and more efficient, and having iterative friction-less features like the Eevee renderer and real-time ray-tracing, it makes producing content for projects a more intuitive and stress-free affair. As well as leveraging these amazing asset libraries, making it easier to flesh out quality visuals and believable environment. Leaving us 3D artists more time to spend with the kids or to work on our extreme Pogo skills. 😉
Thanks again to Patrick Dyer for sharing details about his work. He is currently working at Filma, developing visualization projects. Here is his personal portfolio in ArtStation, where you can check more of his projects.