Furnishing project with Blender Cycles (Profile)
The project profile series of Blender 3D Architect is a collection of articles aiming for feature projects related to architectural visualization. We invite talented artists to share additional details about each project to demonstrate how they approach each stage. And also allow each author to publicize their work among our readers.
How does it work? It is like an interview, where we sent a couple of questions about a project for the artist.
If you want to check previous project profiles, visit this link.
Today, we have a project named Furnishing from digital artist Foppe Smit, which used Blender Cycles to create a detailed visualization of a restaurant design.
(Click to enlarge)
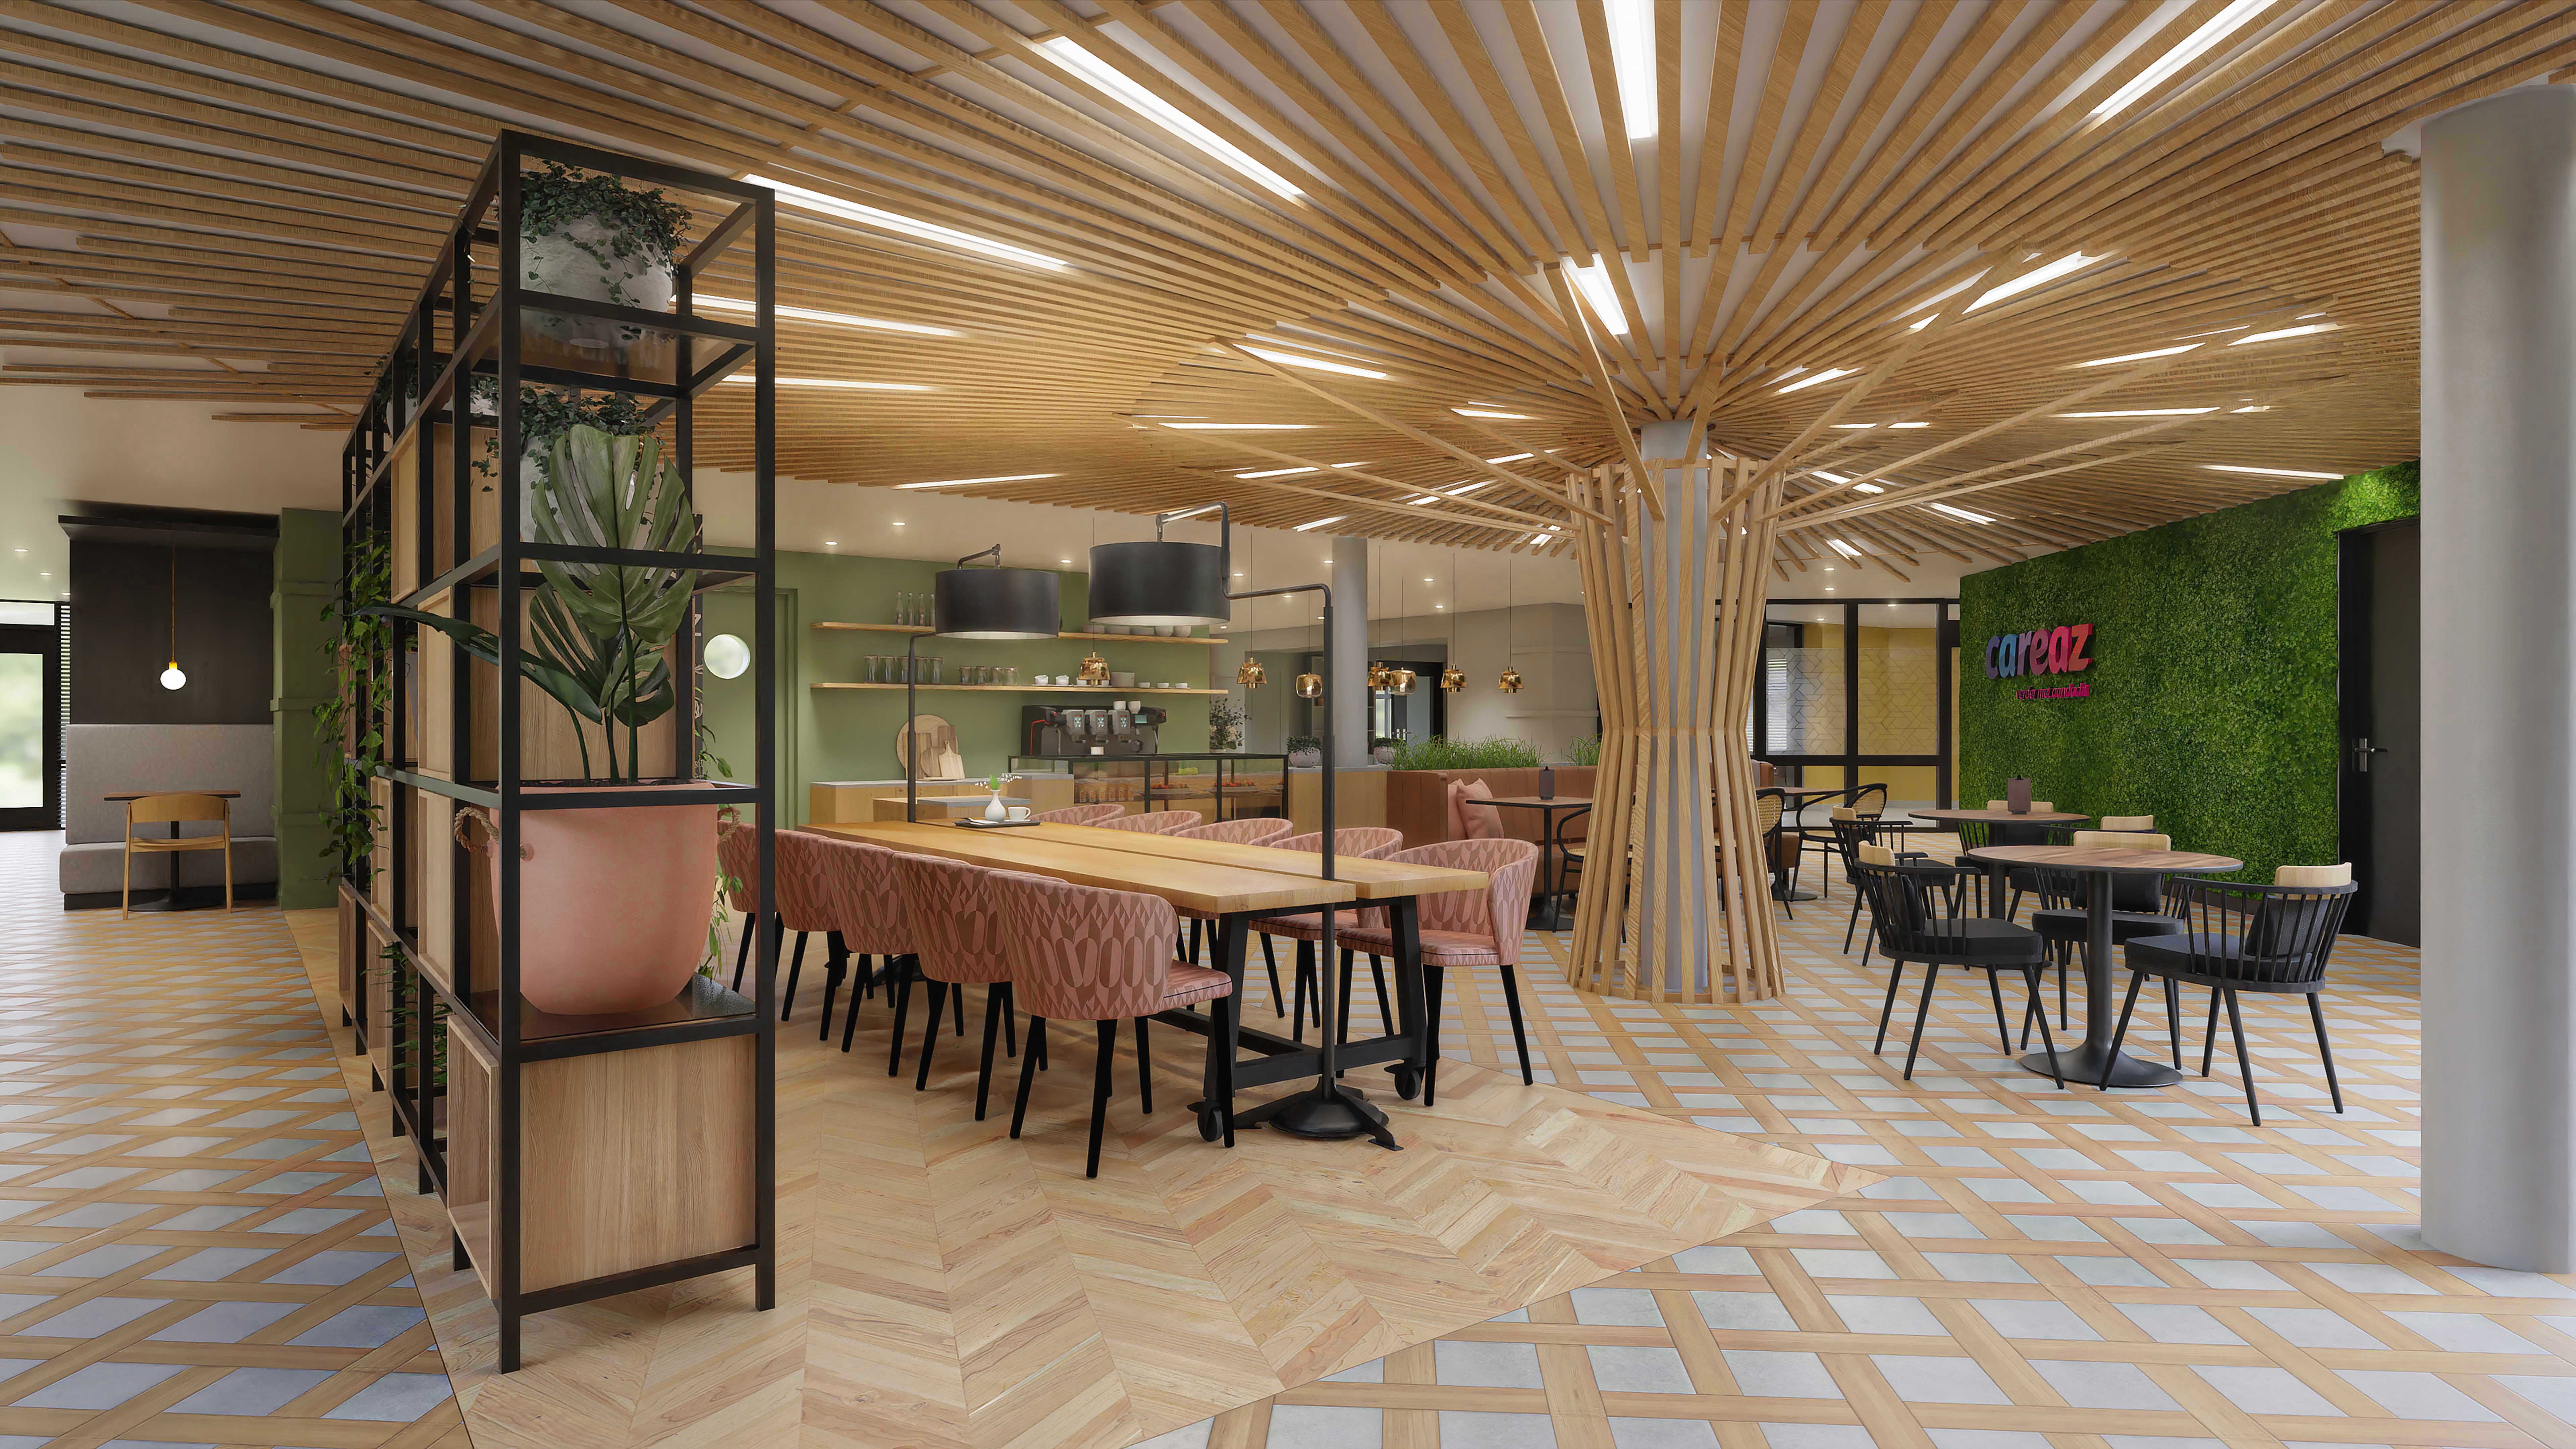
What is unique about this project? What caught our attention in this project is the complexity of the design with multiple spaces and lots of different furniture pieces. The artist can create a great-looking set of images using consistent visual language.
Let me thank Foppe Smit for sharing the details about the project with Blender 3D Architect readers.
Was it a commercial project? What can you tell us about the motivation for this project?
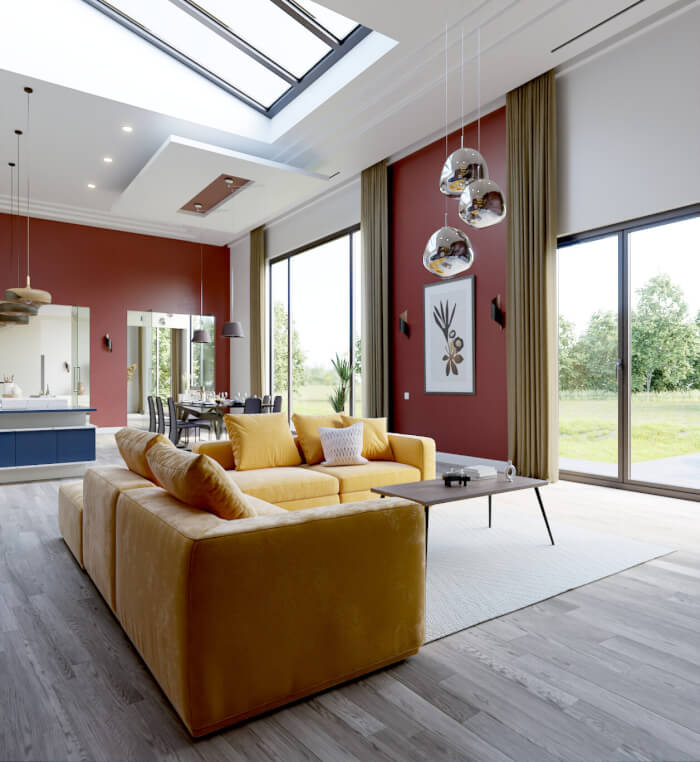
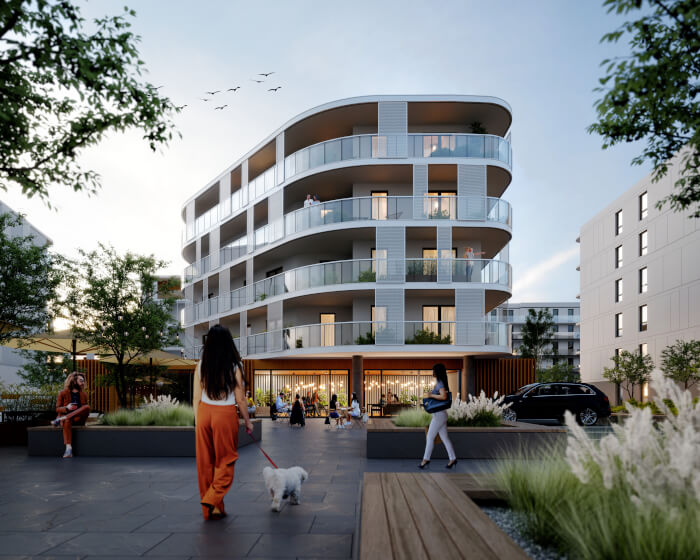
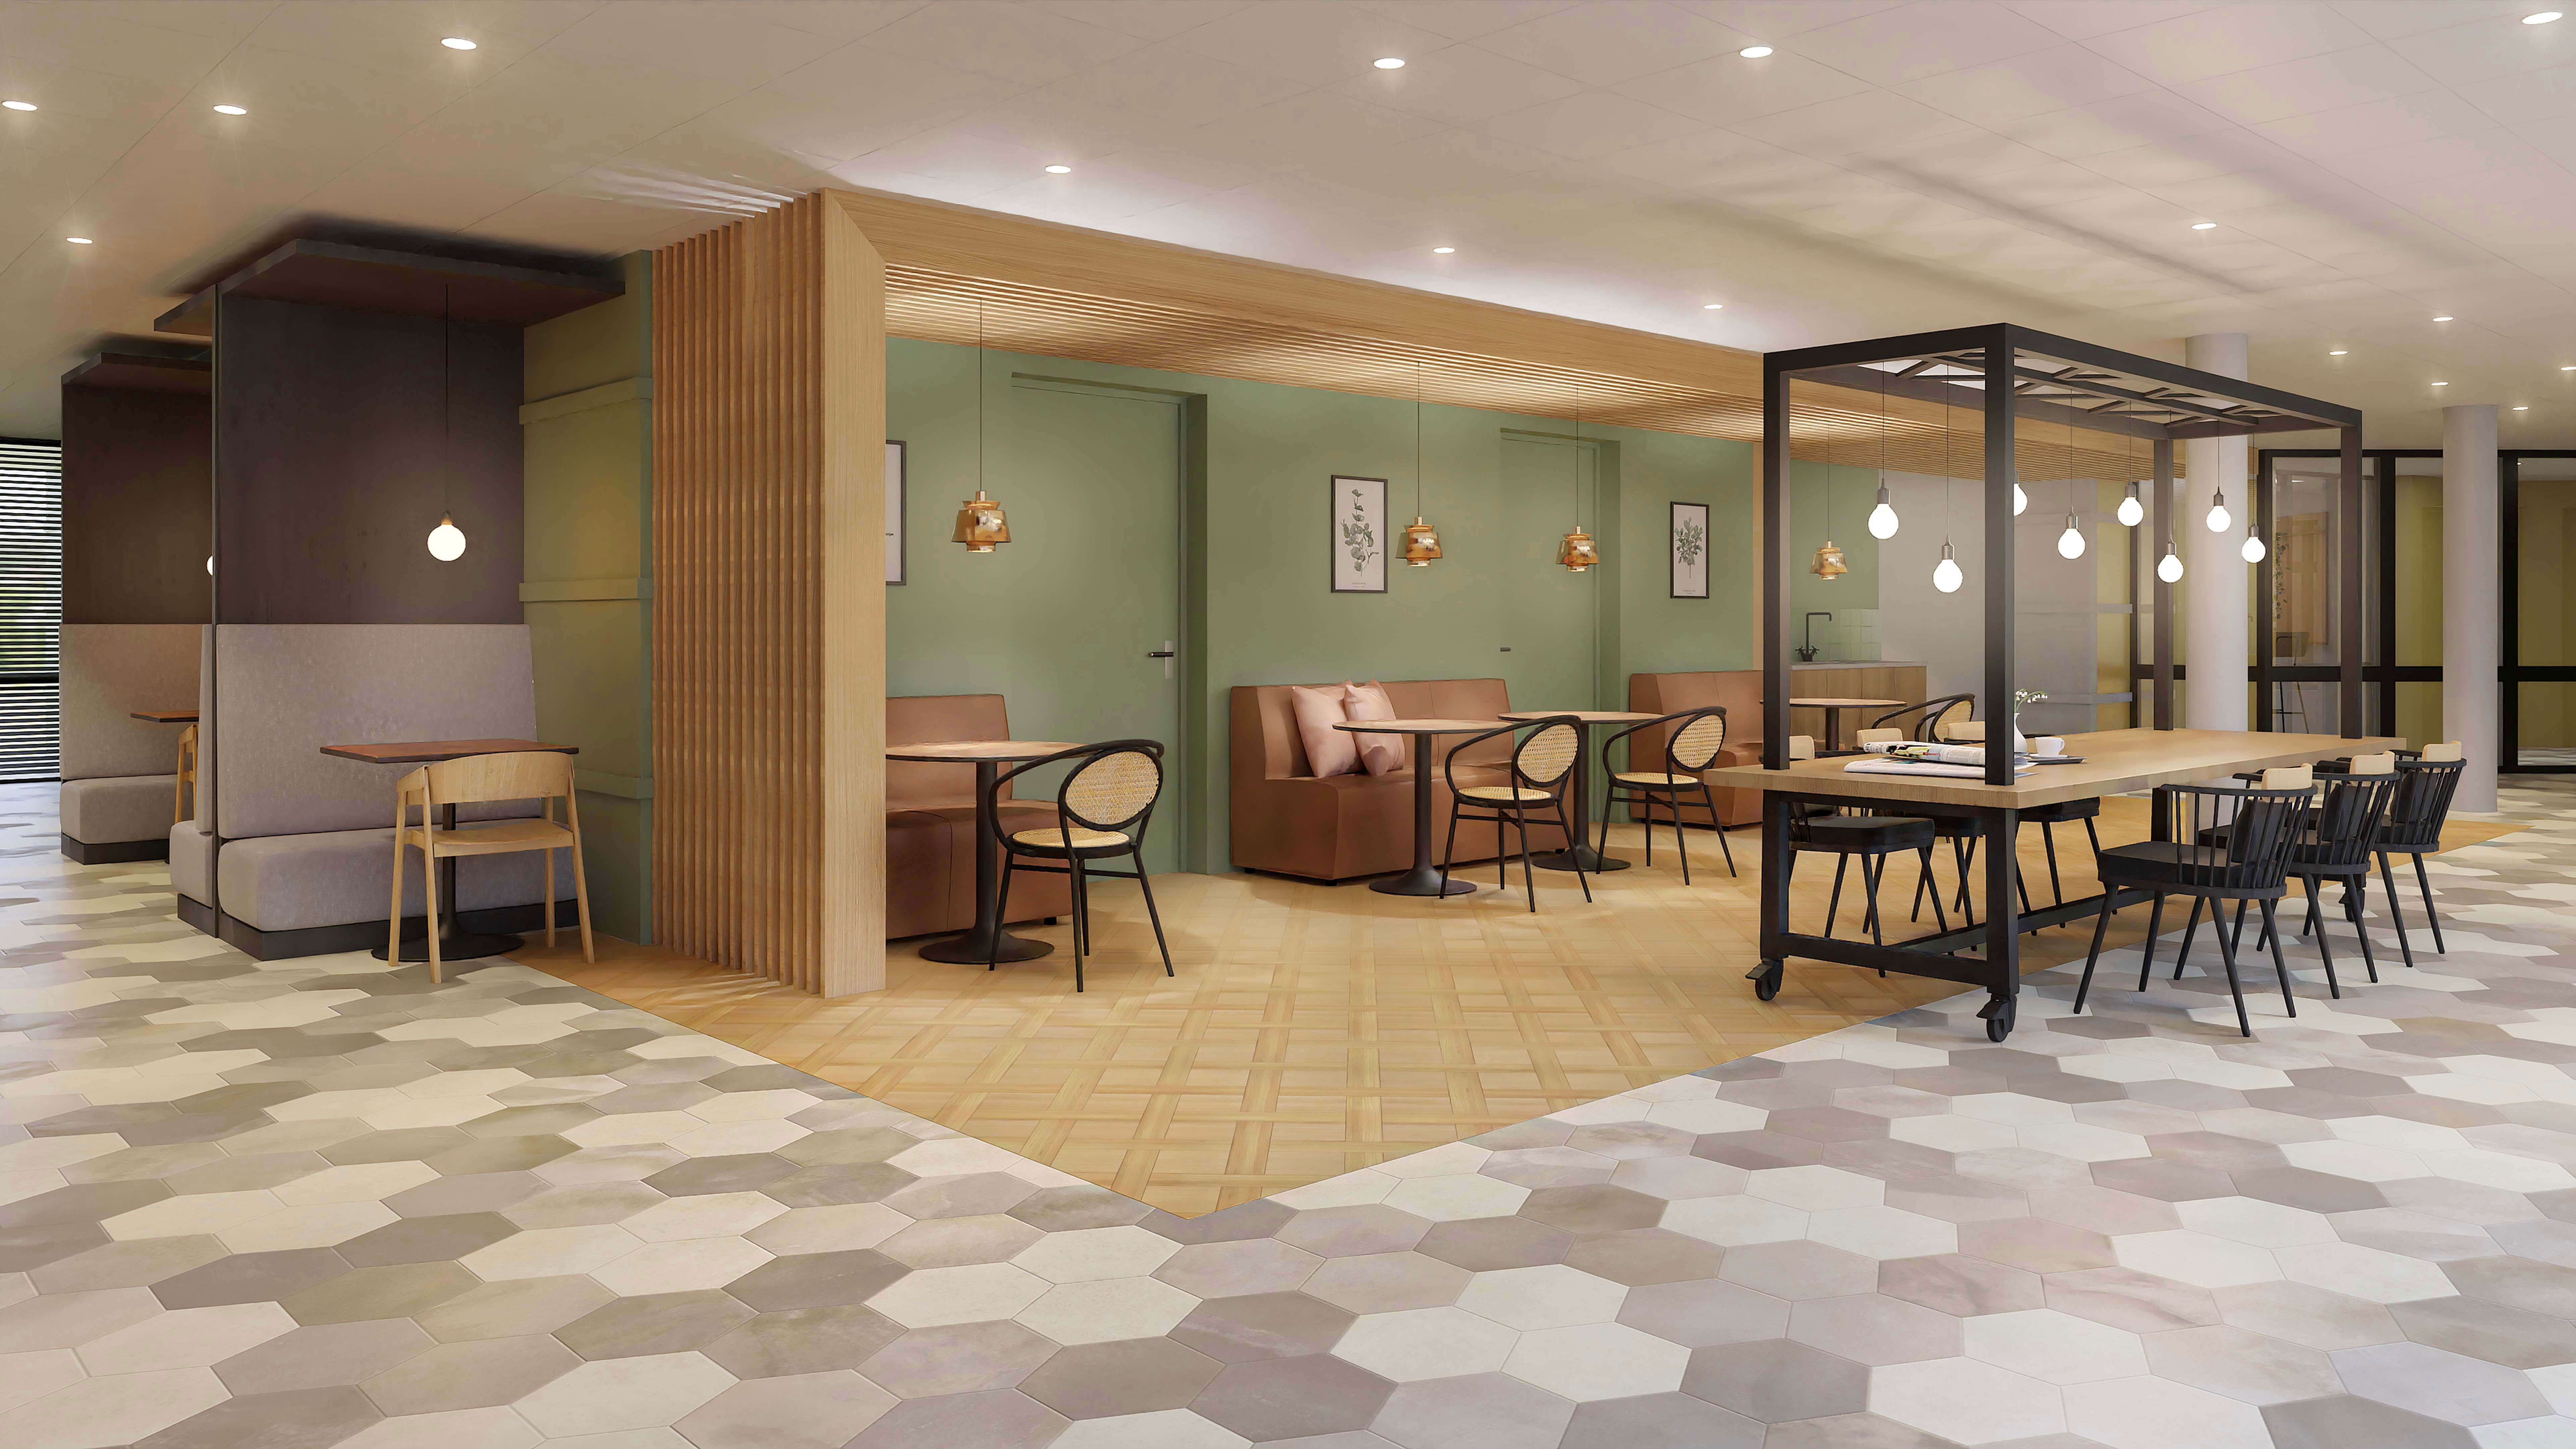
This project involved the furnishing of various communal areas. This concerns new construction in the Netherlands. Various residential units with a centrally located entrance, restaurant, and hall.
Several parties were allowed to make a proposal for this project, and I can proudly say that this design came out as the winner.
(Click to enlarge)
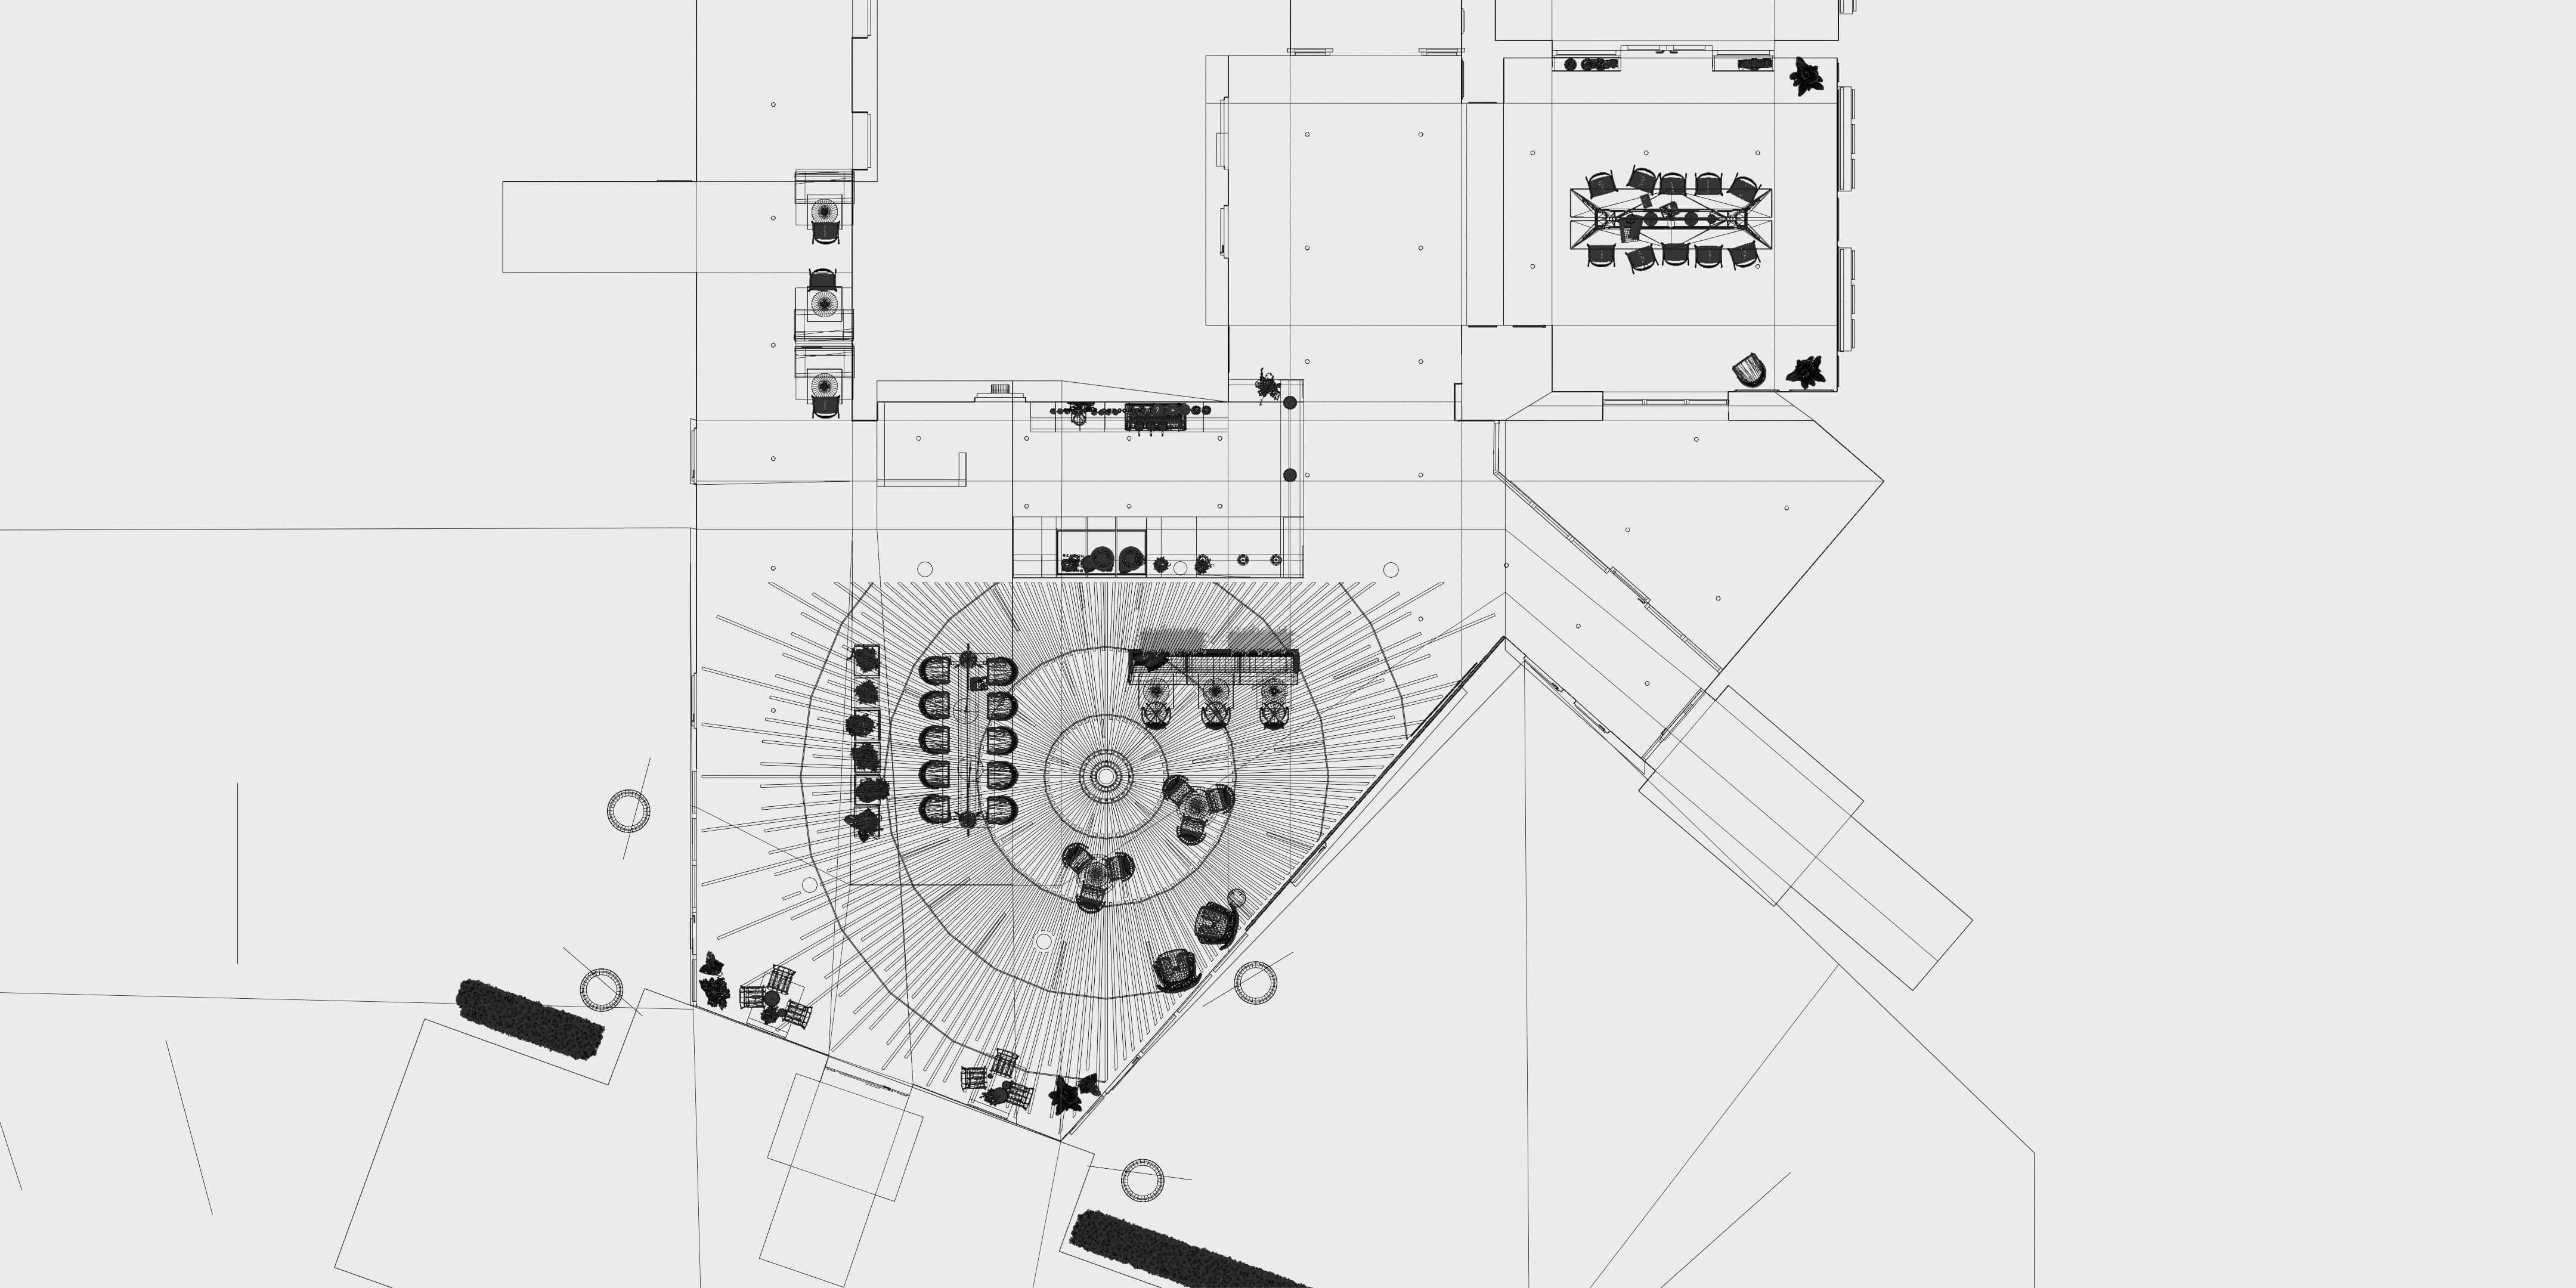
Did you use any references for modeling, like technical drawings?
I received a simple floorplan and a clear mood board. From there, I started to make the first draft. I then fine-tuned this in consultation with my client and ended with this result.
(Click to enlarge)
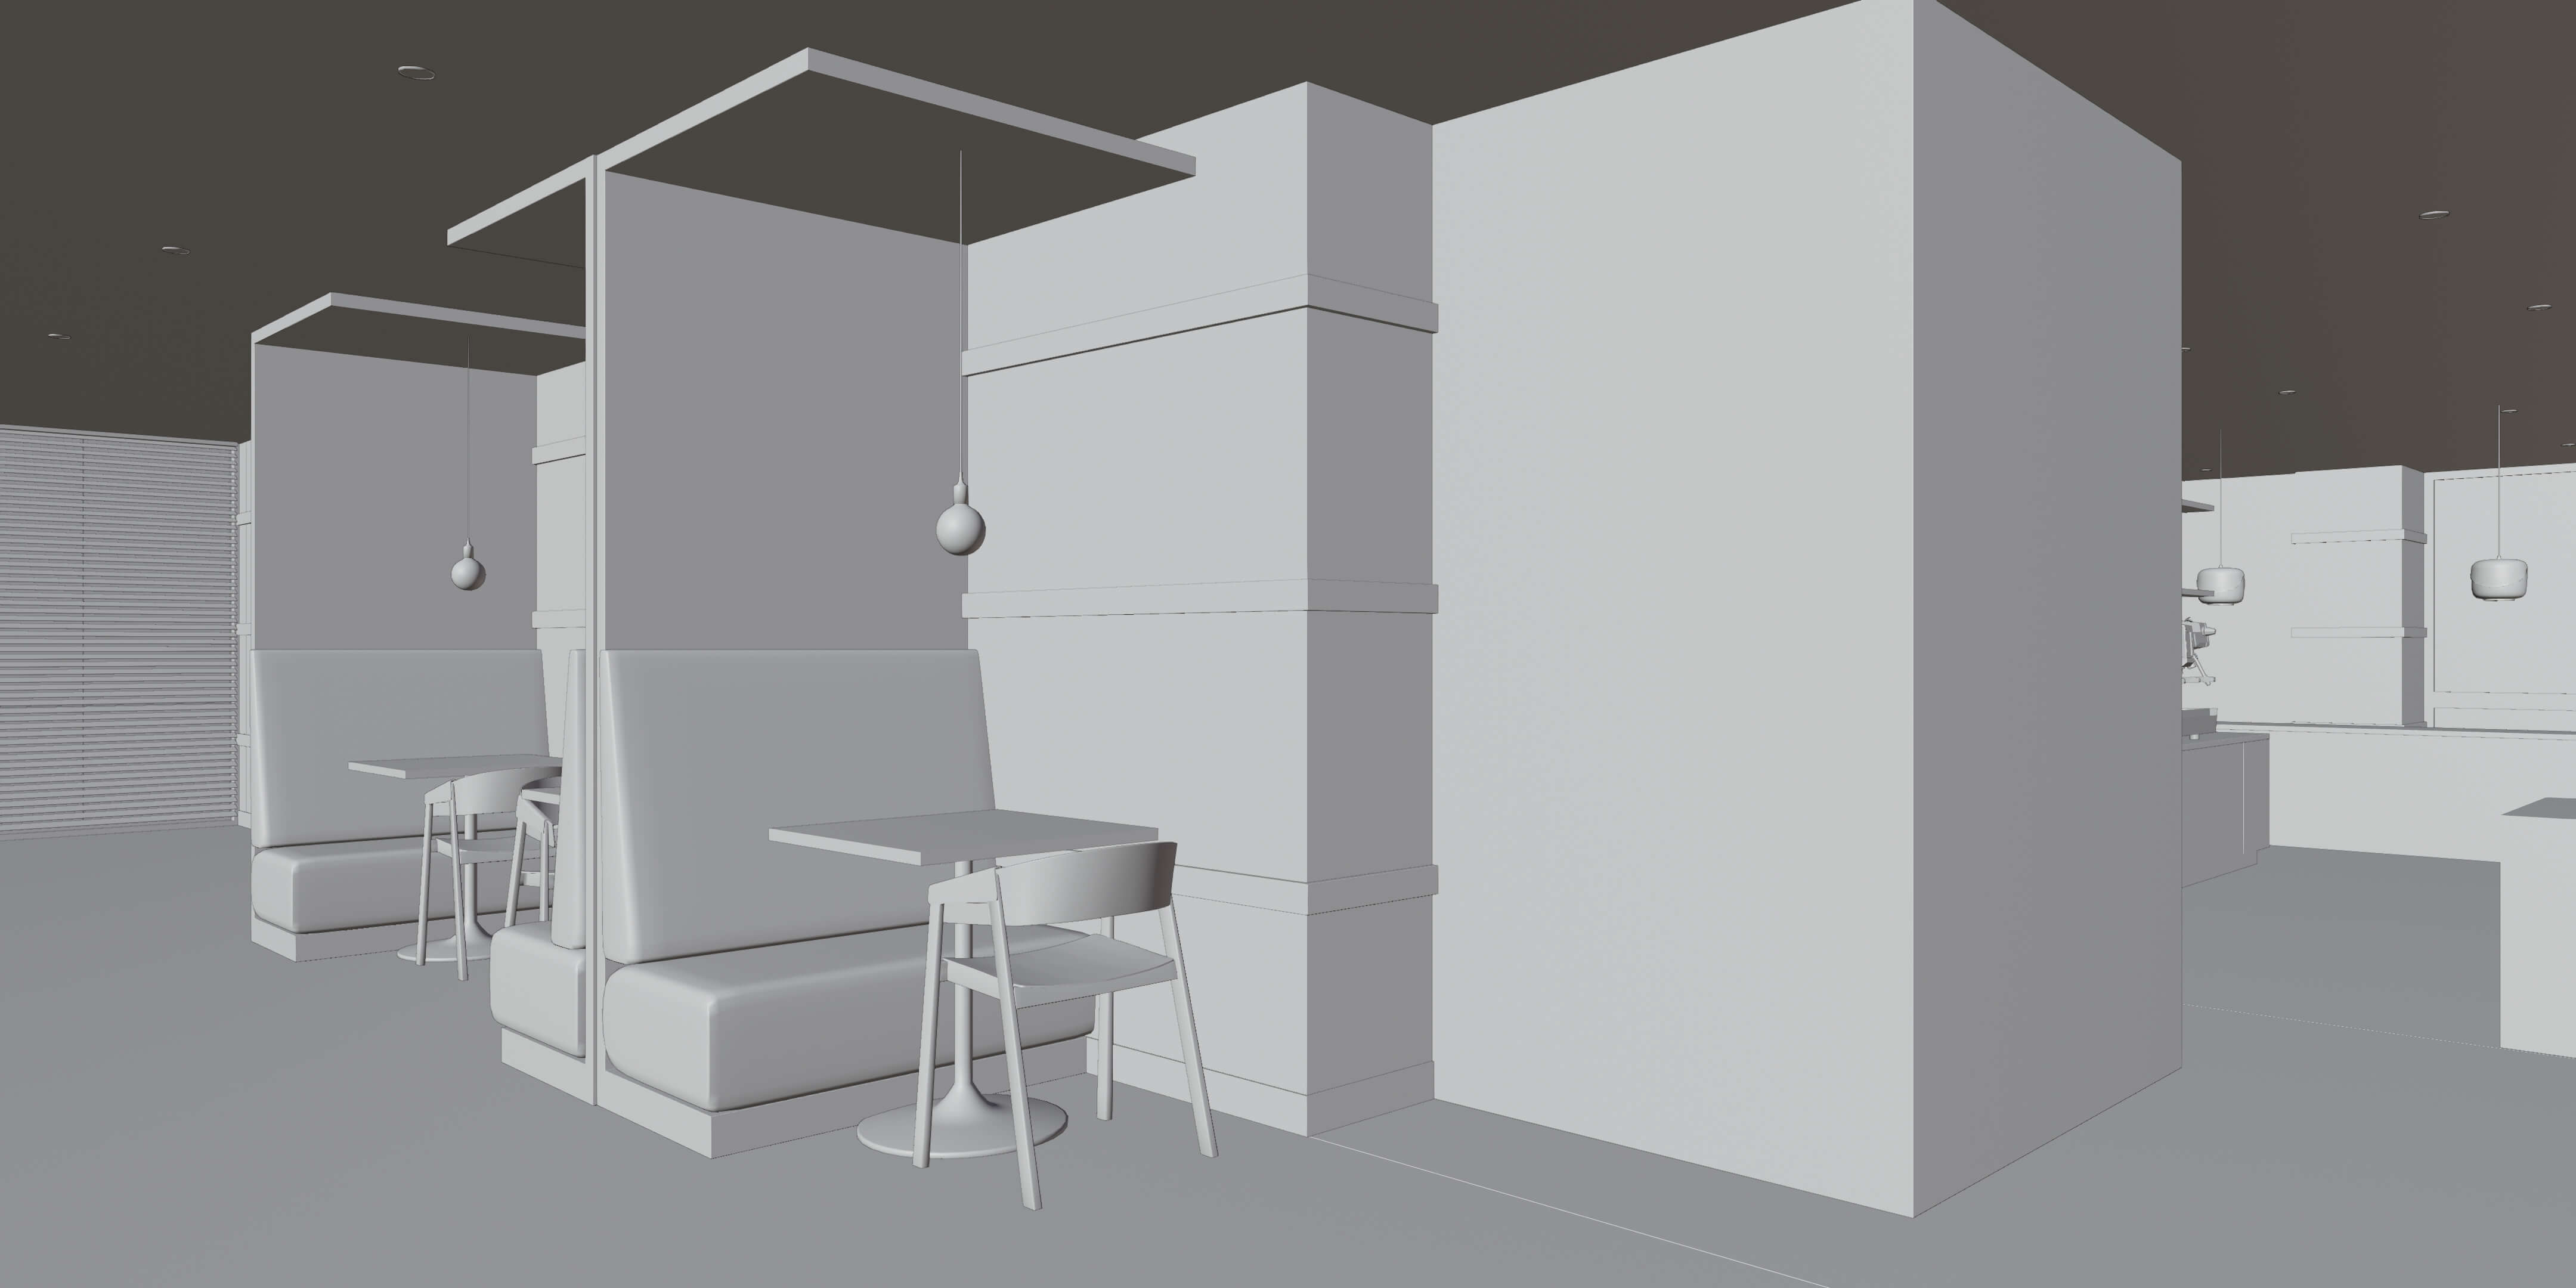
Did you model everything in the project, including furniture and props?
Some furniture models have been downloaded. Others are self-made. Not all downloads are equally helpful, and I have modeled and/or modified myself. Some parts are custom made and must therefore also be custom made in 3d. All models have been carefully checked and optimized, and the correct textures placed on them.
(Click to enlarge)
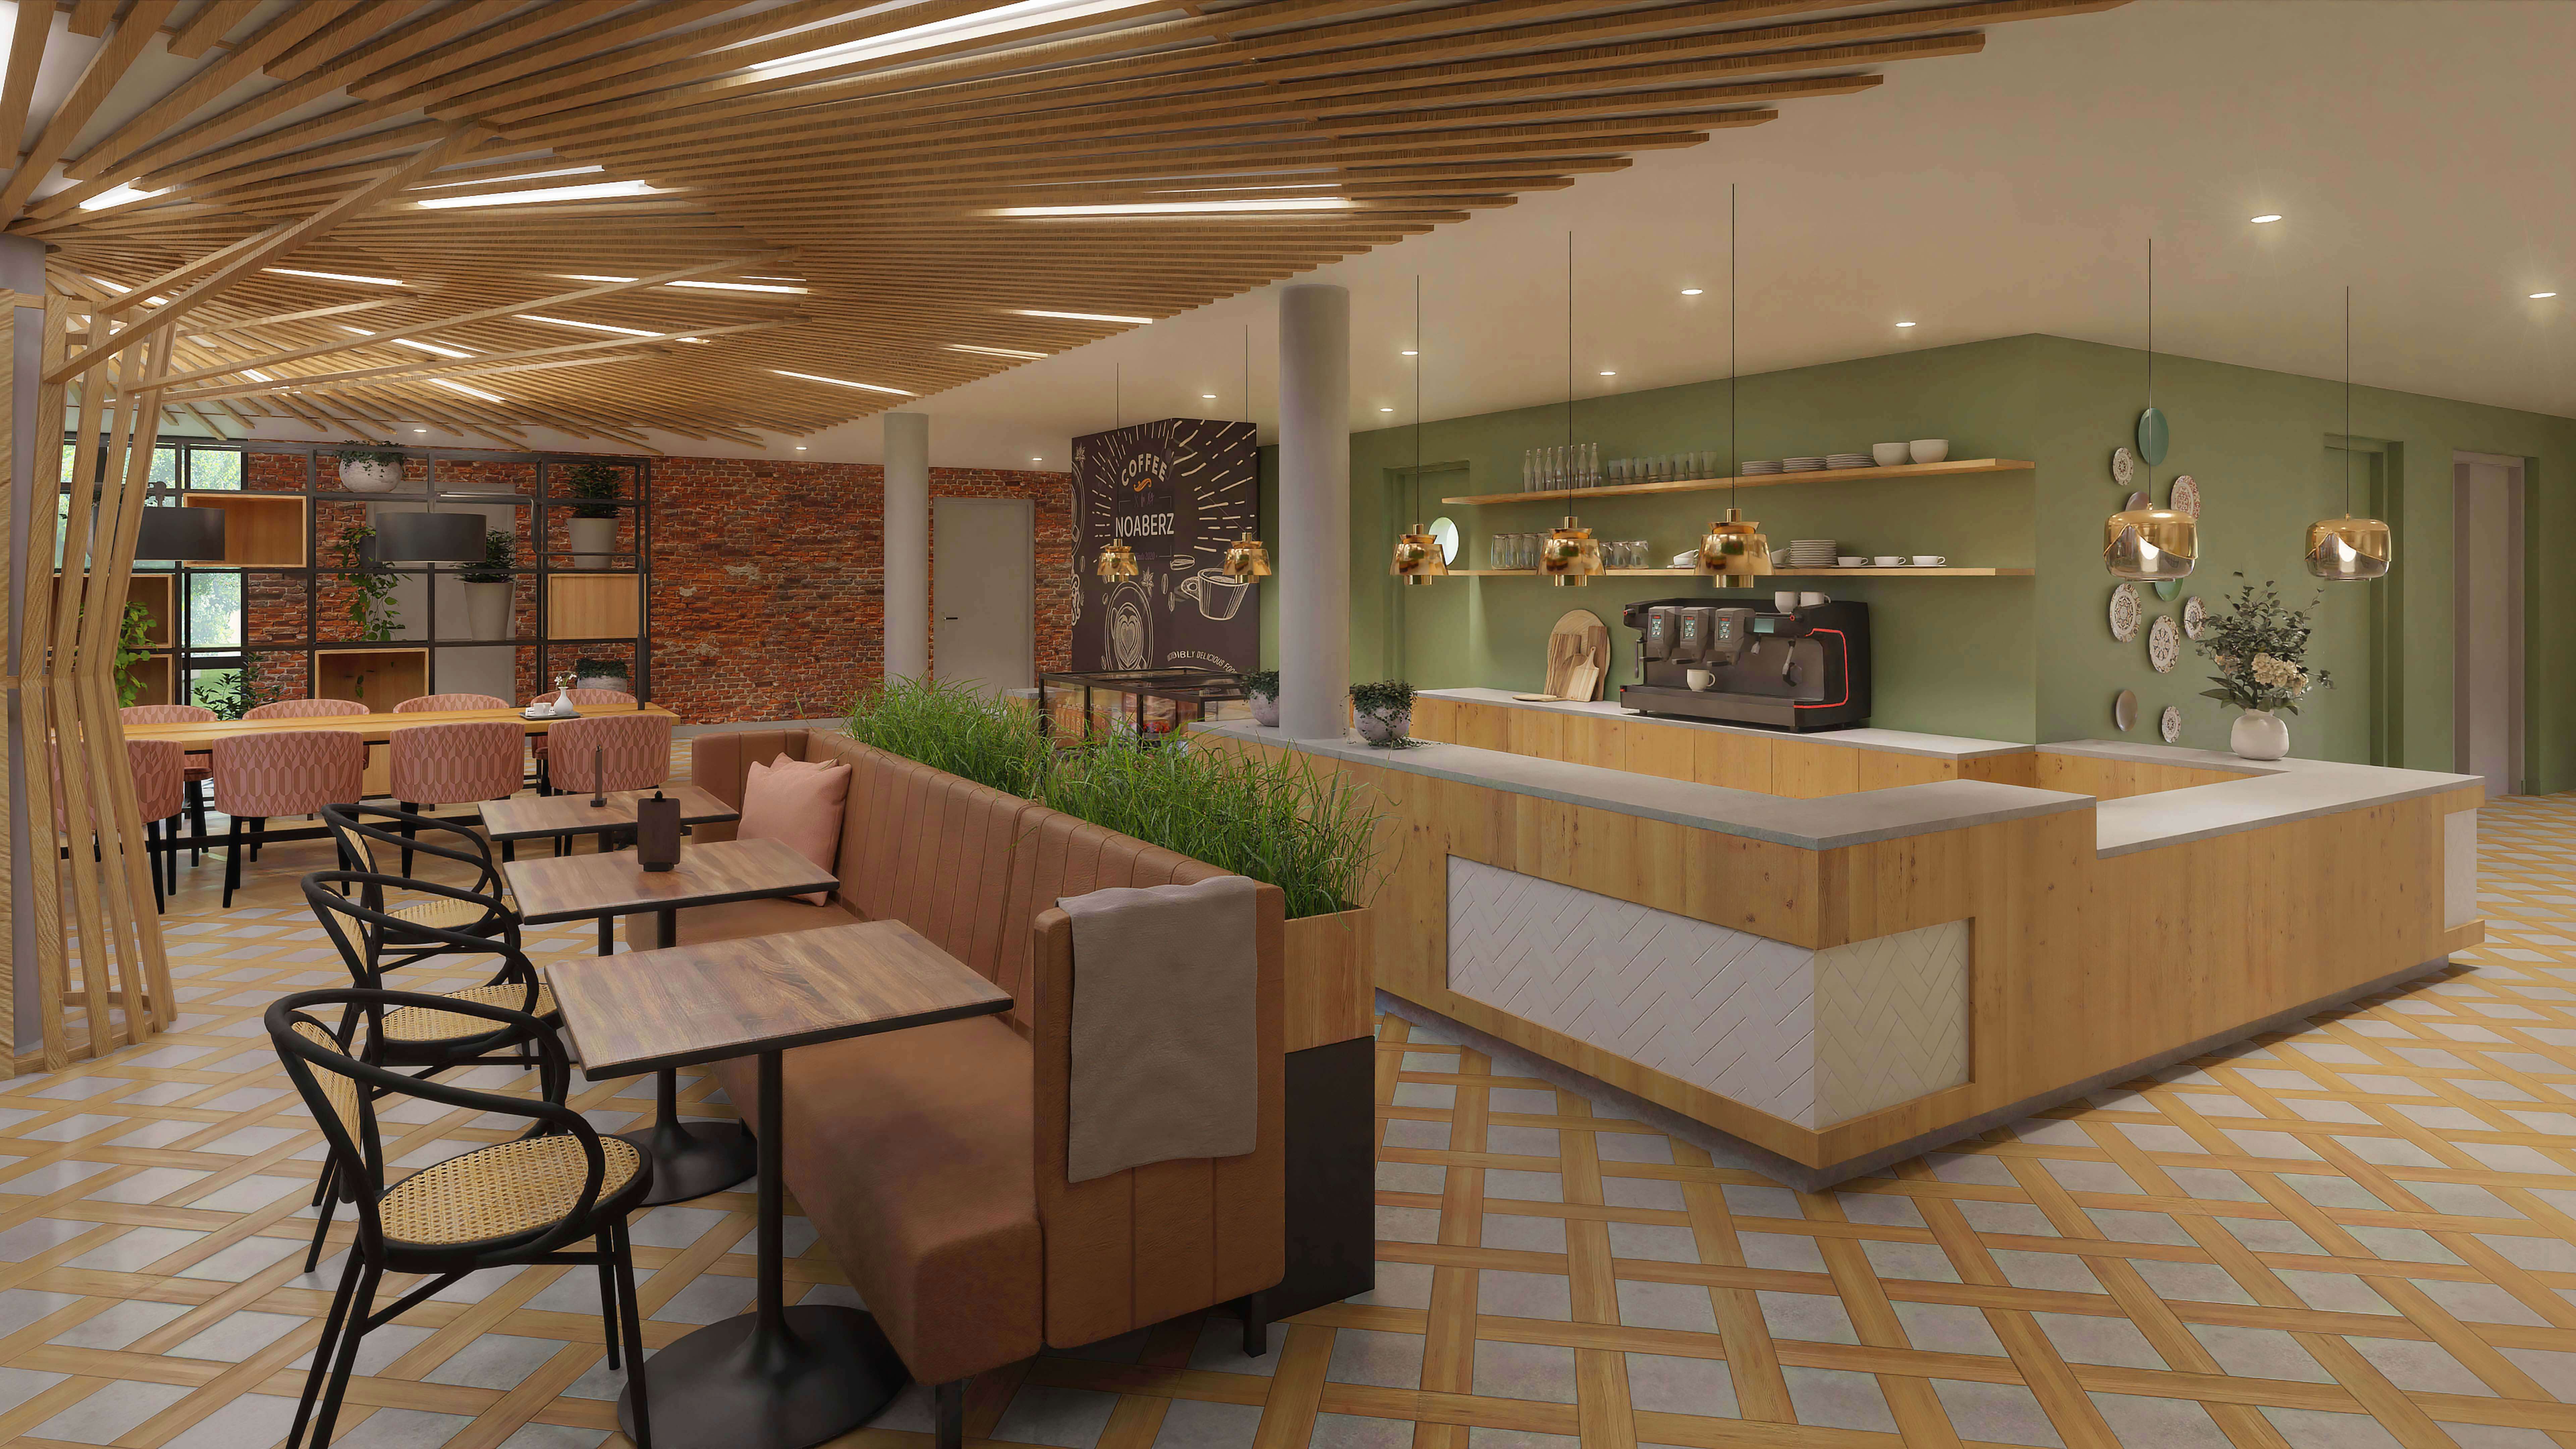
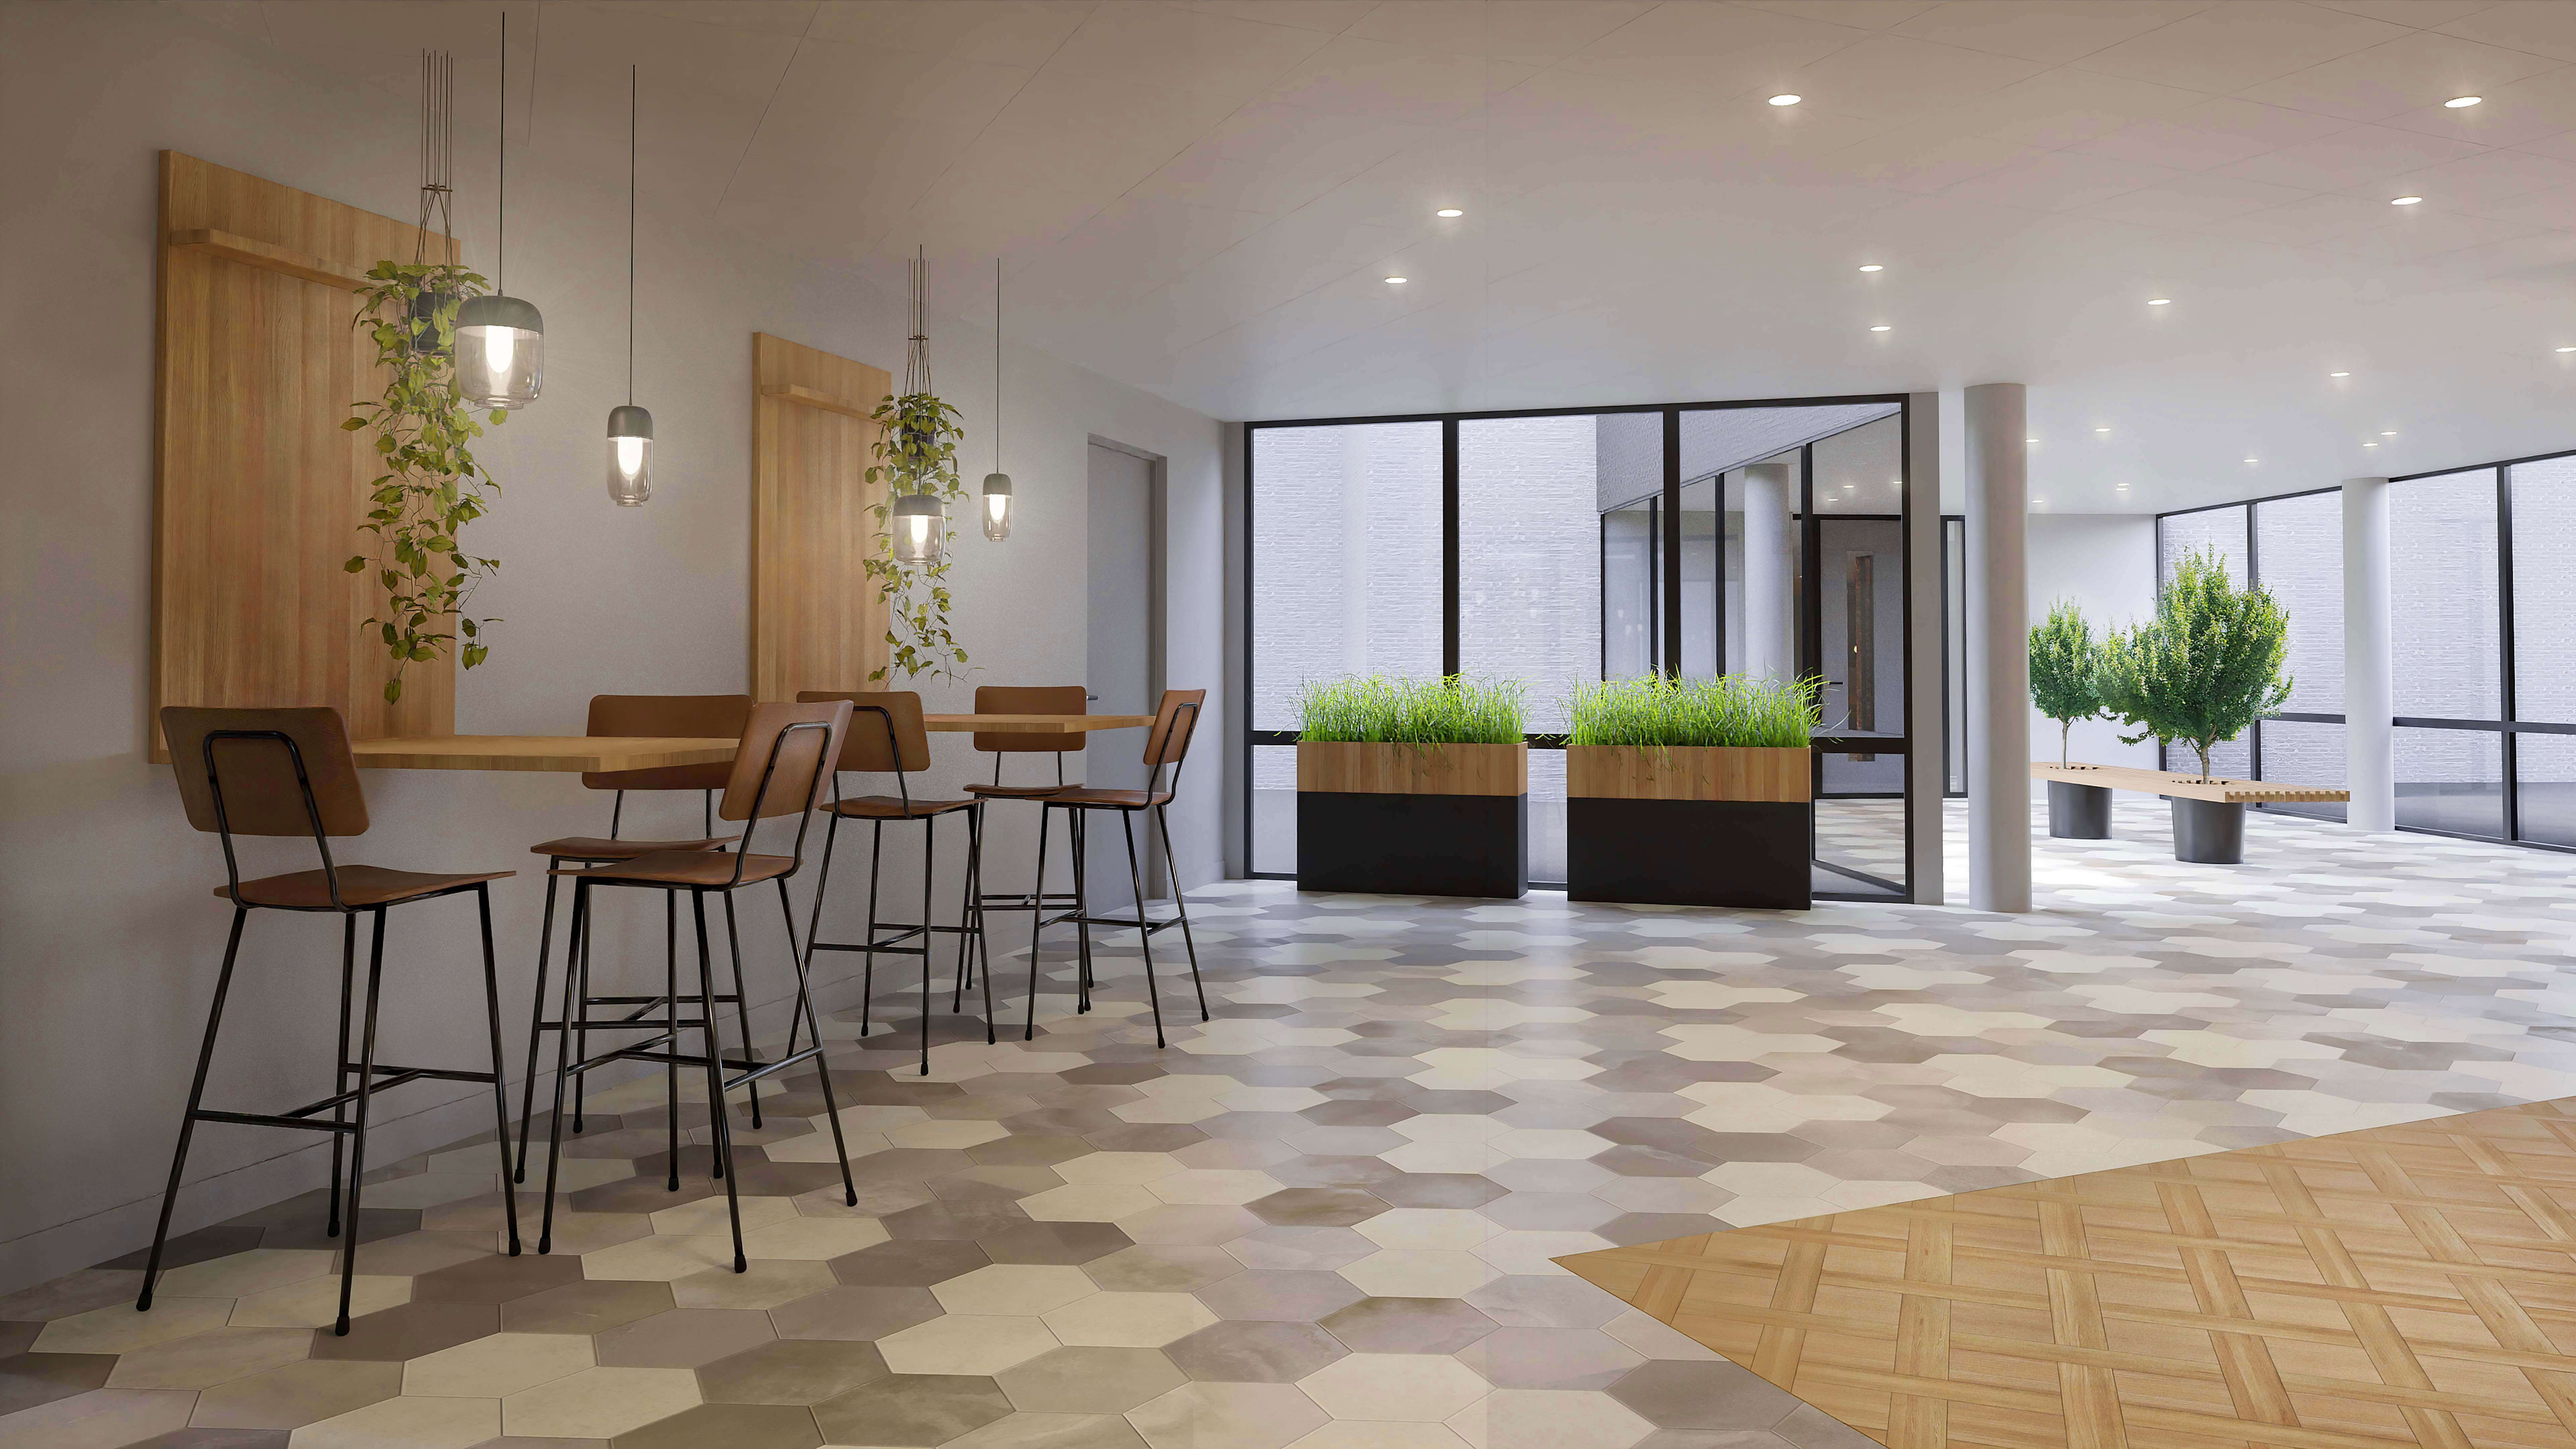
What can you tell us about the interior design (Layouts, materials, and props)? Did you have to create it yourself?
A bureau was engaged for the design of the interior that focuses on project design. In collaboration with the design department, I was able to make these visuals and animations. The furniture has been selected with care, the colors and materials of the floor, walls, and everything that can be seen. Various seating areas have been custom-made, including the restaurant area.
(Click to enlarge)
How long did it take from start to finish?
The time I spent on this was a tight, whole week. Lots of early and late hours and an extra weekend. There was (as is often the case in our profession) a deadline and, therefore, time pressure. I like challenges, and I finally managed to get the final result in time again.
(Click to enlarge)
What hardware did you use to render? Can you share some render times?
For this project, I used Blender 2.83 and Cycles. Instead of Optix denoise, I used OpenImageDenoiser. These may have minor detail in textures but do not show weird artifacts as sometimes occurs with Optix. I render the visuals at 4K and always use Photoshop for post-processing. For the animation (in Cycles), I had to cut back on the samples, only 200 samples with denoising. The visuals took about 15 minutes to render. The animation did render several nights in total. Now I would have sent it to a render farm. I hadn’t looked into it then, but I did now, and it went well beyond expectations.
My hardware: AMD Ryzen 9 16-core processor, 64 RAM, and GeForce RTX 2080 Ti
(Click to enlarge)
(Click to enlarge)
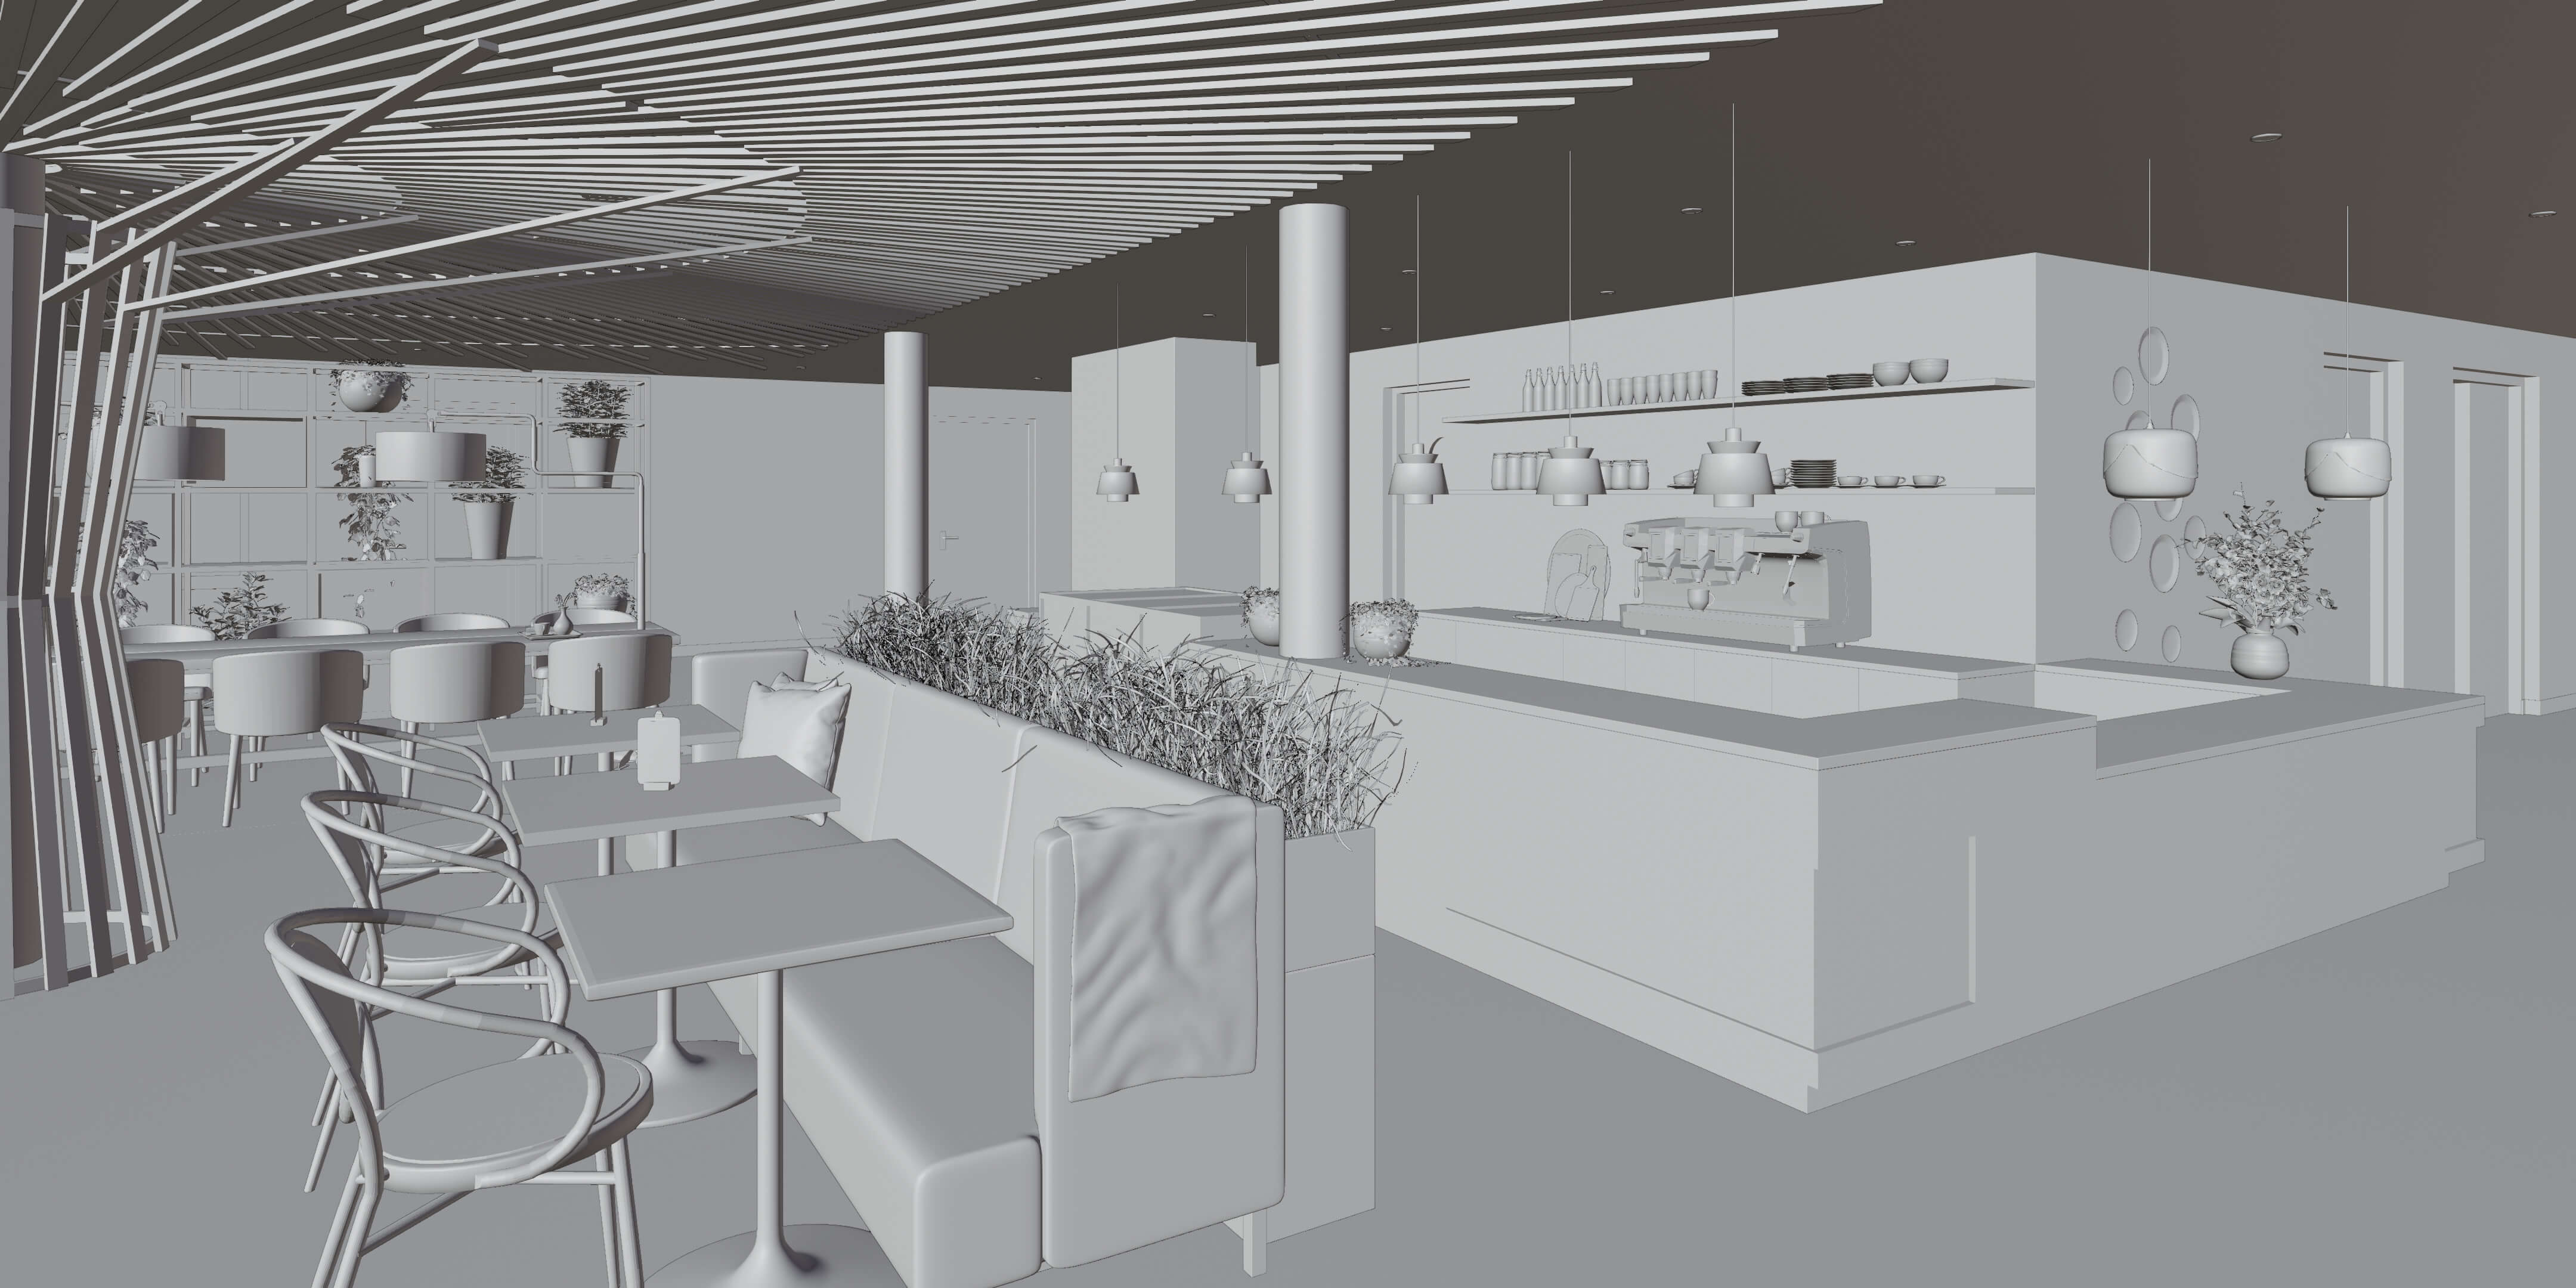
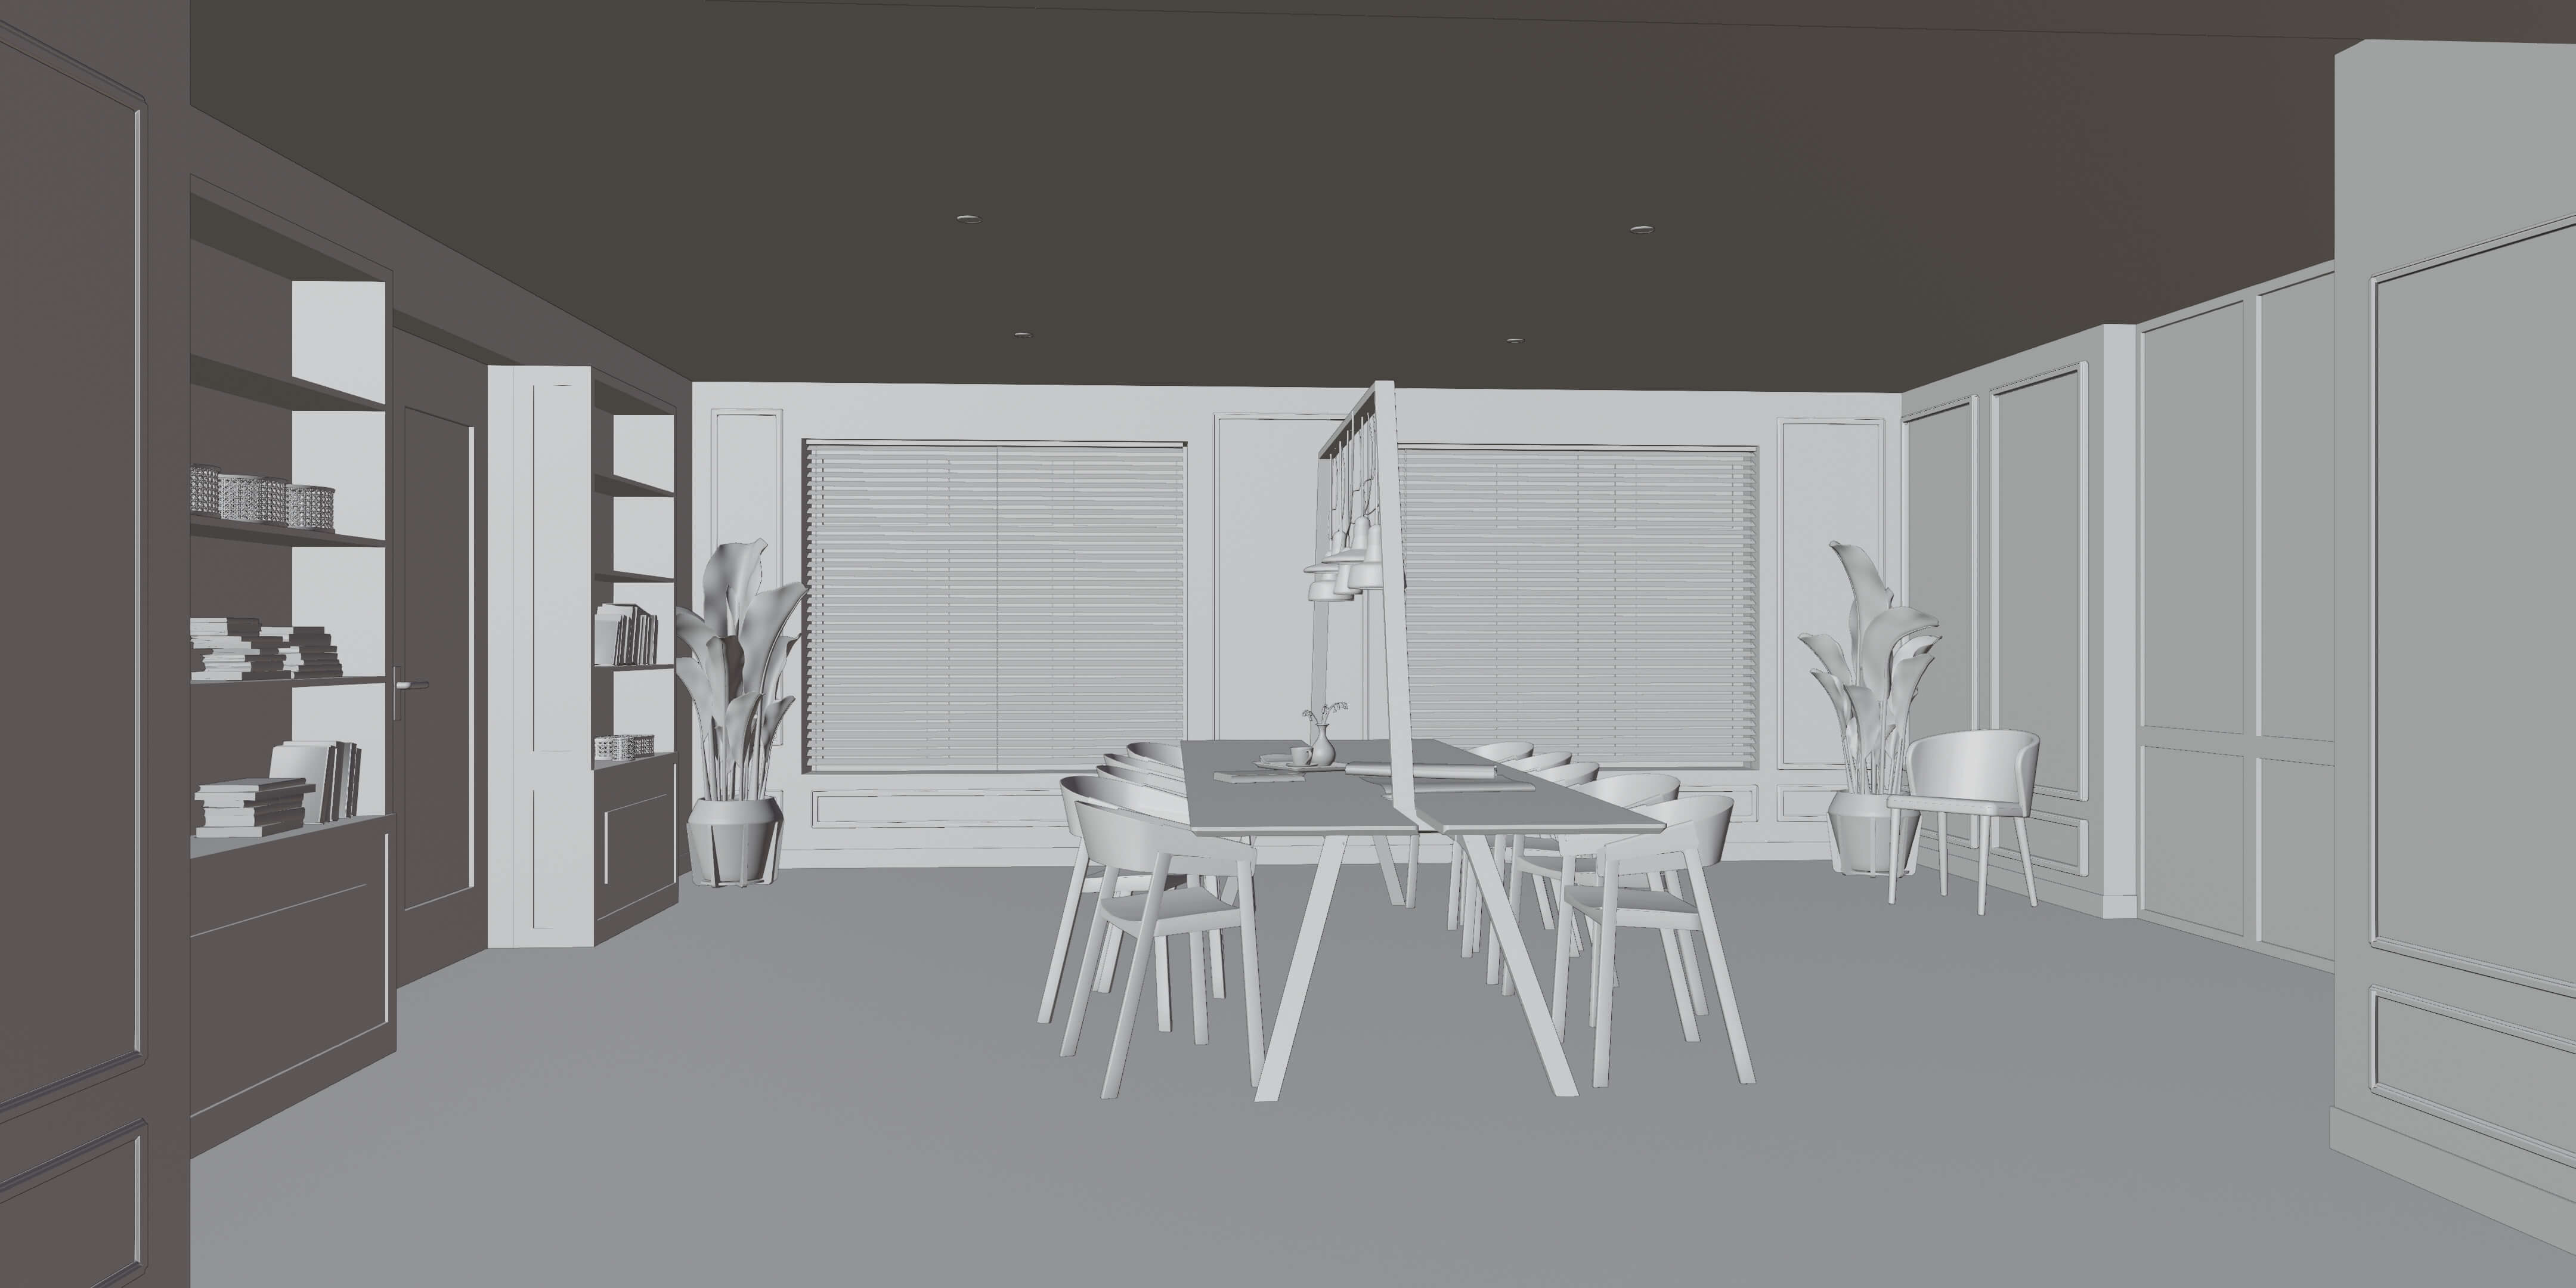
Can you share any details about the lighting process?
For the light, I use an HDRi. But because the lighting is also part of the project planning, I also placed many secondary and fill lights.
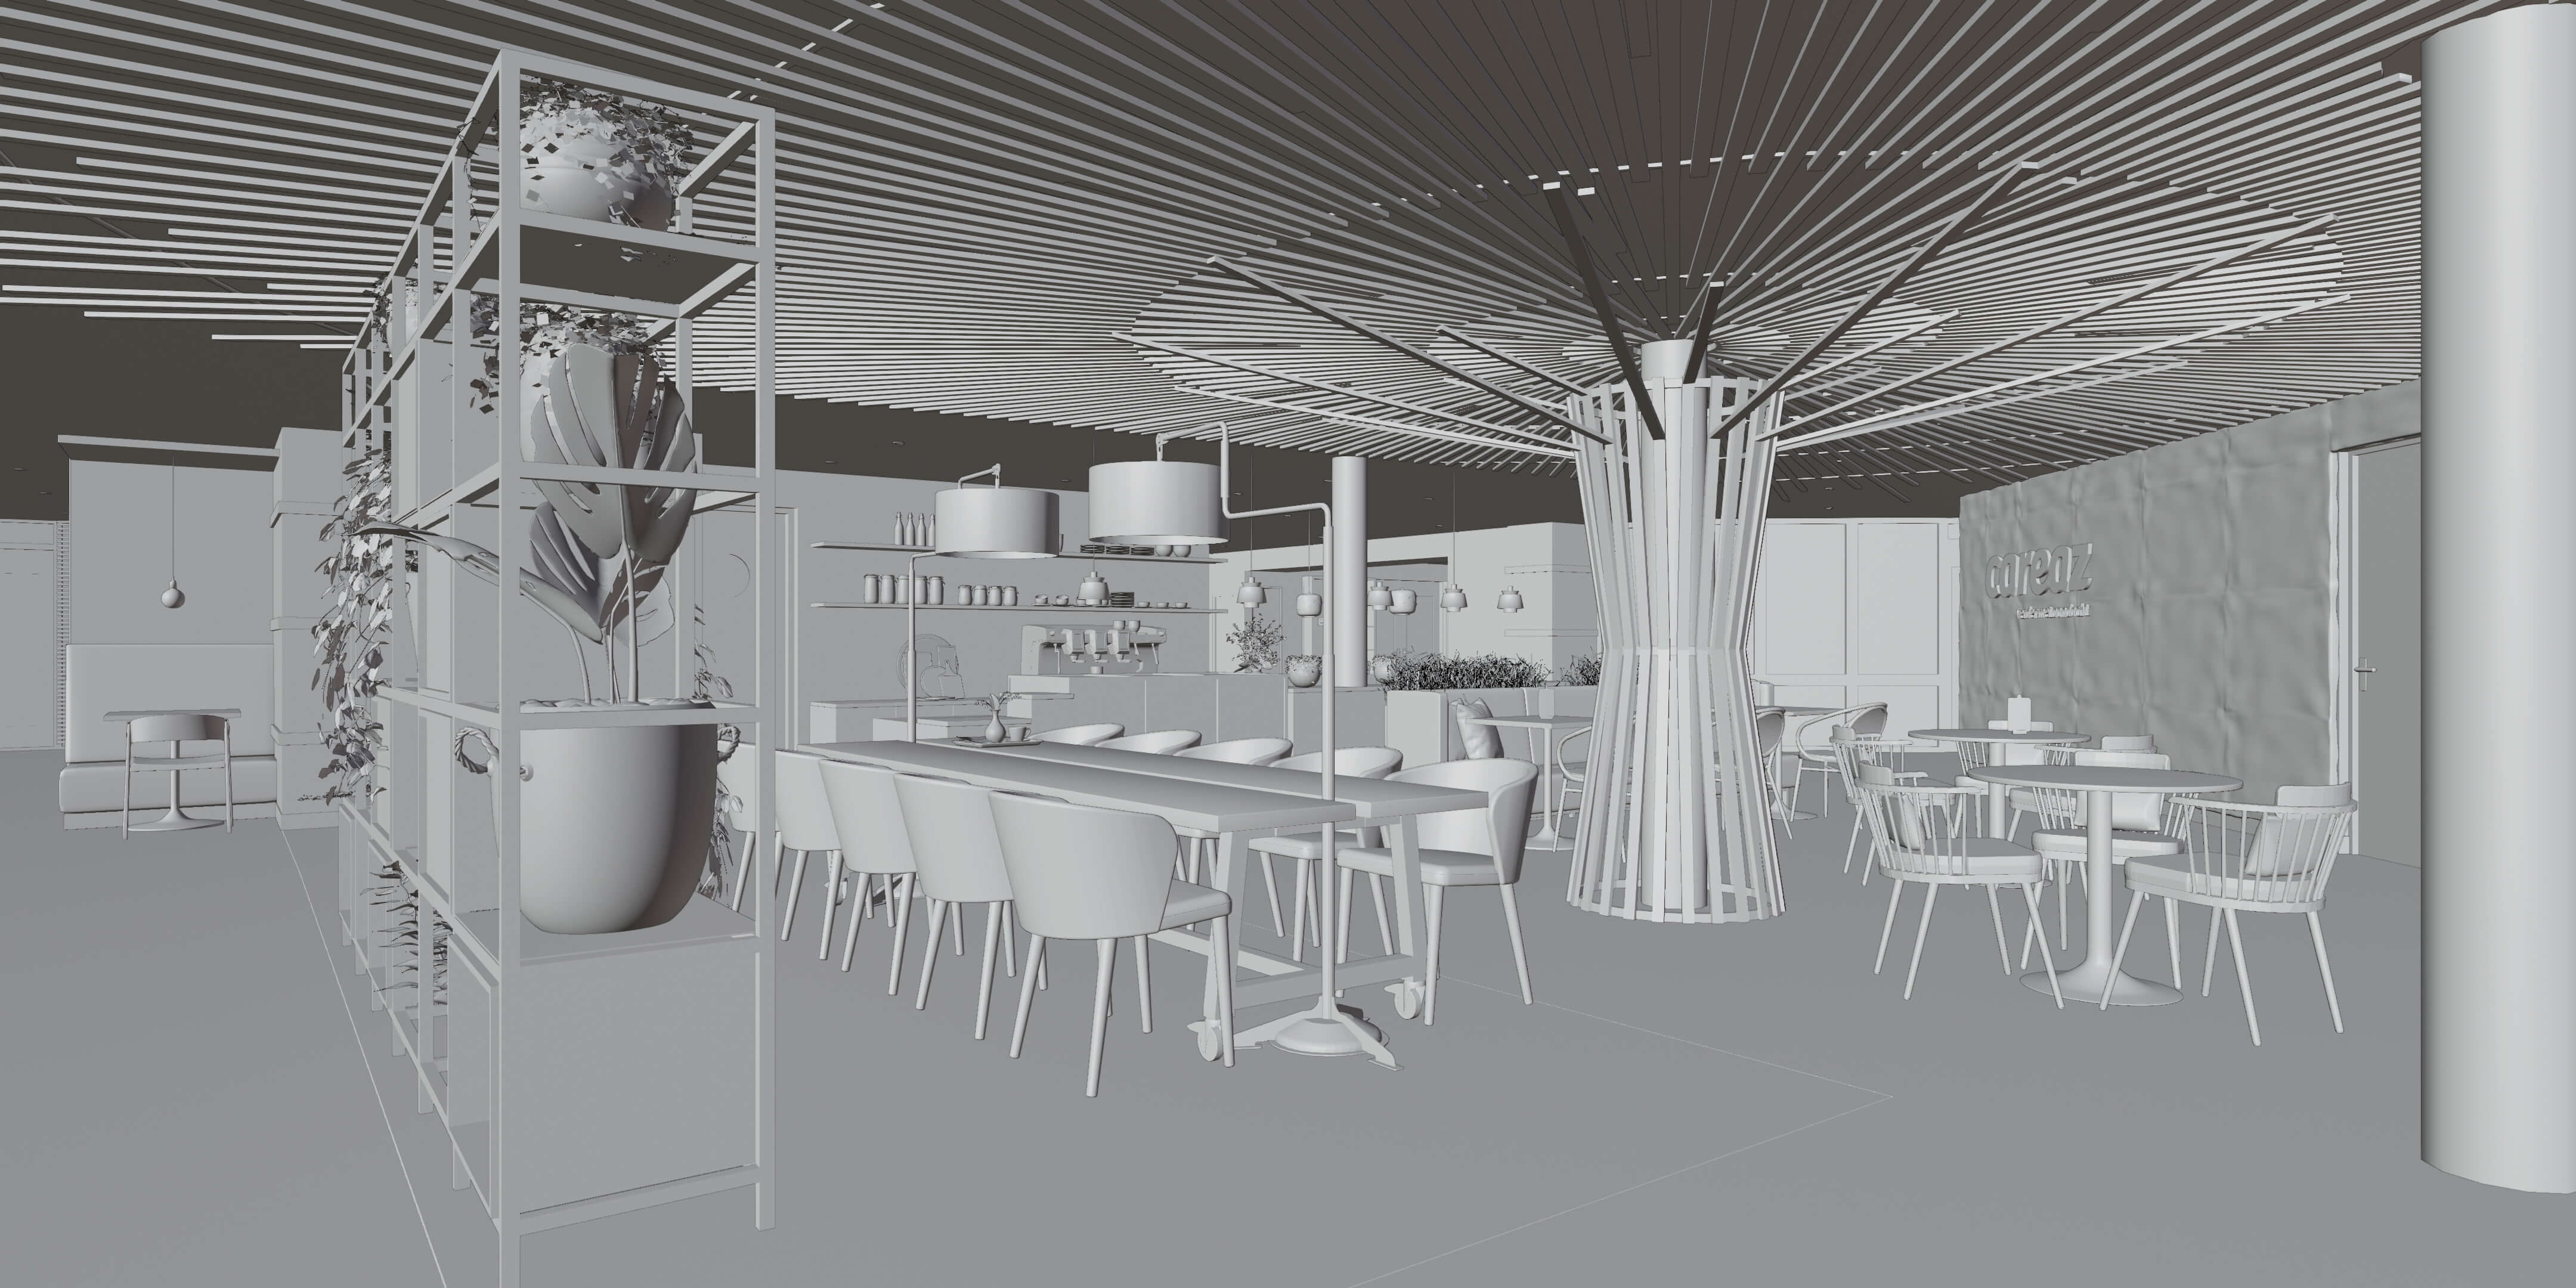
I once followed a Vray course when I was still using 3dsMax. Here I learned a valuable method to create realistic light. These are the steps:
- Give everything medium gray (Override material) materials (except for the windows, which I hide).
- Start with the primary light, which is often an HDRI for me. Play around with the strength until it looks realistic. This differs per project.
- Turn off the primary light and place several secondary lights. Again playing with the strength until it looks realistic. Not too bright, not too dark. And make sure that especially the parts that have remained dark with the primary light are also slightly lit.
- The same with fill lights.
- Then turn on all lights and fine-tune as desired.
- Switch all textures back on and enjoy.

(Click to enlarge)
Did you use any Add-ons or external tools to create the project?
I did not use any special add-ons for this project
(Click to enlarge)
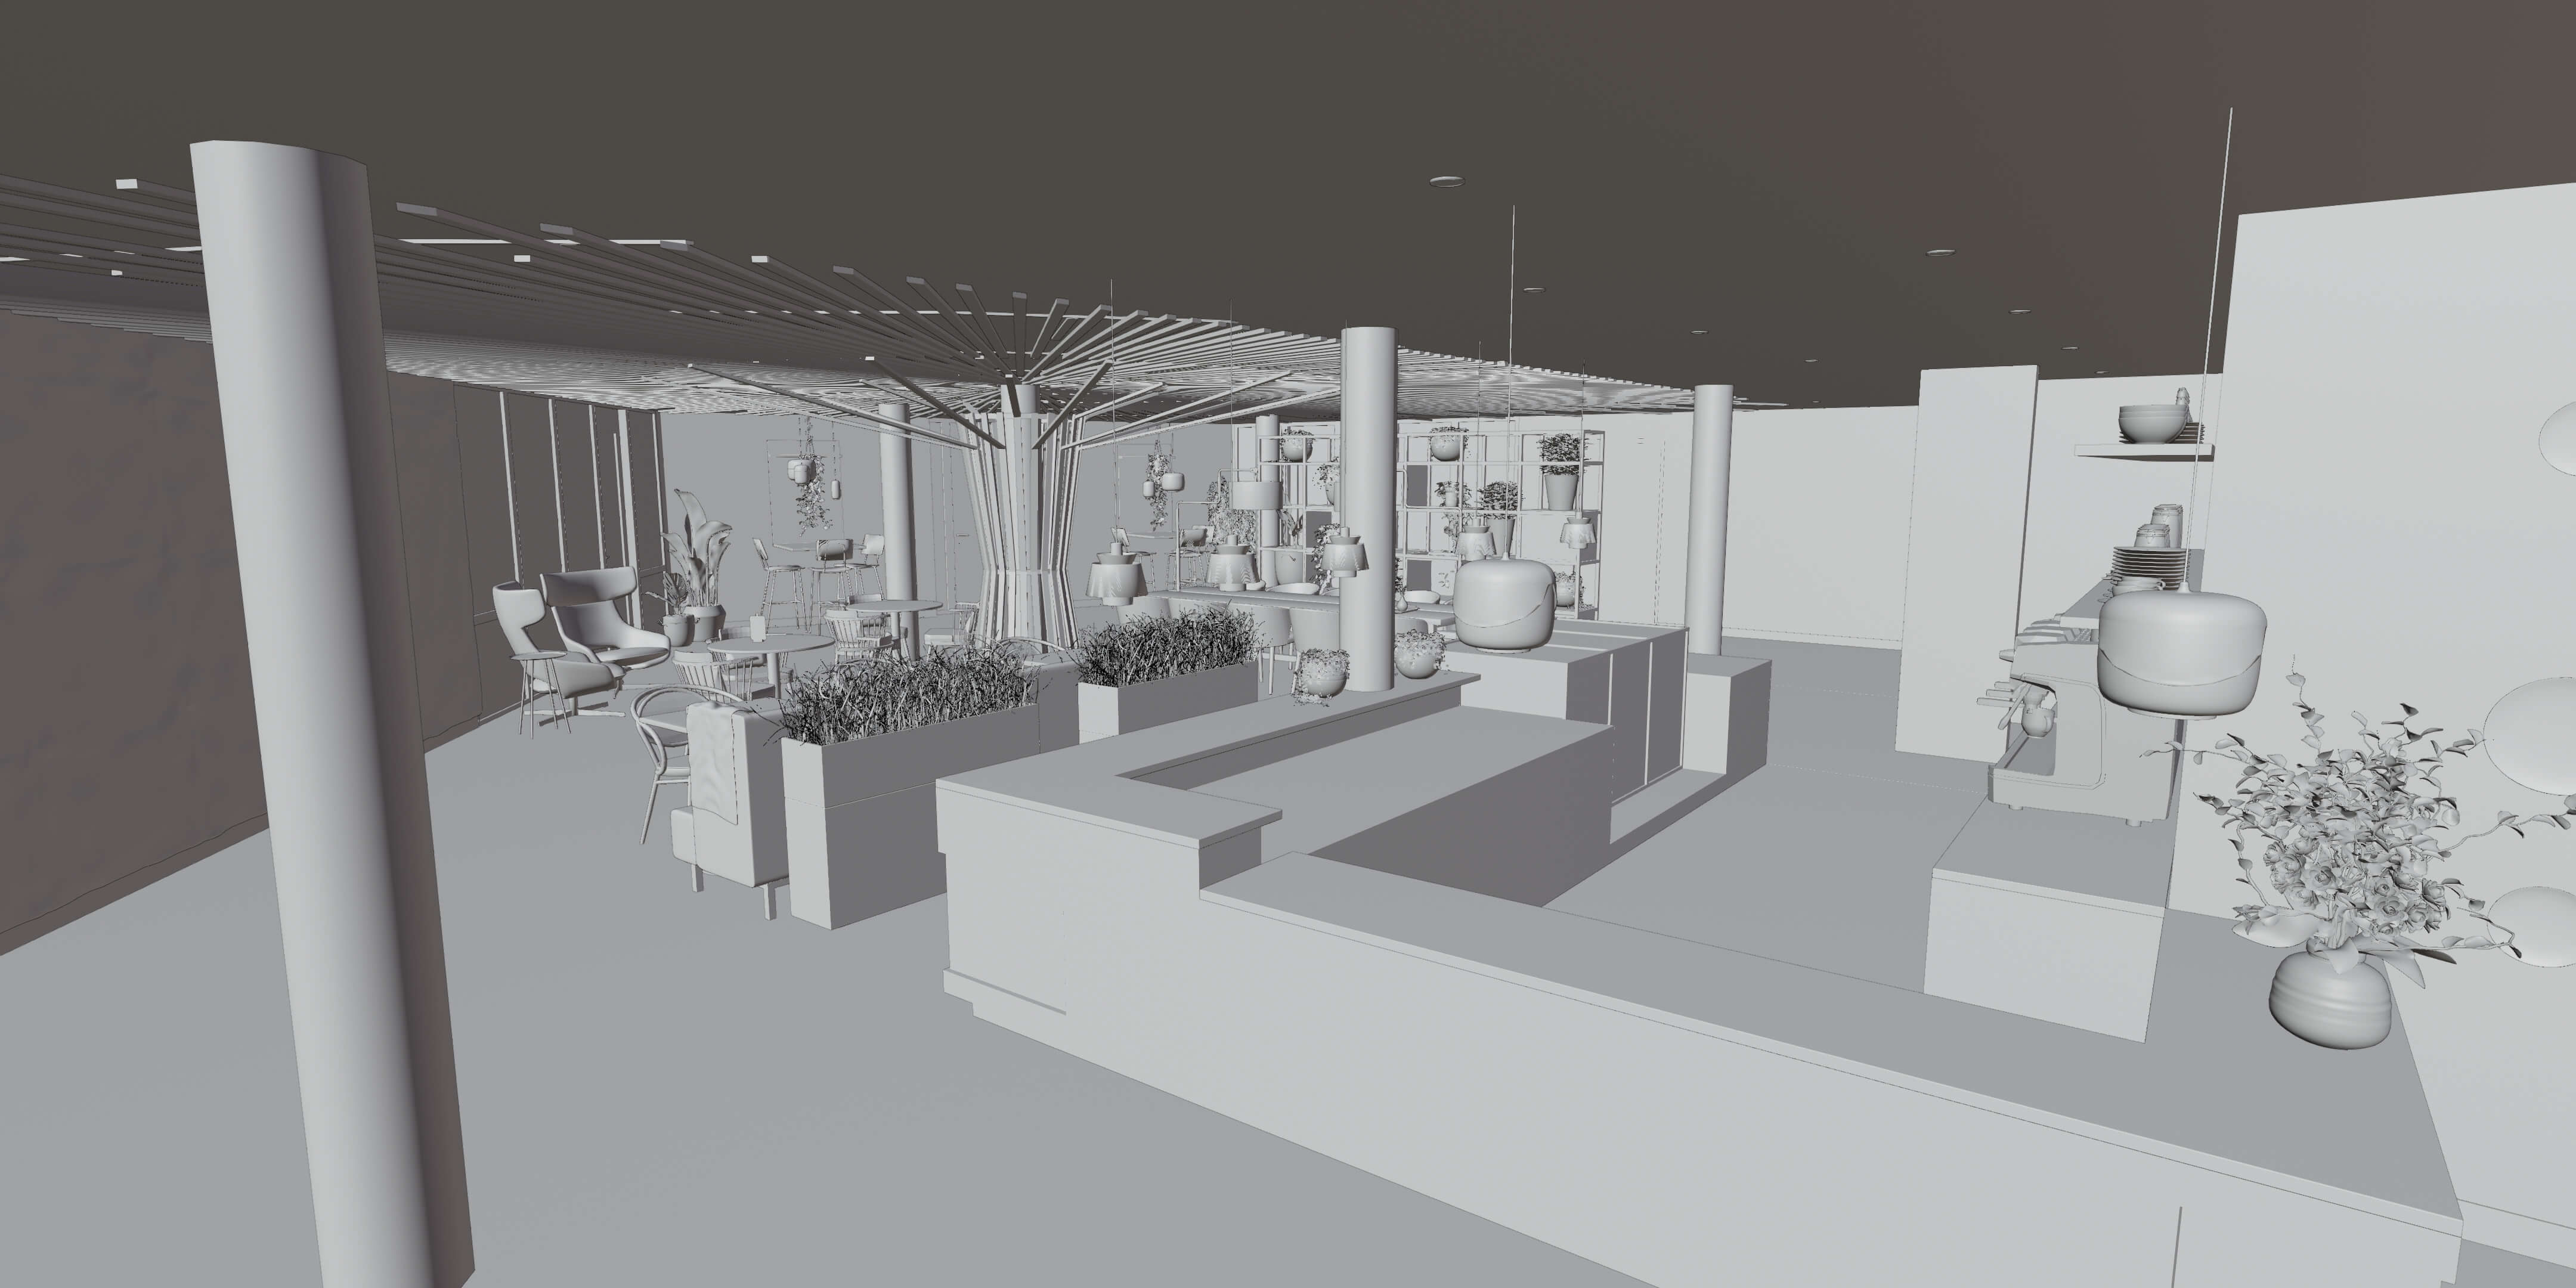
What would you say was the most challenging aspect of working on this project?
The biggest challenge in this project was – besides the time pressure – the modeling of the light tree. This was an own design and had to fit nicely into space and give it the right light. The tree is central to the room and perhaps offers the most atmosphere to the whole. A real eye-catcher.
(Click to enlarge)
Thanks again to Foppe Smit for sharing details about their work. You can check more projects from him at Foppe3D.