One of our first training materials released here in Blender 3D Architect is the Blender for architecture book. The book is a guide to start with Blender from scratch and apply that to architecture and design. You get an introductory chapter that has a “crash course” on Blender, and from there we start developing the content around architectural visualization.
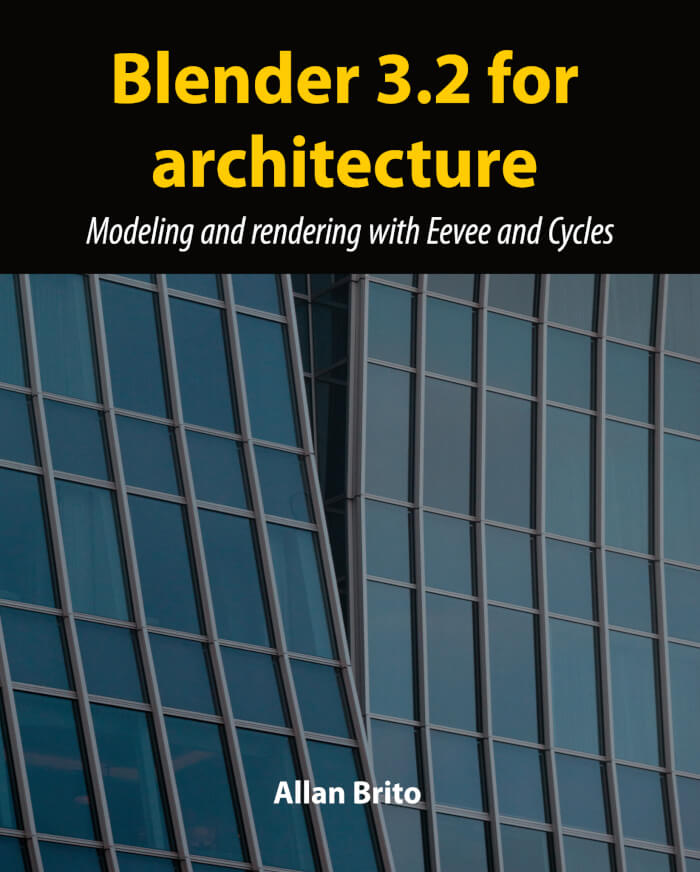
The book was due for an update since the start of this year, and today I’m proud to announce a brand new release using Blender 3.2. You can now get Blender 3.2 for architecture in three main formats:
This is the fourth review for this book series, which started back in 2019 in version 2.8. Over the years it received updates and changes to reflect new features and content for both Blender and architecture.
For instance, one of the highlights for this version is the extensive use of libraries in the Asset Browser. That was one of the best features added recently in Blender, and changed the way we manage furniture and materials for architecture.
If you are planning to start using Blender for architecture, I strongly recommend the book as guide to use Blender in this field.
Workshop and eBook with a discount
To celebrate the release of a new version the Blender 3.2 for architecture eBook, I’m adding the book as an upgrade for our Blender for architecture Workshop. You can now get the book for 1 USD when enrolling in the Workshop. That way, you get both resources to help you use Blender in architectural projects.
Here is a summary of what you get:
- 12 lessons to download or stream (70+ MP4 files)
- Downloadable assets and project files
- 1 PDF ebook (322)
- 2.1 GB of example files and assets