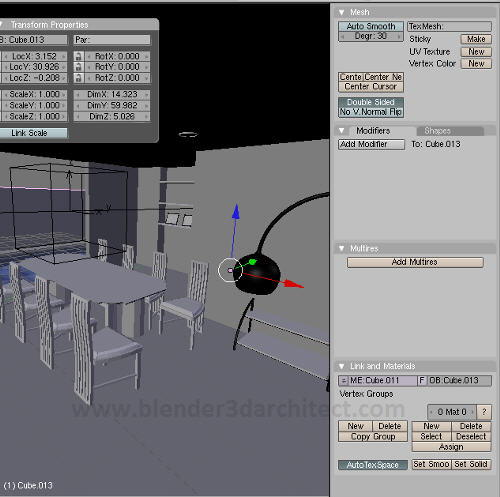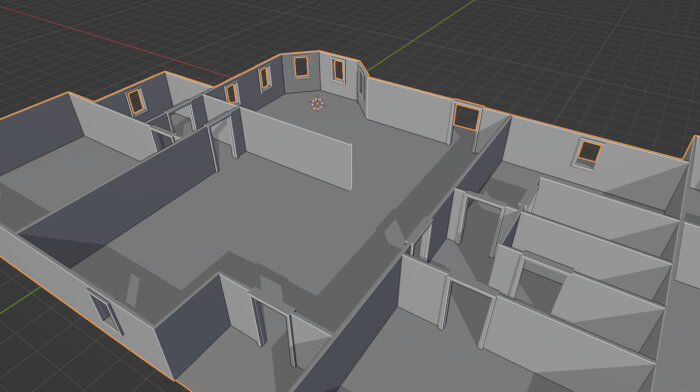
One of the techniques to create 3d models for architecture is edge modeling. I found that for most situations, we will find full control over the model by extruding and placing edges and edge loops around 3d models. A few weeks ago I have posted here a video with a time lapse example of a e-learning project I'm working on, which is based on edge modeling to create all the objects for the scene. What's required to start working with edge modeling with Blender 3D? If you never tried edge modeling, and still use only subdivision surfaces as your main technique, I will list a few things you can do to start working with edges.
Even if you don't work with architectural visualization, you may find the tips useful.

Here are the tips:
- Master the snapping tools: A lot of people say that Blender doesn't have a good set of snapping tools. Well, I think that the 3d cursor and the center point of objects are one of the most useful tools to work with precision modeling. Every time you have to place a model somewhere precisely, manage the center point of the objects and use the 3D cursor along with the SHIFT+S keys to place either the object or cursor aligned.
- Learn to use the Use Snap or Grid: This is a feature introduced by the Apricot team, which helps to populate objects around game scenarios, but it's incredible useful to place objects for architectural as well. With this tool, we can align edges of objects only with a simple drag and drop action.
- Split objects: There are a couple of features of Blender that aren't so obvious to most users. For instance, do you know the function of the P key? If we are working on Object mode it will turn on the game engine. But, if we are in Edit Mode it will turn on the Split menu, where we can split any number of faces and create two different objects from a single model. How can this be useful? One the most useful tasks that could benefit from it, is the texturing. If you don't like much to unwrap your models, with this option we can create smaller parts that will be easier to assign textures.
- Use the Ripping option: This is the opposite of the Merge tool, which enables us to separate two or more faces, by selecting the edges and pressing the V key. I bet you didn't know this one!
Well, I believe that those tips will be a good starting point. But, a video example would be even better to show a practical application of those techniques. Stay tuned for a video tutorial soon!


Good tips!
I have to test them. Many thanks for your posts; I always found them really useful.
thanx a lot! very useful things!
(i didn’t knew about the trick with V key 🙂 )
Hi, I’m a newbie in blender and I must thank you for the tips.
But, how can I use this option: “Use Snap or Grid” ?
it’s snapping to grid? or what?
thanks
Thanks for the tips! The P for splitting objects was exactly what I was looking for.