

How to create the poché effect in Blender for architecture
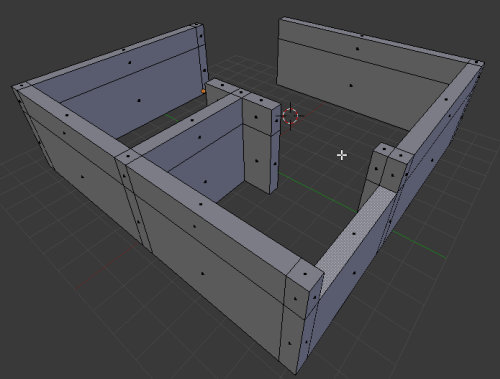
In architectural modeling, we often have to draw or modeling something that must show parts of the walls that are being cut by the section plane. In architecture it is called poché, and to represent that we have to fill the planes with black. If you never had the opportunity to create the poché effect in Blender, here is a simple way to create the effect in Blender. We will use the image below to create the poché on the top planes of the walls.
The simplest way to paint this area with black, is by selecting the top planes in Edit Mode, and with the Separate tool create another object based on this selection. When the planes are selected, press the P key and choose Selection.
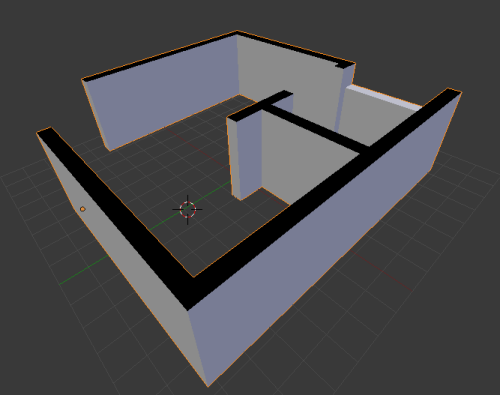
Now, add a black material to your new object, and you will have a more readable model. The separate tool is really helpful in these moments. Here is the result with the black material:


I think that its not the best way to do it.
why not add another material? well it’s a little bit more complex but every blender user knows how to apply 2 materials to an object.
Well blender is a little bit strange in applying materials. But there is an addon called “material-utils” enable it and press “Q” in the 3D window 😉
Otherwise you have to join the two objects again to add more edge loops.
I agree with you rudl, it`s not the best. Work with two materials is way better.
I simple tried to put it as a simple way to solve it.
Regards