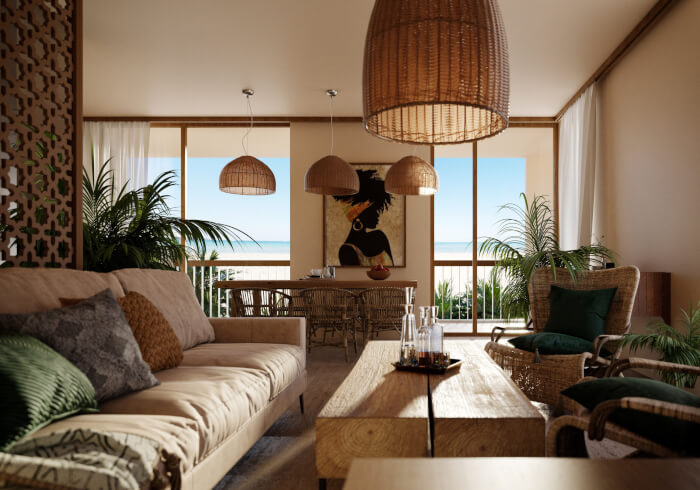
When you think about cutting-edge presentations for architectural projects, it is hard not to imagine anything unrelated to virtual reality. Even before the appearance of affordable technologies for VR in latest years, everyone always went to VR as a way to make a positive impression on architecture.
Nowadays we have options to deploy presentations in VR using smartphones, which was unthinkable just a few years ago.
The question is: what type of equipment do you need to produce such presentations?
If you are one of the students of our course about WebVR for architecture, you probably have a list of gear to present your projects.
What if you want to start working with VR for architecture? How should you approach the hardware acquisition?
To help you start with VR development for architecture, we have a list of recommended accessories and gear for VR.
The list starts with affordable options using nothing more than a cardboard headset and goes on to the most expensive and technological options.
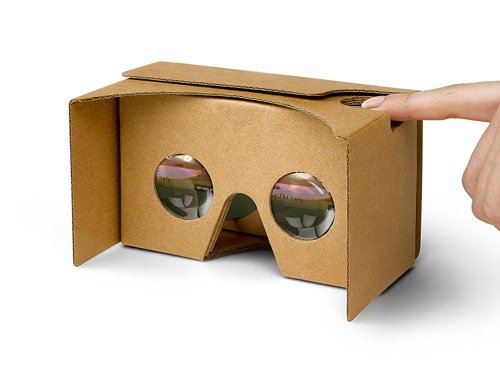
Official Google Cardboard
Let's start with the most affordable option to deploy a presentation in VR using your phone and a cardboard viewer. It is hard to beat Google Cardboard at a price, and it works well.
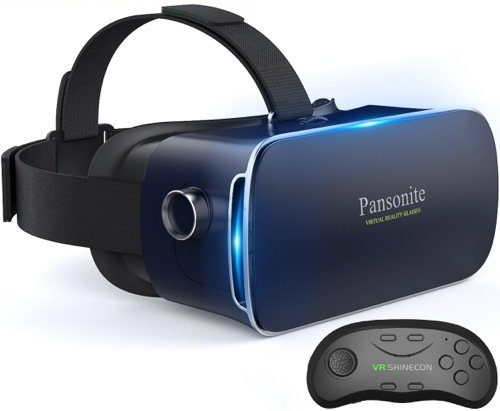
Pansonite 3D VR Glasses Virtual Reality Headset
If you want to still use your phone but improve your presentation, using a headset made of plastic, or anything other than cardboard, will be a major improvement. You don't have to make any adjustments to software. Only the headset is different and feels more robust. The model we choose cames with a controller to help you navigate in VR.
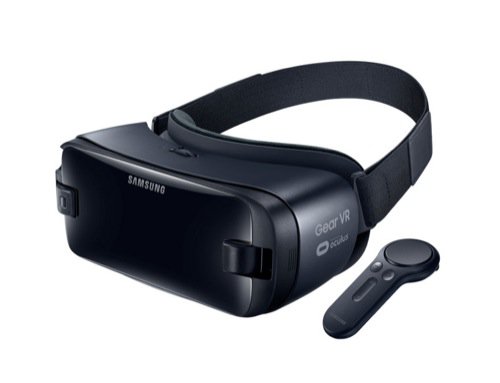
Samsung Gear VR Controller 2017
One of the only phone manufacturers that have a dedicated VR environment is Samsung. Using their Gear VR display, which only works with some of their premium phones, you will be able to develop architectural presentations with a high-resolution display like the ones present in their Galaxy S family.
As a bonus, you will be able to use a controller with the Gear VR.
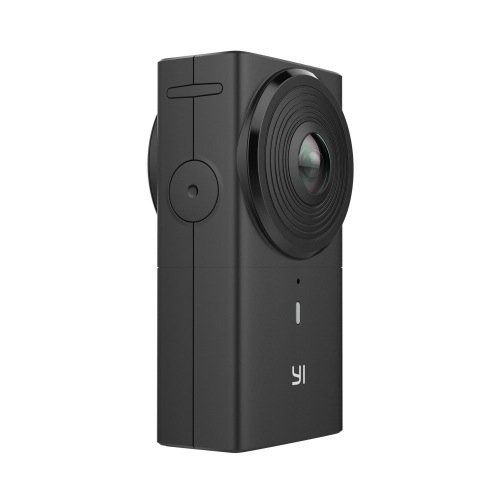
YI 360 VR Camera Dual-Lens
Rendering a project in Cycles as a panorama is the easiest way to get an image to VR. But, what if you have to work with a photo? In that case, a 360 camera is a must-have! Using such camera will give you the ability to visit a site construction and take a high-resolution 360 photo to work with your VR headset.
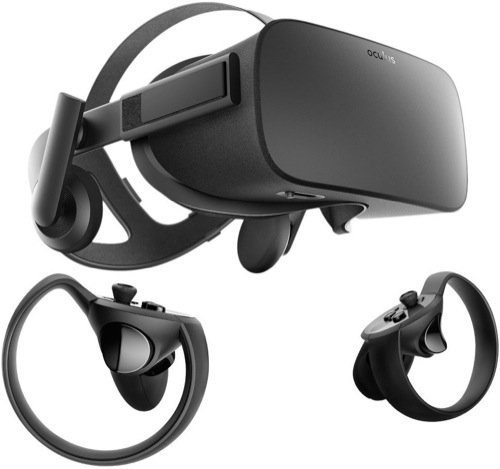
Oculus Rift
Going to the next level regarding VR will require from you a little more investment. Not only in a headset but in a computer that can handle powerful graphics applications. You will need a good GPU, which I believe you already own. The Oculus Rift is a great and intermediate choice for better graphics and advanced navigability in VR.
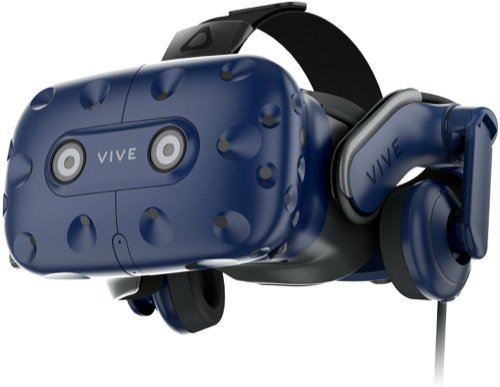
HTC VIVE Pro Virtual Reality Headset
And to reach the maximum quality and interactive, our recommendation is the HTC VIVE Pro. The combination of superior graphics and advanced interactive controls will give you a unique VR experience. From that experience, you can create incredible VR presentations for architecture with the maximum immersion.
You will also need a powerful computer with a dedicated GPU in this option.
Disclaimer: Some of the links above might be affiliate links, meaning, at no cost to you, we earn a commission if you click through and make a purchase. If you decide to purchase using our links, you will be helping us with the maintenance of Blender 3D Architect. Thank you for your support!