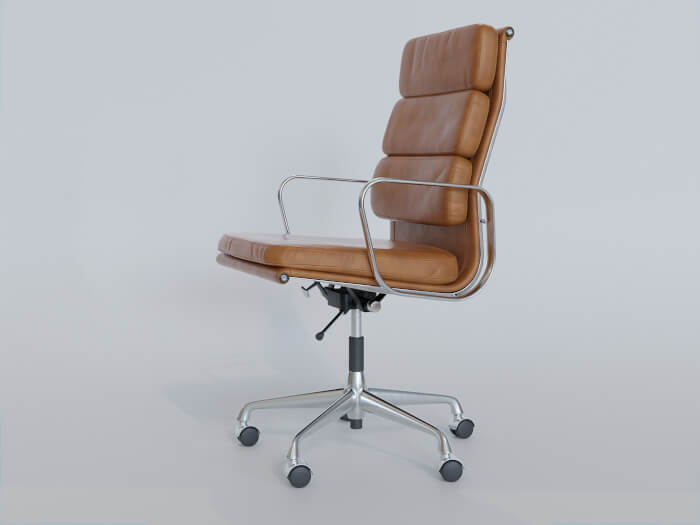
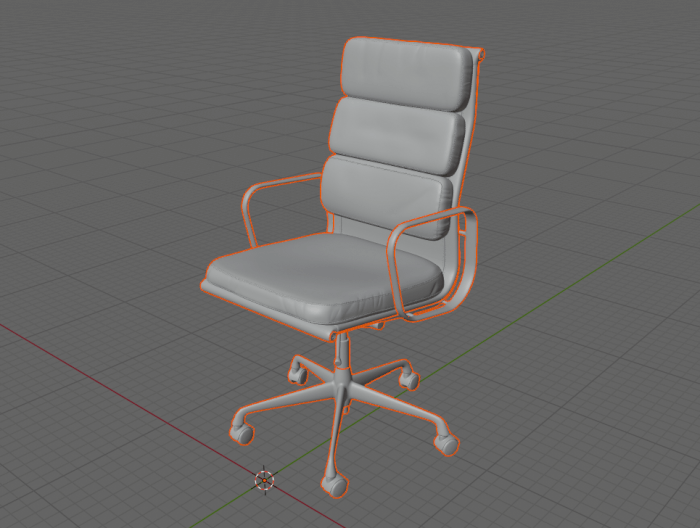
A furniture library for architectural visualization would never be complete without a few options for office spaces. If you don’t have any office chairs in your asset library, you can download a Eames Soft Pad Chairs from Herman Miller, which is compatible with Blender. The model is a creation from 3D Artist Laci Lacko and is available to download from his Behance profile.
The model itself is a beautiful piece of design and is also a great choice for interior projects. You can download the model as an OBJ file. To get that to Blender, you must use the File → Import menu.
Editing furniture models in Blender
One aspect of several models that you import to Blender as an OBJ is the origin point. The author of those models might place them in a random location at the time of modeling. That will have a direct impact on your experience with the model. Why should you care about the origin point?
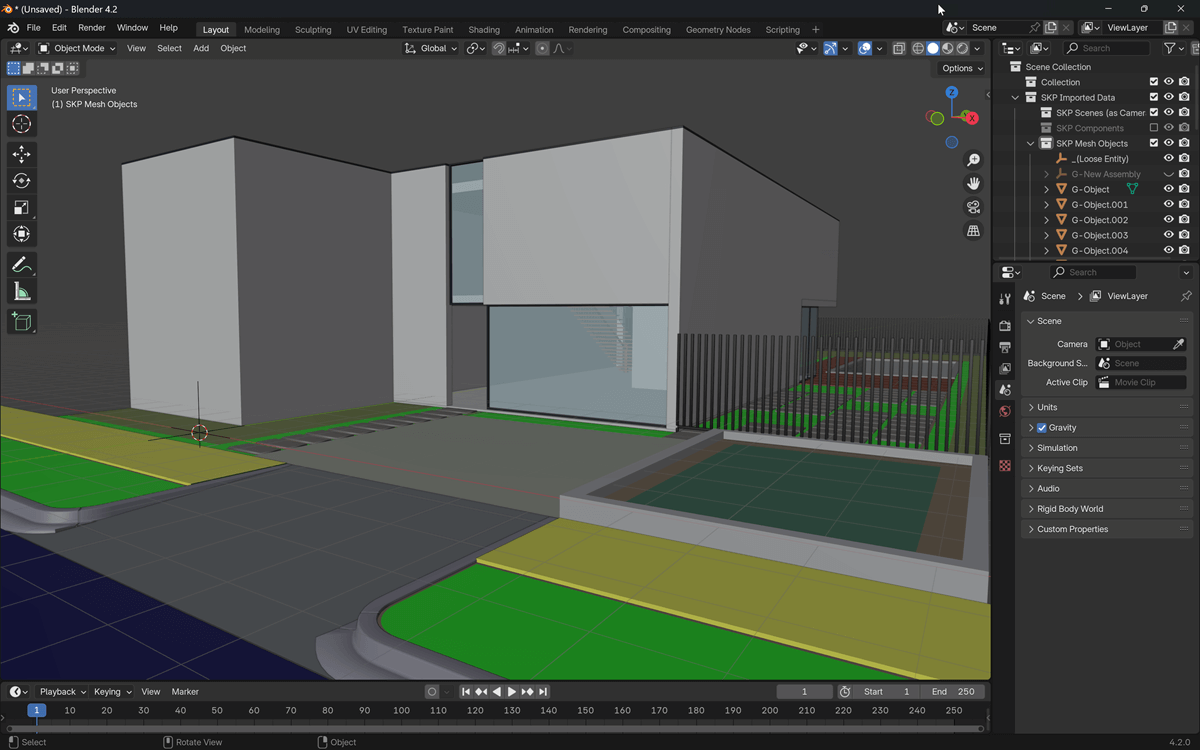
In Blender, you will find the origin point as a small orange circle close to any 3D Mesh. By default, all transformations will use that point as the pivot. For instance, if you try to resize the chair it will shrink and expand from that point. The optimal origin point for a furniture model like a chair is at the bottom.
Let’s see an example using that office chair in Blender. By using an origin point that is not at the bottom and applying a scale transformation, you will have the office chair expanding to all sides. Eventually, it will also go below your ground plane.
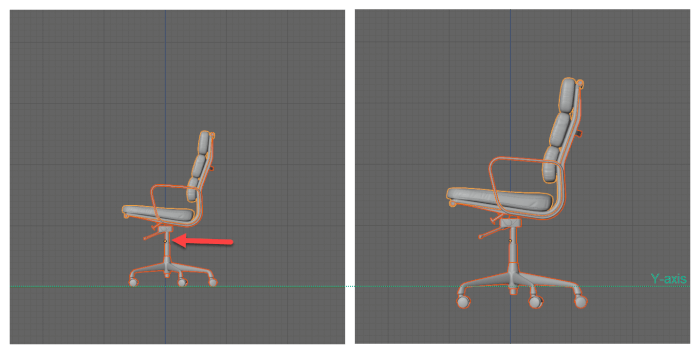
That will require you a small change in the Z-axis coordinate to avoid any potential problems in a future render.
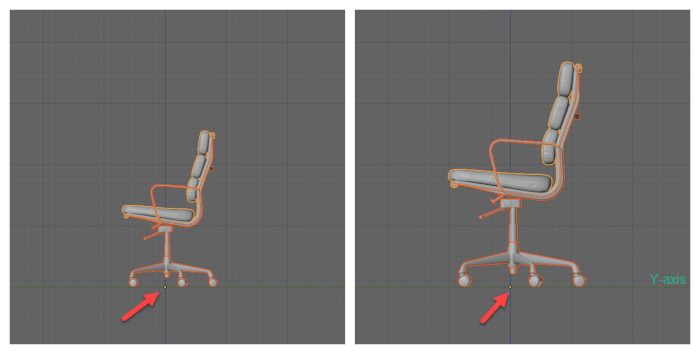
To avoid that, you have to place the origin point at the bottom of your model. If the origin point is at the bottom, a scale transformation will make the furniture expand and shrink from that point. It will no longer expand below your “ground plane” and it will be easier to manage.
How to change the origin point of furniture models? The easiest and more precise way is with the 3D Cursor. In Edit Mode, select any group of vertices or plane at the bottom of your model and align the cursor with the selected objects. Press SHIFT+S and choose “Selection to Cursor”.
Once the cursor is at the location you want for the origin point, go to Object Mode and open the Object → Set Origin → Origin to 3D Cursor menu. Your origin point will stay at the same location as your 3D Cursor.
Before you save any furniture model to your asset library, you should edit the origin point location. It will save a lot of time later because you will only have to edit that once. Don’t forget to also apply any scale transformations with the CTRL+A.
Using Blender 2.8 for architecture
Do you want to use Blender for architecture or render your projects using Cycles or Eevee? We have three books available that could help you!
They cover the use of Blender for producing architectural content and also all information you need to render projects in real-time:
- Blender 2.9 for architecture: Modeling and rendering with Eevee and Cycles
- Blender 2.8 parametric modeling: Drivers, Custom Properties, and Shape Keys for 3D modeling
- Blender 3.0: The beginner's guide
- Blender 2.8 for technical drawing
- Blender Eevee: The guide to real-time rendering with Blender 2.8
You can get them in both digital and paperback formats. By ordering those books, you will not only improve your skills with Blender for architecture but also support Blender 3D Architect.