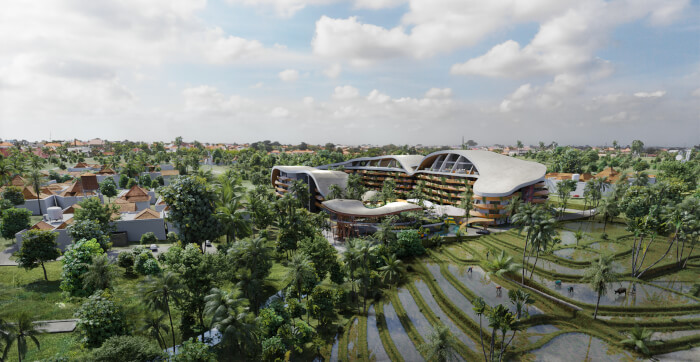
An artist called remitriadi posted an impressive and unique type of visualization project at the BlenderArtists forums. We usually see external visualizations from projects related to residential spaces like houses or apartment buildings. The project posted by remitriadi is a resort exterior located in Bali, Indonesia.
From the project, you can check two images that show an aerial view from the complex and another one from the pool area.
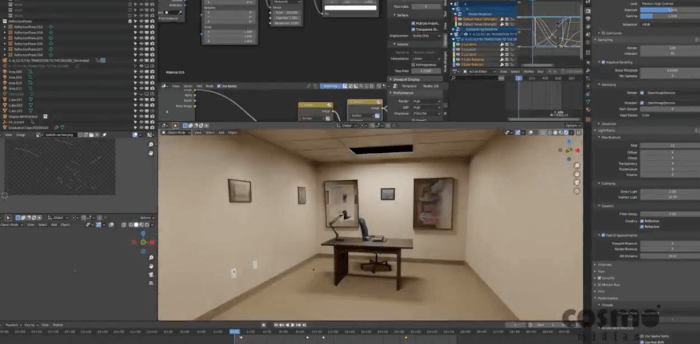
He used Cycles for the render with a relatively medium number of samples. According to the author each image used 800 samples with the denoiser.
As a bonus, you will also find some screenshots from the project and settings used to render both scenes. His primary hardware to render is a GTX 1060, which took 3 hours to process the images with a resolution of 3000 pixels wide.
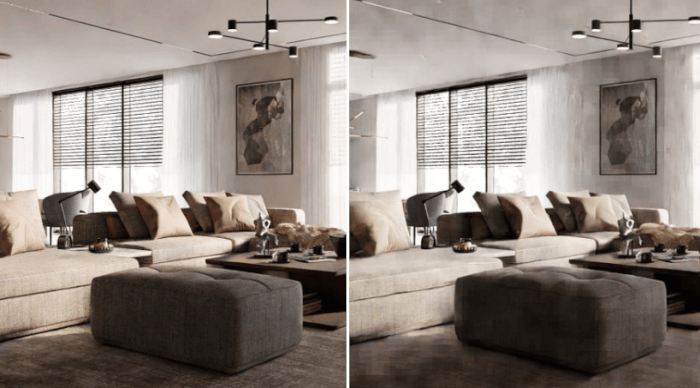
Using Blender for architecture
Do you want to use Blender for architecture or render your projects using Cycles or Eevee? We have three books available that could help you!
They cover the use of Blender for producing architectural content and also all information you need to render projects in real-time:
- Blender 2.9 for architecture: Modeling and rendering with Eevee and Cycles
- Blender 2.8 parametric modeling: Drivers, Custom Properties, and Shape Keys for 3D modeling
- Blender 3.0: The beginner's guide
- Blender 2.8 for technical drawing
- Blender Eevee: The guide to real-time rendering with Blender 2.8
You can get them in both digital and paperback formats. By ordering those books, you will not only improve your skills with Blender for architecture but also support Blender 3D Architect.